Hey everyone, it’s your favorite backyard enthusiast here. Today, we’re diving into something I’m really passionate about: creating amazing outdoor living spaces. And what’s a better way to start than with a beautiful gazebo? It’s a game-changer for any outdoor area, offering shade, shelter, and a touch of elegance. This guide is designed to walk you through the entire process, from the preliminary planning stages all the way to the final touches. We’ll cover everything you need to know to install your own gazebo, transforming your backyard into your own personal sanctuary.
Thinking about adding a gazebo to your backyard? Great idea! Gazebos aren’t just pretty; they’re super functional. They provide shade from the sun, protection from the rain, and a designated area for relaxation, entertaining, or whatever your heart desires. This guide will break down the installation process step-by-step, making it feel less daunting and more achievable, even if you’re a beginner. We’ll cover everything from choosing the right gazebo and preparing your site to the actual assembly and finishing touches. So, grab your tools, and let’s get started on building your dream outdoor oasis.
1. Planning and Preparation: The Foundation of Success
Before you even think about picking up a wrench, you need a solid plan. First, consider your space. Measure your yard to make sure you have enough room for the gazebo, and take into account any existing features like trees or utilities. Think about the type of gazebo you want – wood, metal, or vinyl? Each material has its own pros and cons in terms of cost, maintenance, and appearance. Also, check your local building codes and homeowners association (HOA) rules. You might need a permit, and there could be restrictions on size, style, or placement.
Actionable Tip: Make a sketch of your backyard, including the gazebo’s dimensions and placement. This will help you visualize the space and identify any potential issues early on.
2. Choosing Your Gazebo: Size, Style, and Material Matters
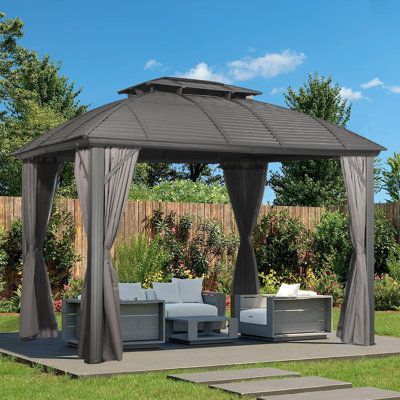
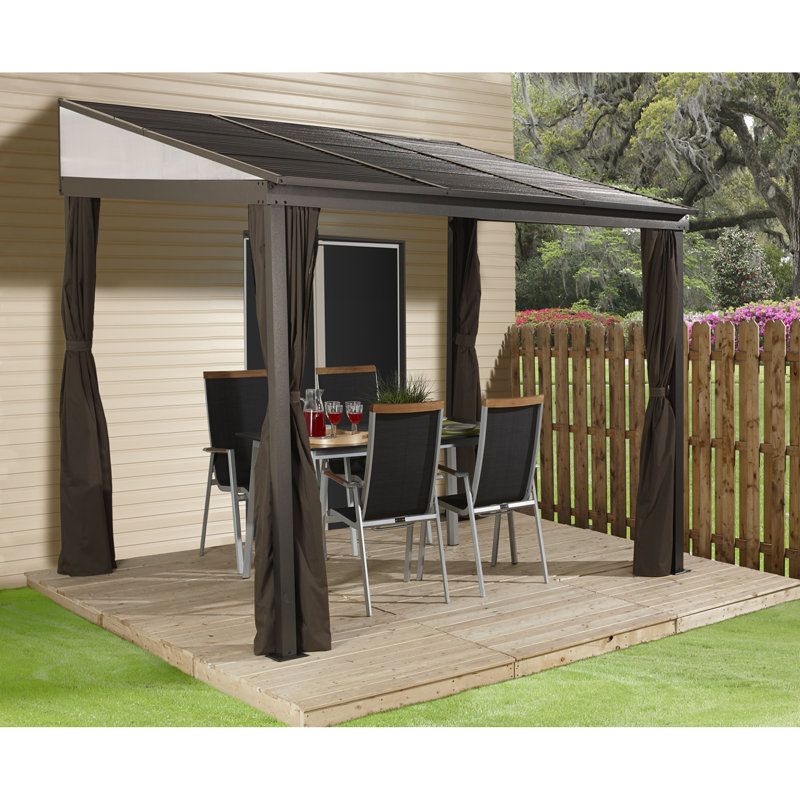
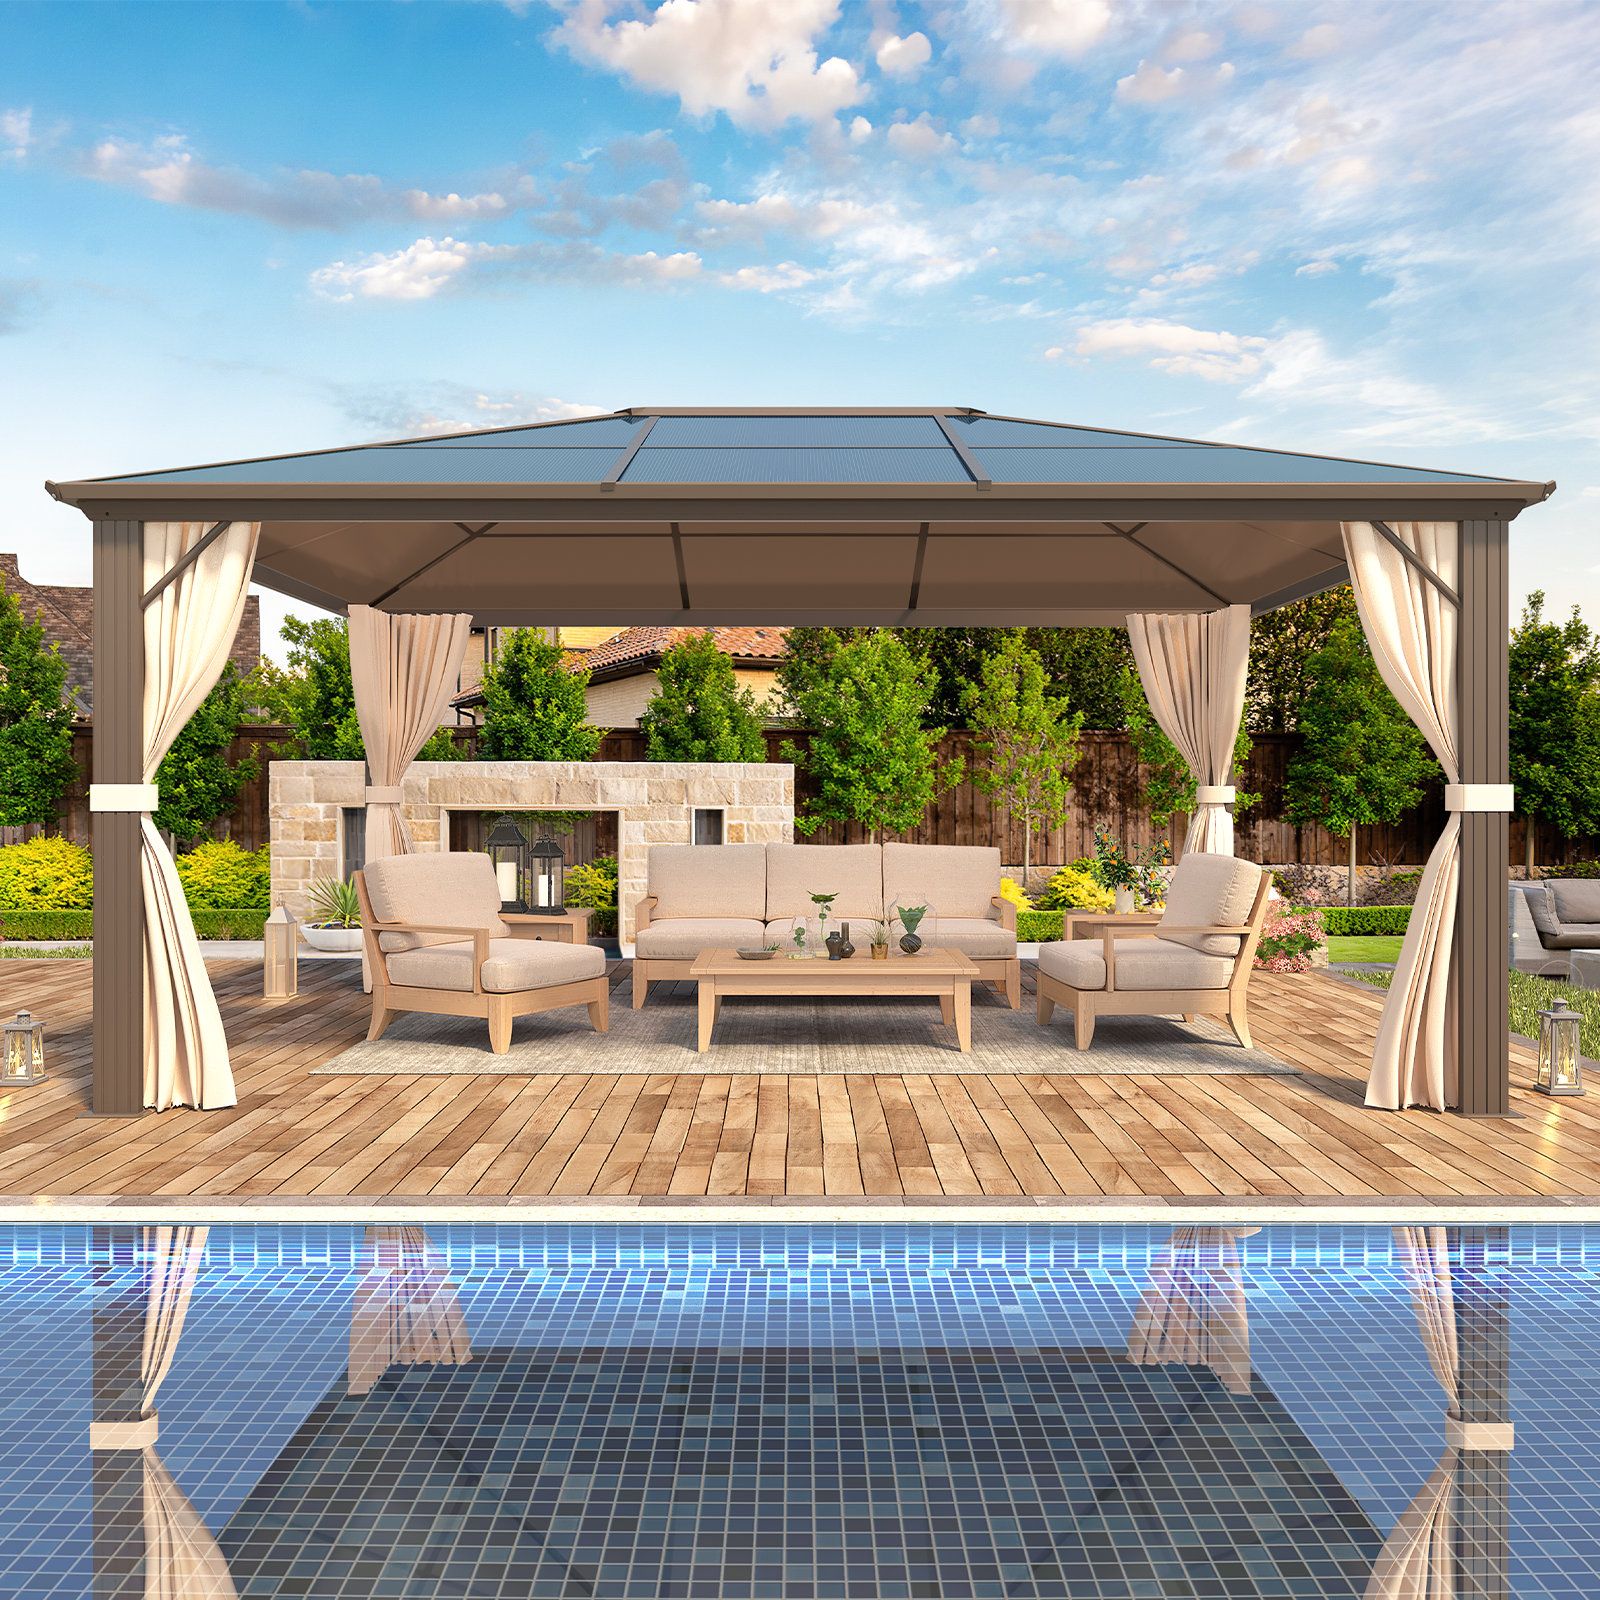
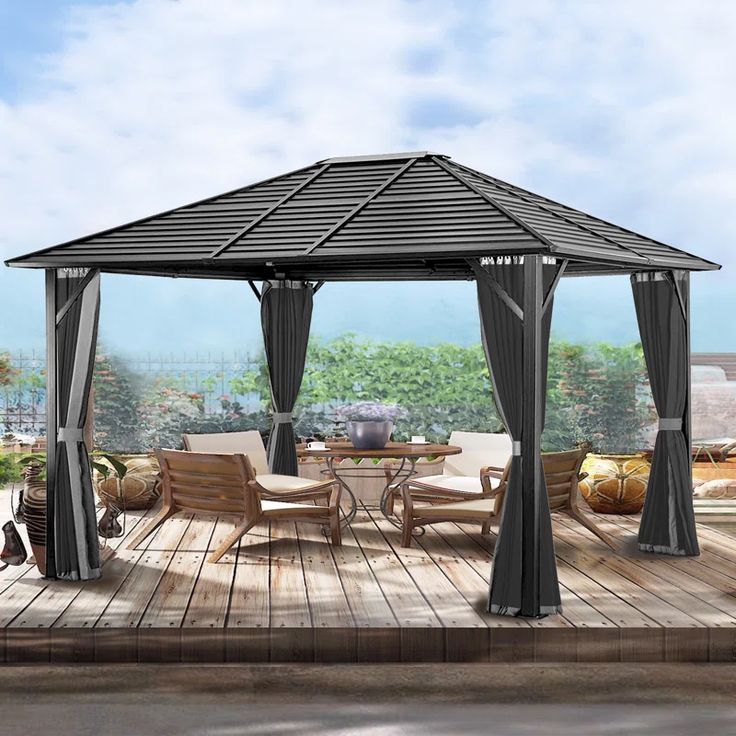
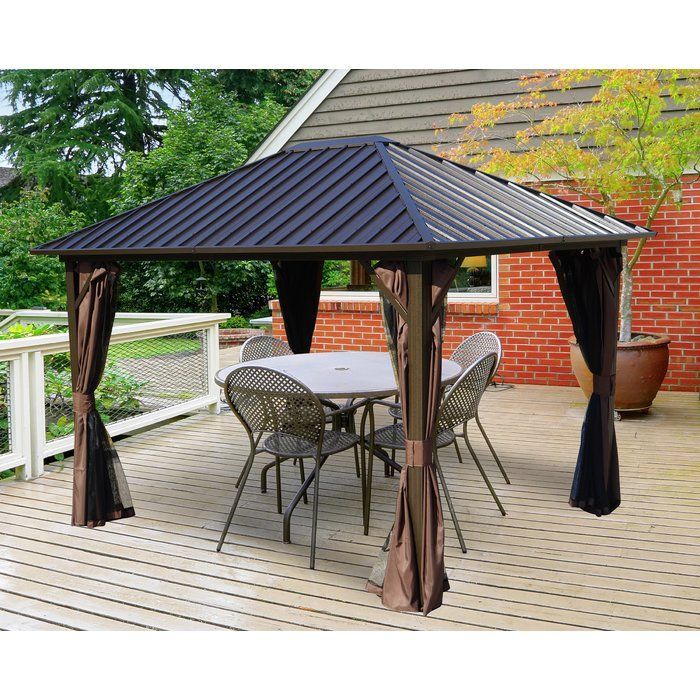
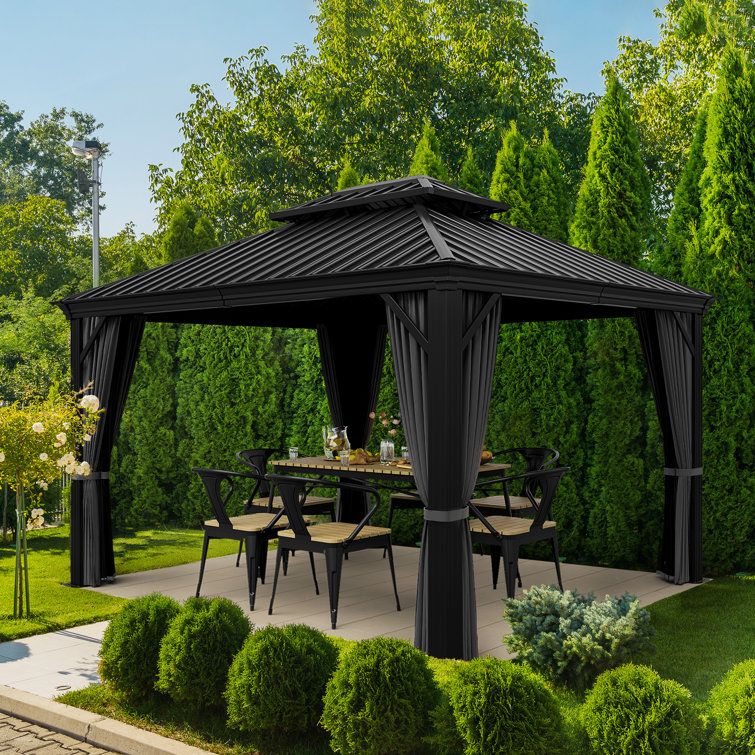
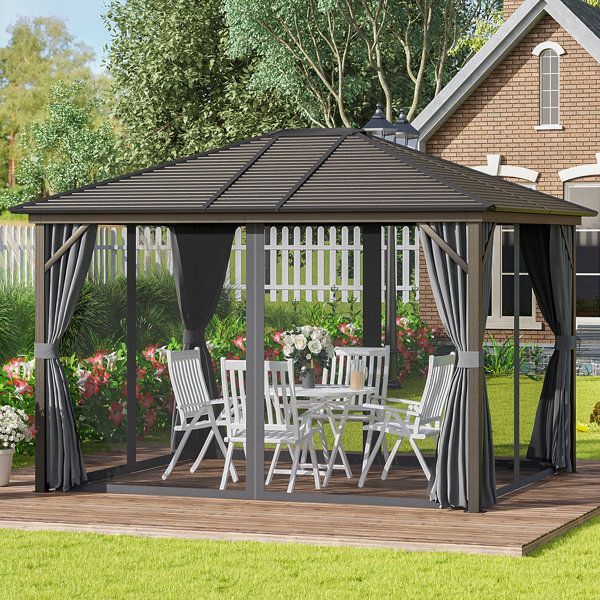
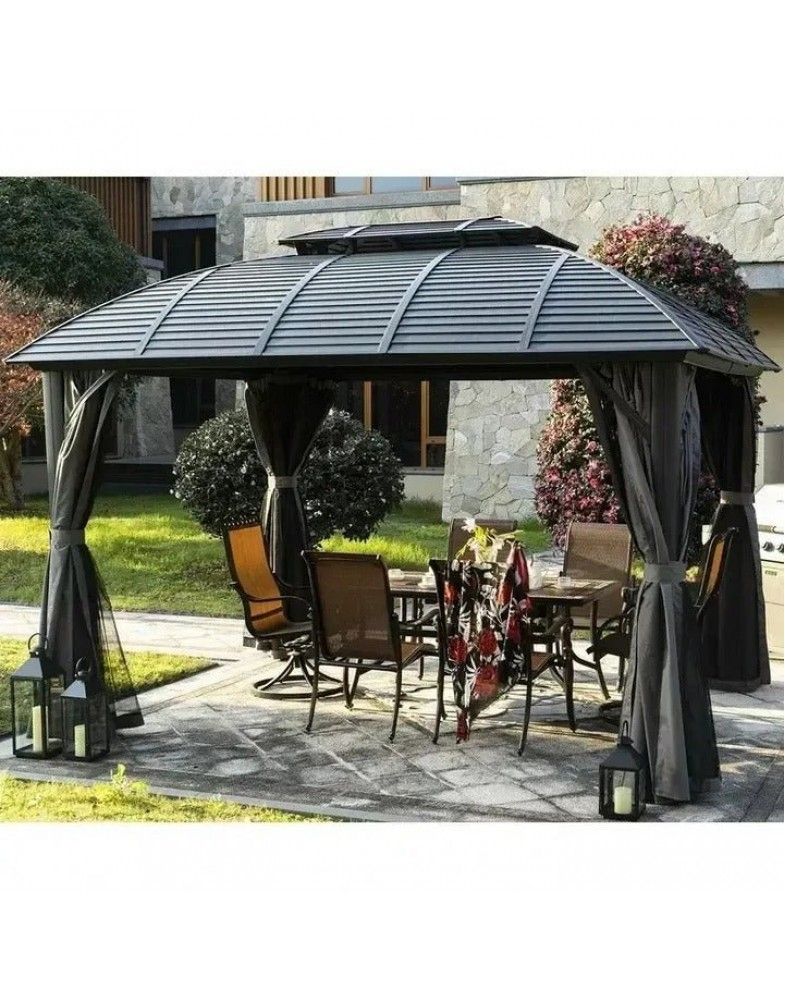
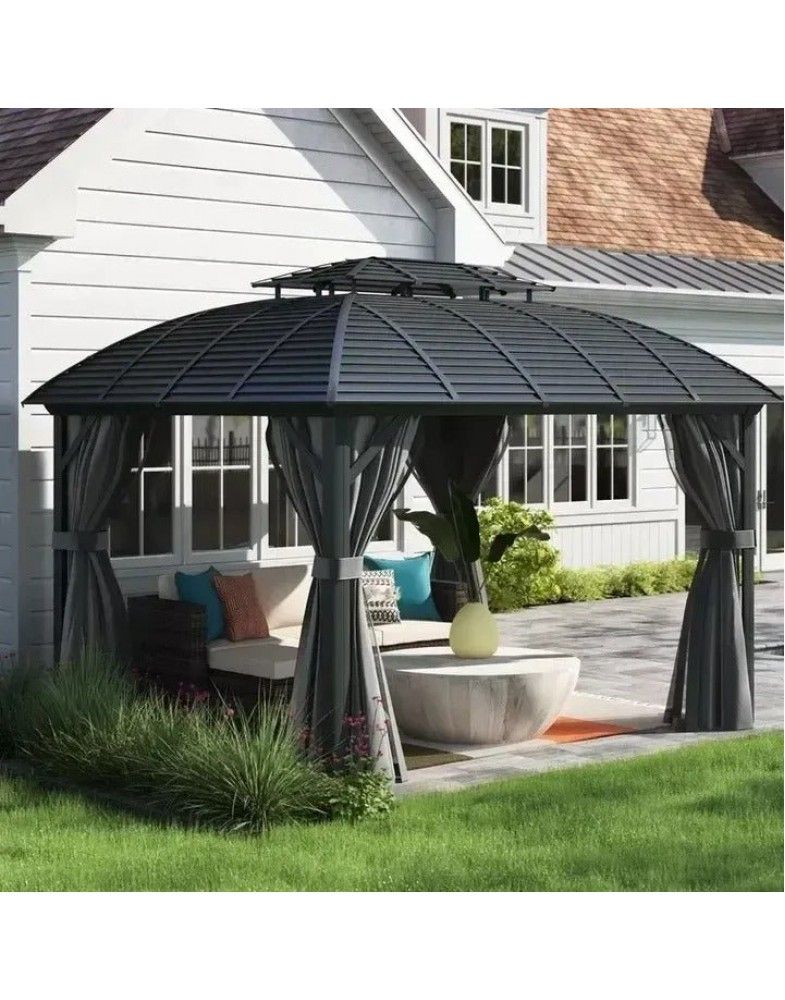
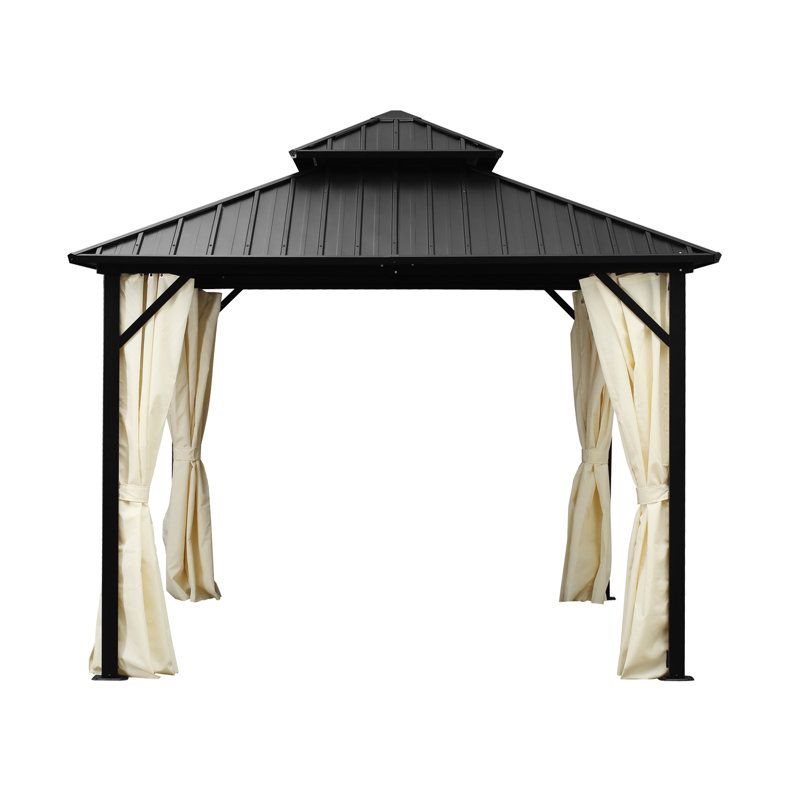
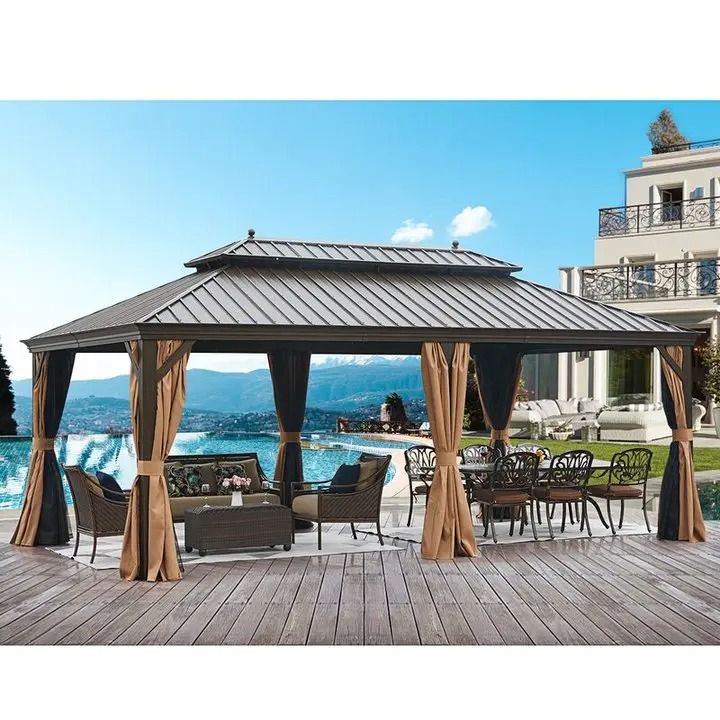
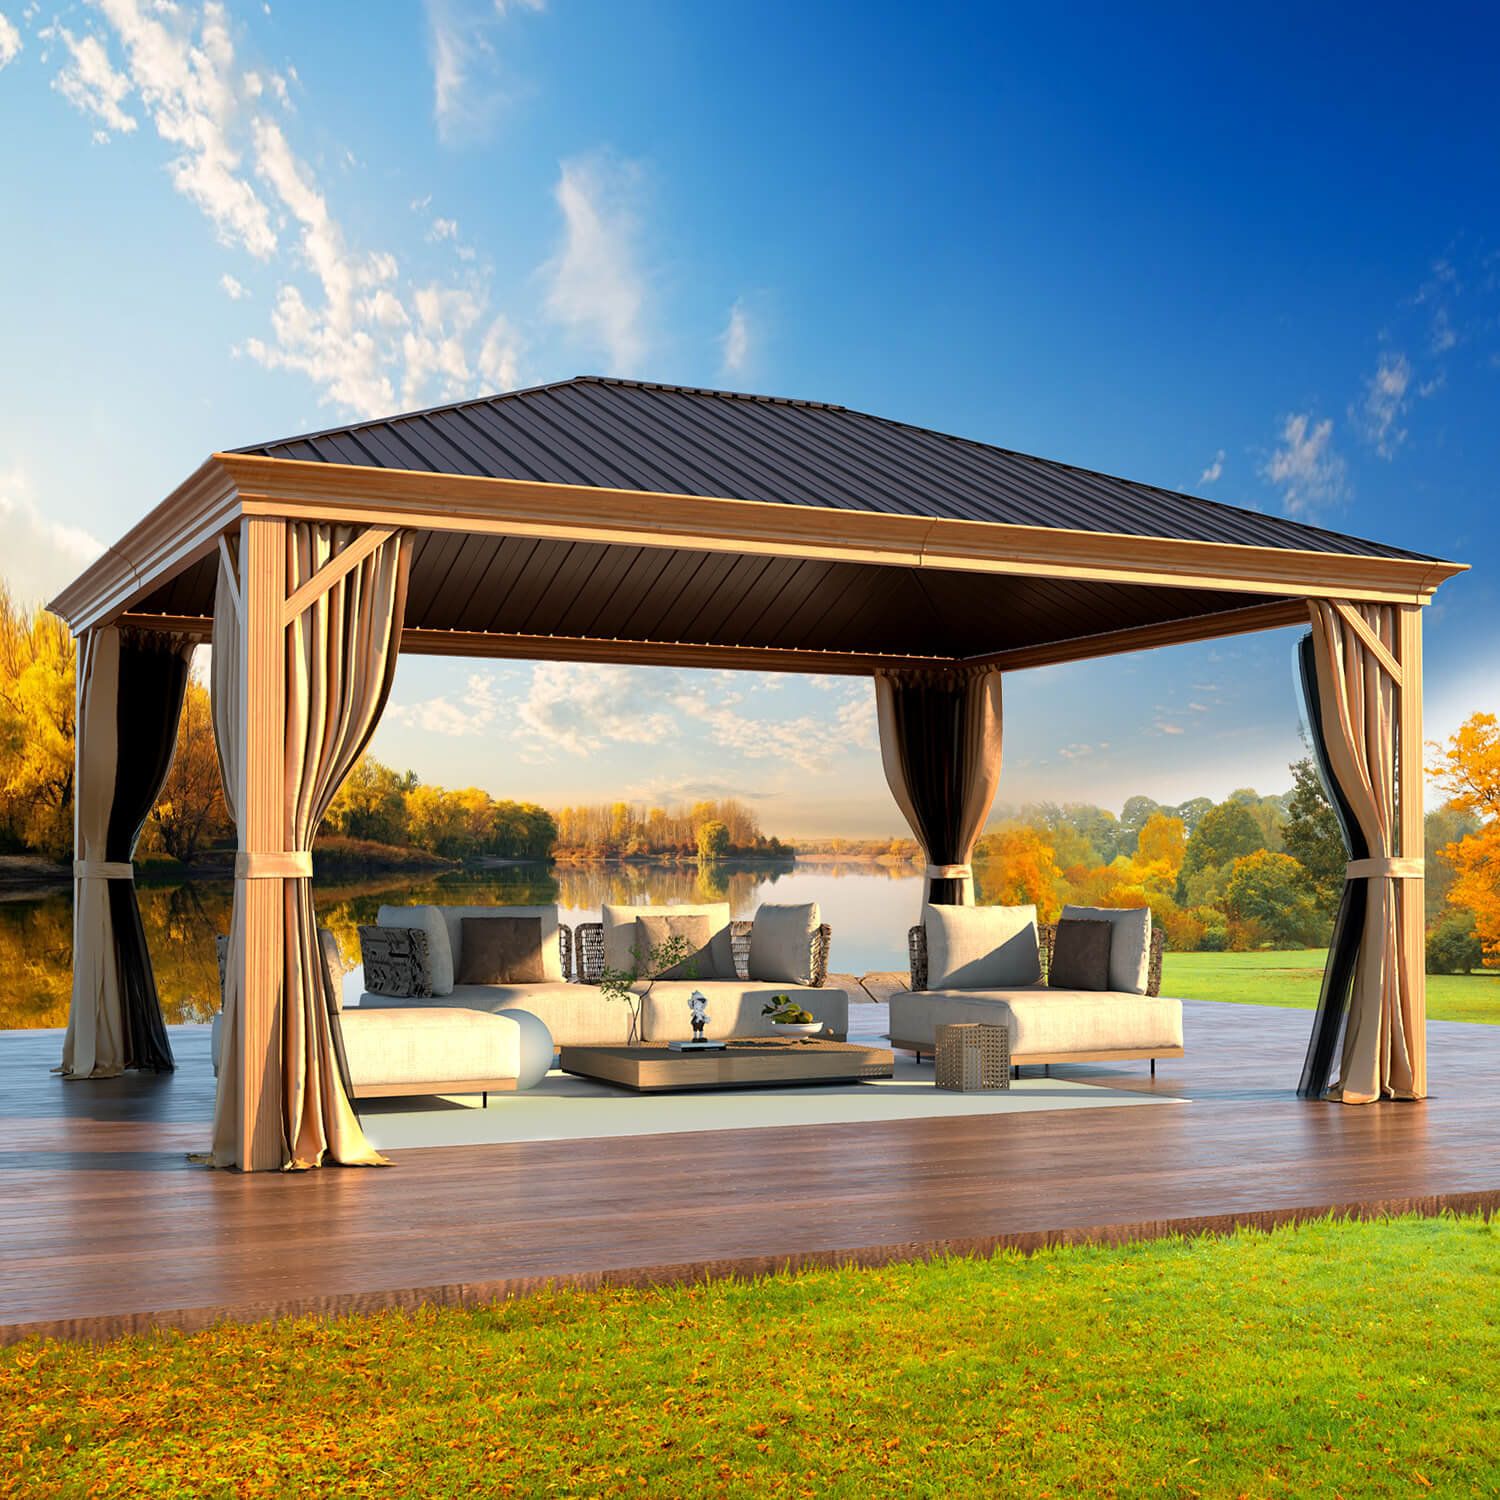
The fun part – picking out your gazebo! The size depends on how you plan to use it. A small gazebo might be perfect for a cozy seating area, while a larger one could accommodate a dining table or even an outdoor kitchen. Think about the style that complements your home and yard. Do you prefer a classic, traditional look, or something more modern? Consider the materials, too.
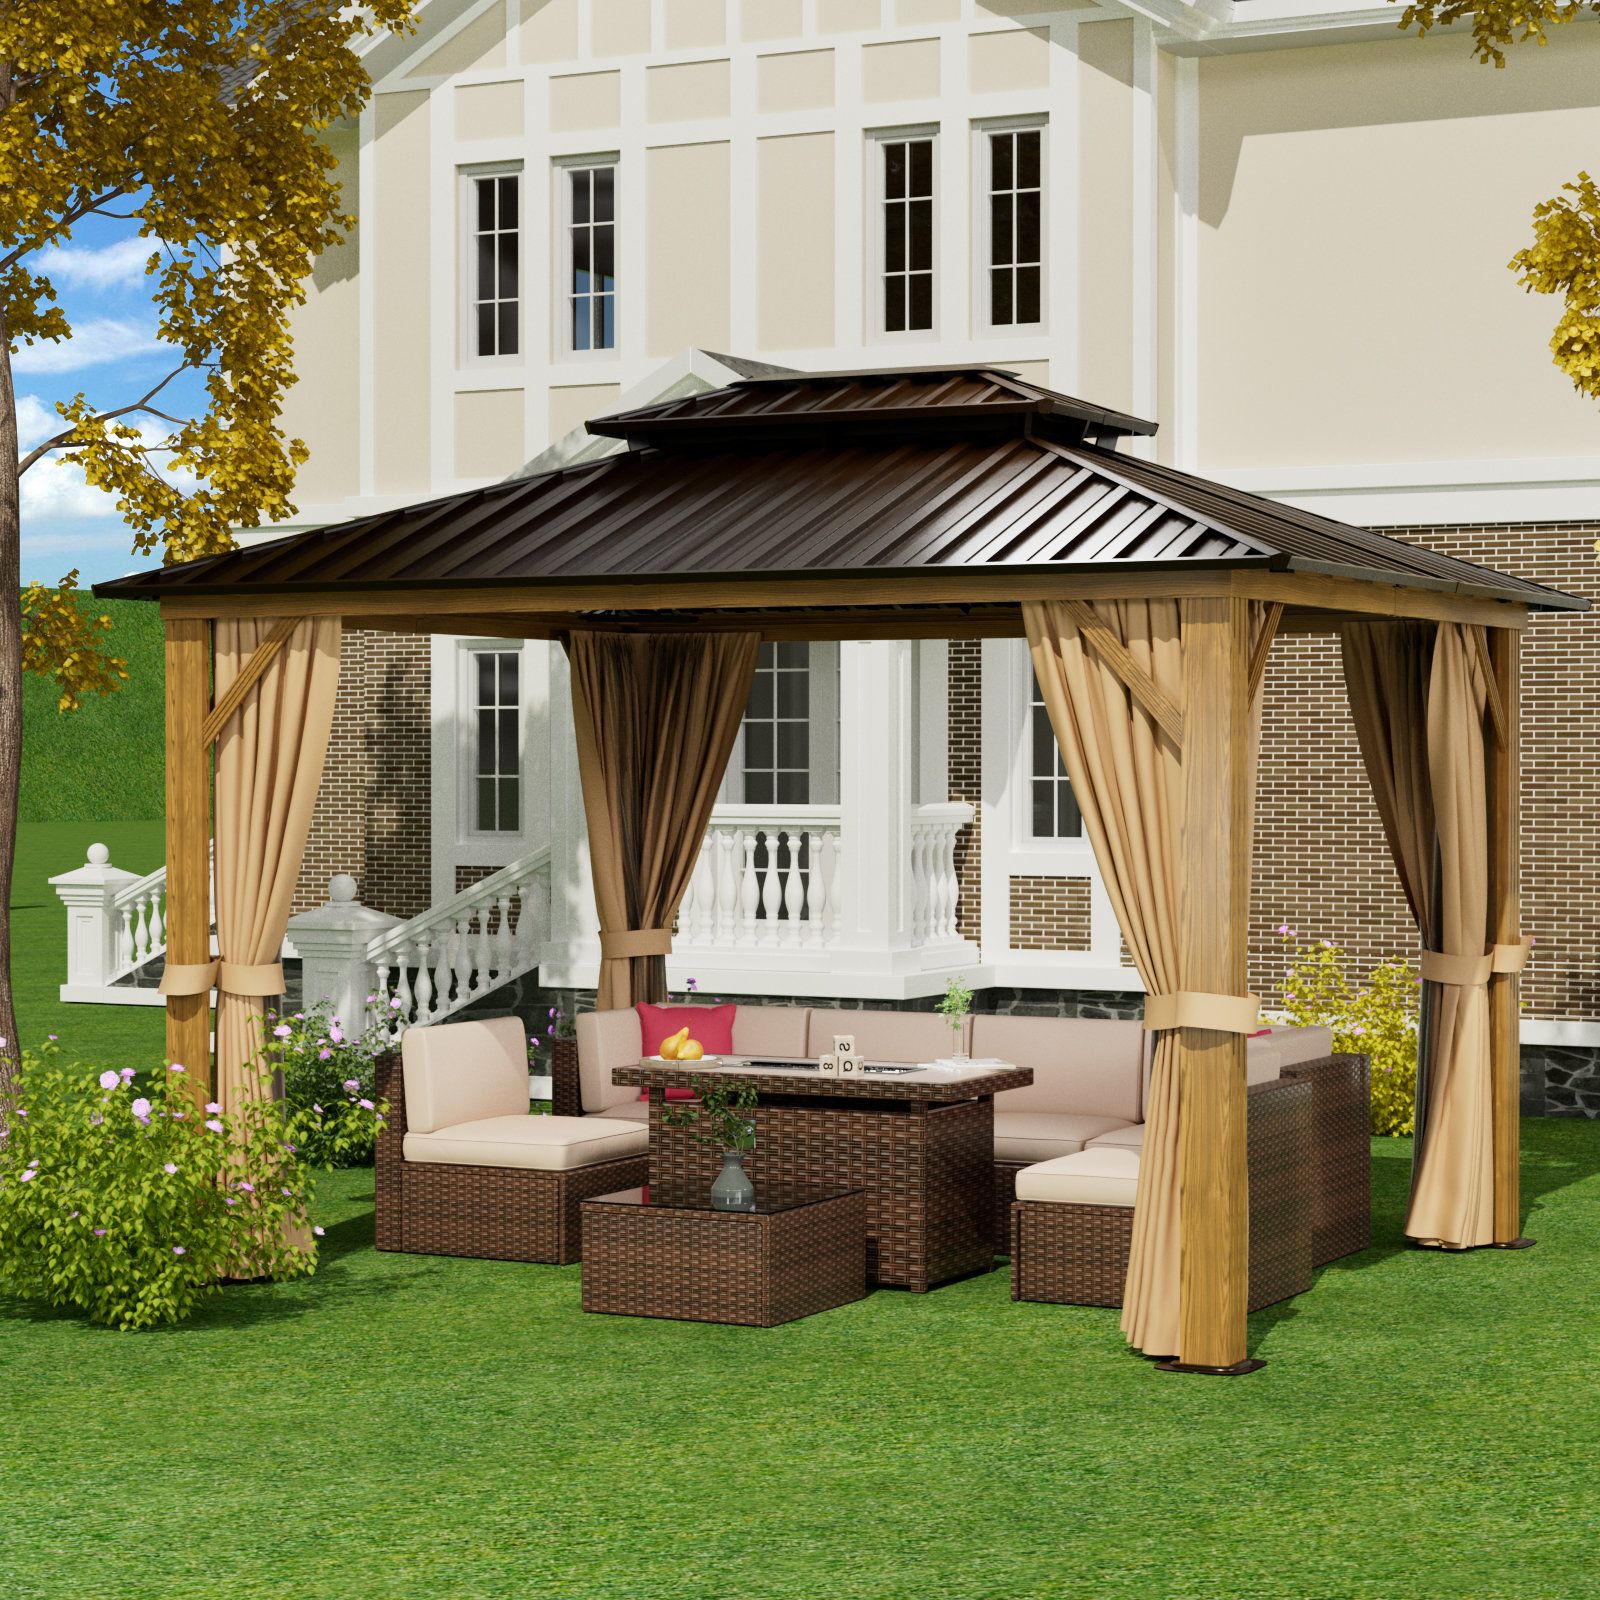
- Wood: Offers a classic look, but requires more maintenance (staining, sealing).
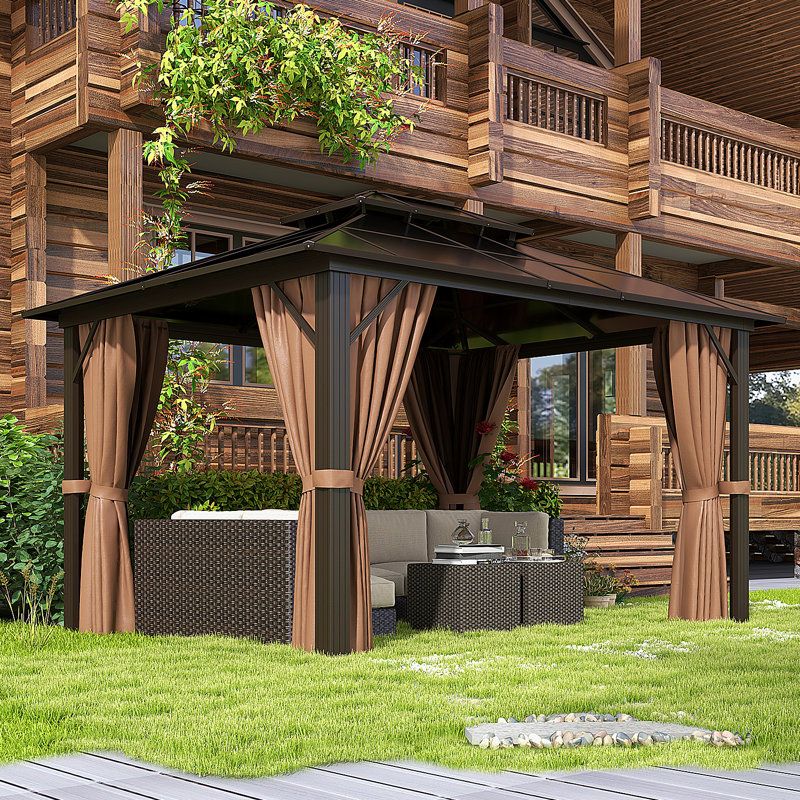
- Metal (Aluminum or Steel): Durable, low-maintenance, and comes in many styles.
- Vinyl: Requires very little maintenance, but the aesthetic isn’t for everyone.
Real-World Example: I chose a cedar gazebo for my backyard. The wood’s smell is amazing, and it blends well with my existing landscaping. But, I knew I would have to put in the work to keep it looking great.
3. Preparing the Site: Leveling the Ground and Building the Base
Once you’ve chosen your gazebo, it’s time to prep the site. This is crucial for a stable and long-lasting structure. First, level the ground where the gazebo will be installed. You can use a shovel, a level, and some gravel or crushed stone to achieve this. Next, you’ll need to create a solid base. This could be a concrete pad, a paver patio, or even a wooden deck, depending on the gazebo’s design and your preferences. A concrete pad is the most durable option, but it requires more work. A paver patio is a good compromise, offering both aesthetic appeal and functionality.
Actionable Tip: When pouring a concrete pad, make sure it’s slightly sloped away from the gazebo to allow for proper water drainage. This will help prevent water damage and extend the life of your structure.
4. Assembly: Following the Instructions and Staying Organized
This is where the rubber meets the road! Most gazebos come with detailed instructions, so carefully read them before you begin. Lay out all the parts and hardware, and make sure you have all the necessary tools. Sort the screws, bolts, and other fasteners, and keep them organized. This will save you a lot of time and frustration. It’s often helpful to have a friend or family member assist you, especially when lifting and assembling larger components. Don’t rush; take your time, and double-check your work. Tighten all bolts and screws securely, but avoid over-tightening, which could damage the material.
Pro Tip: Take pictures or videos as you go. This can be helpful for troubleshooting if you run into any issues.
5. Anchoring and Securing Your Gazebo: Preventing Movement
Once the main structure is assembled, you need to secure it to the base. This is essential for stability and safety, especially in windy areas. The method of anchoring will depend on the type of base you have. For a concrete pad, you’ll typically use anchor bolts. For a paver patio or wooden deck, you might use lag screws or other fasteners. Make sure the anchors are properly installed and can withstand strong winds. Consider using a sealant around the base to prevent water from seeping in and causing damage.
Safety First: Always wear safety glasses and gloves during assembly. If you’re working with power tools, make sure you know how to use them safely.
6. Finishing Touches: Adding Your Personal Flair
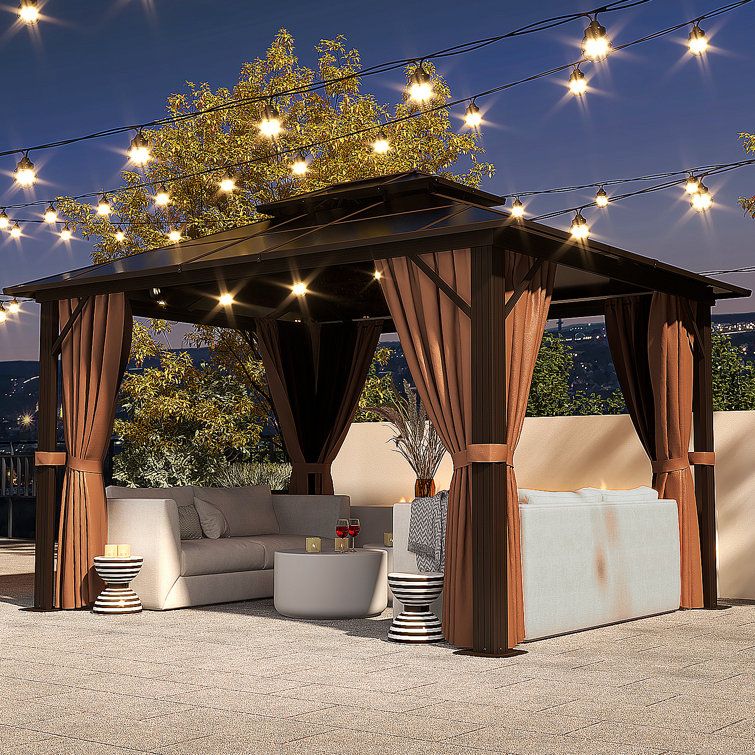
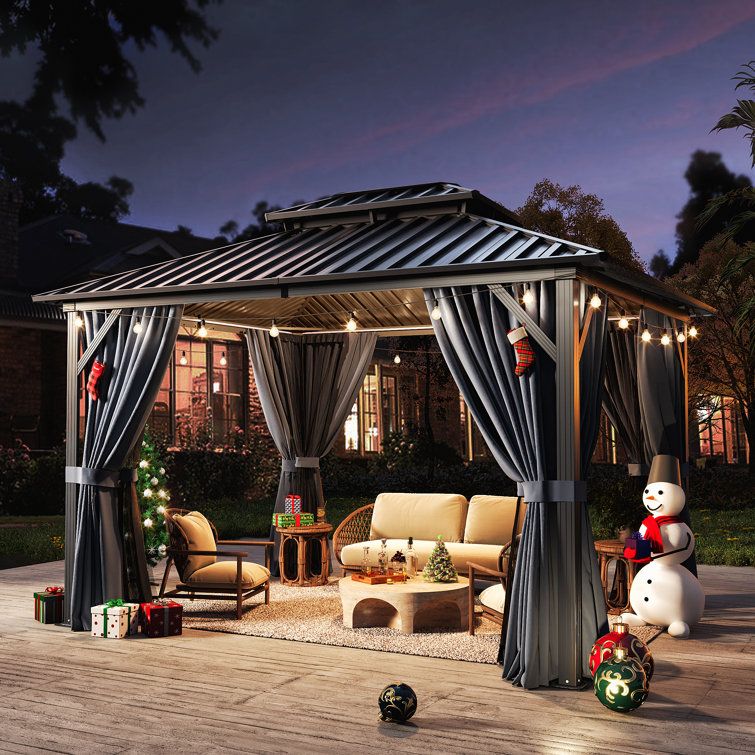
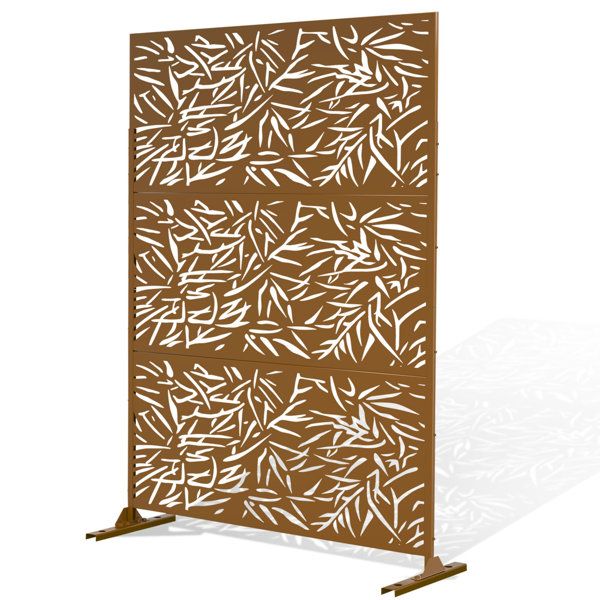
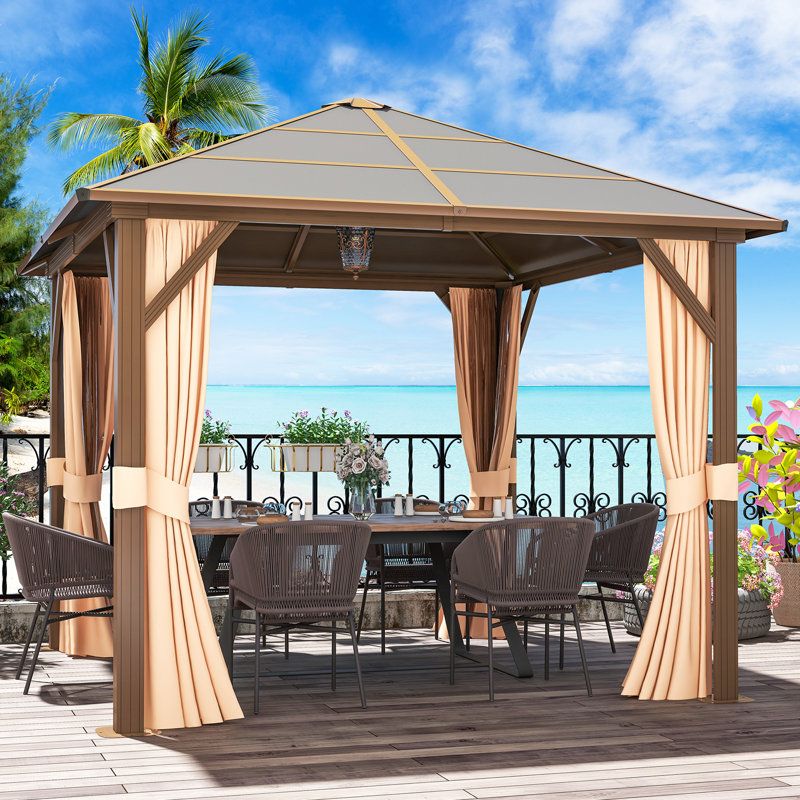
Now for the fun part – personalizing your gazebo! Add curtains or screens for privacy and insect protection. Consider outdoor furniture, such as comfortable seating, a dining table, or even a bar. Decorate with string lights, plants, and other accessories to create a welcoming atmosphere. Think about adding an outdoor rug to define the space and add warmth. The goal is to create a space that reflects your style and meets your needs.
Inspiration: I added some solar-powered string lights to my gazebo, and it completely transformed the space. It’s now the perfect spot for evening gatherings or simply relaxing with a good book and a glass of wine!
Congratulations! You’ve successfully installed your gazebo. Now it’s time to sit back, relax, and enjoy your new outdoor oasis. Remember, the process might seem daunting at first, but with careful planning, attention to detail, and a little elbow grease, you can create a beautiful and functional space that you and your loved ones will enjoy for years to come. So, fire up the grill, invite your friends over, and start making memories in your new backyard retreat. Happy building, and happy relaxing!