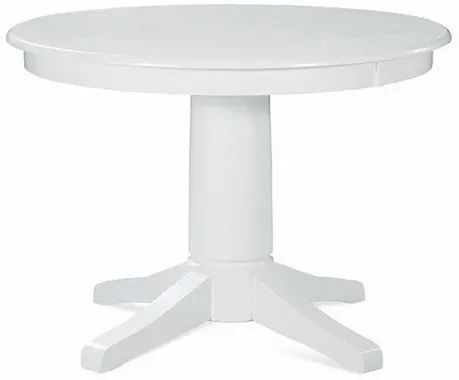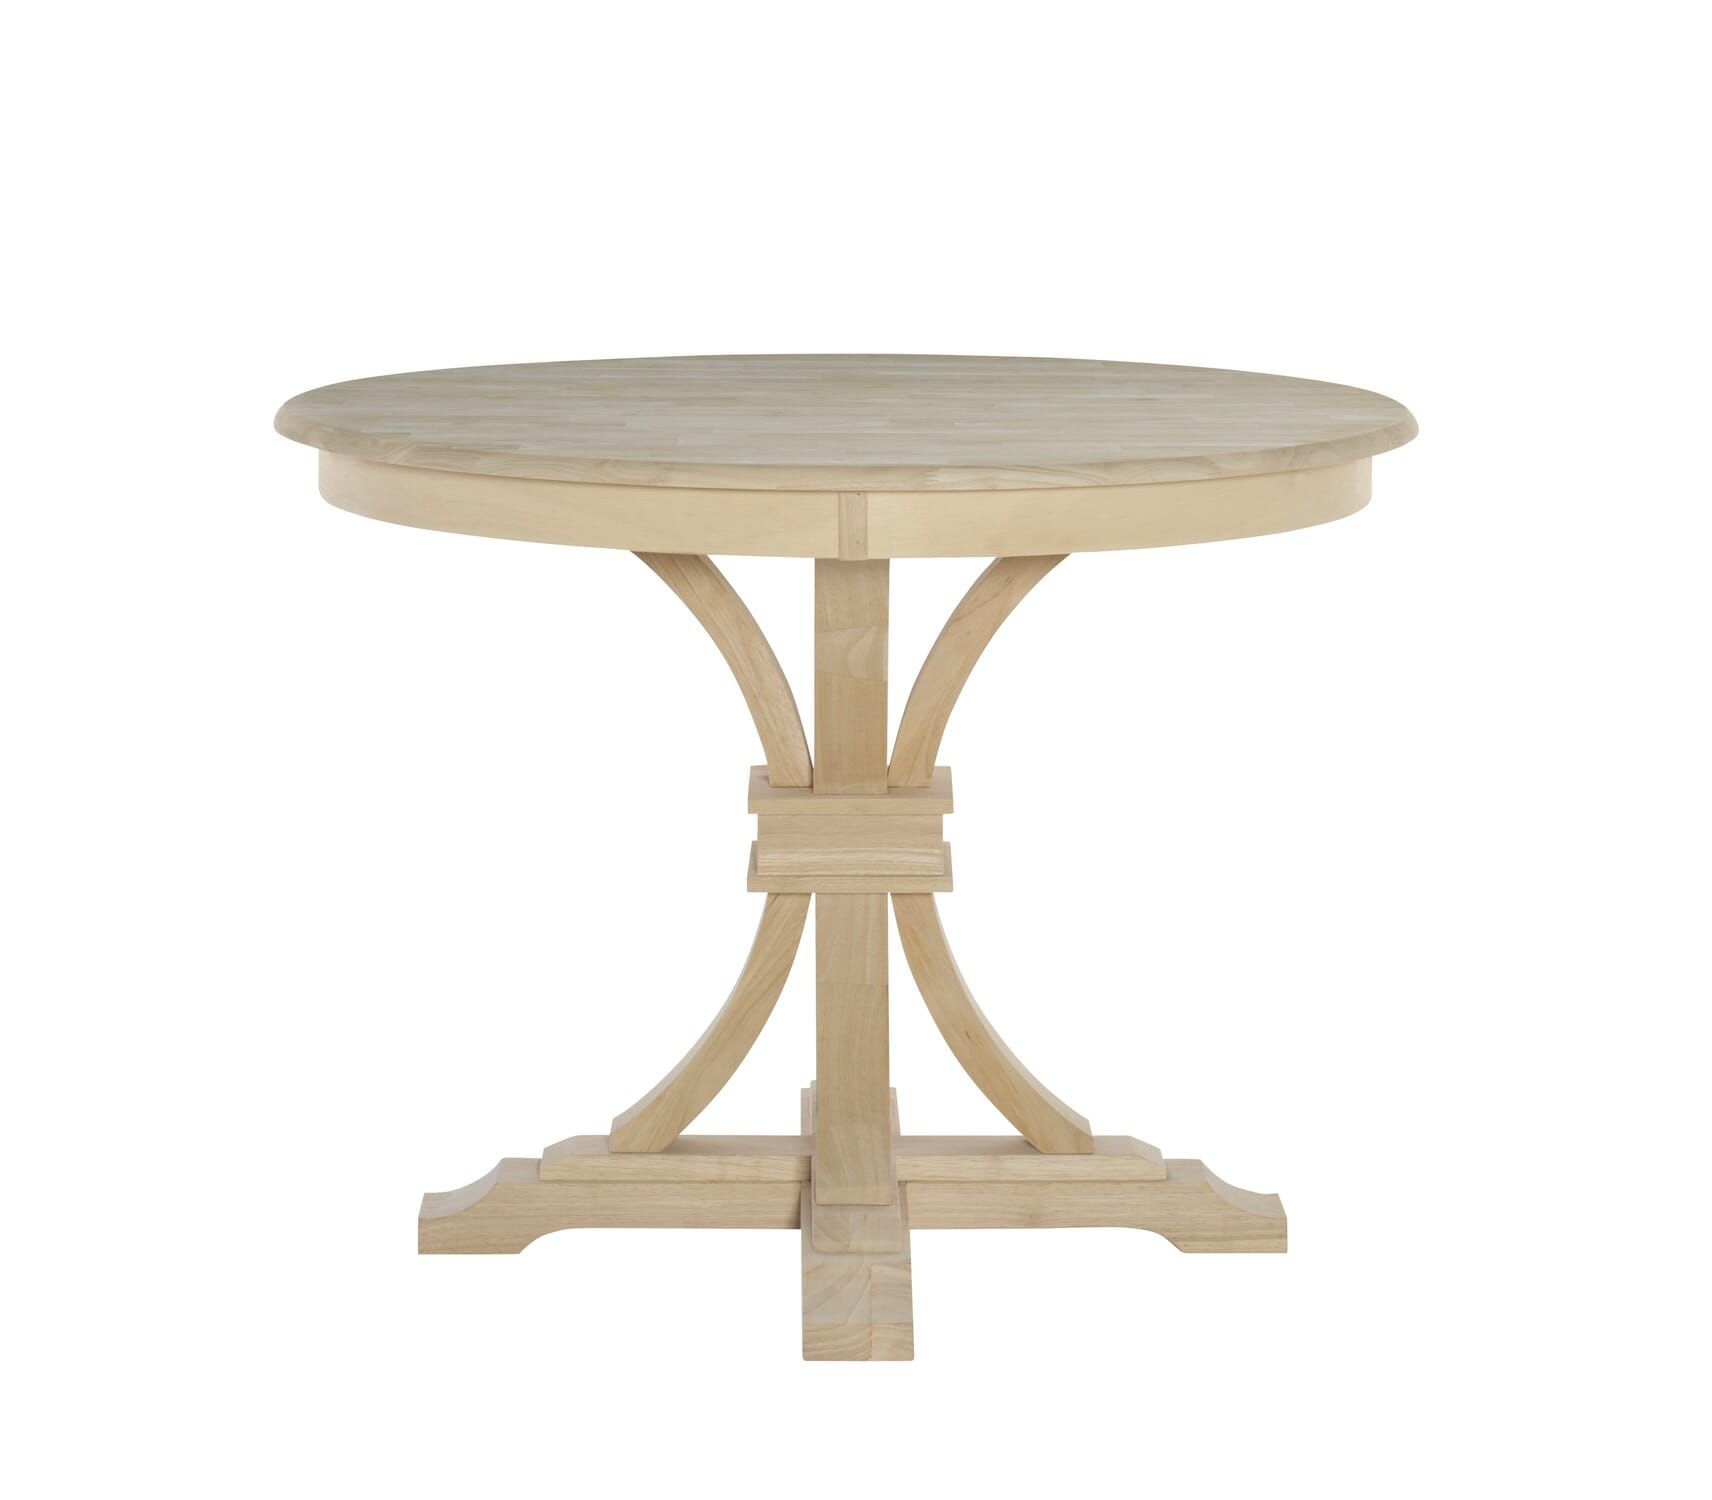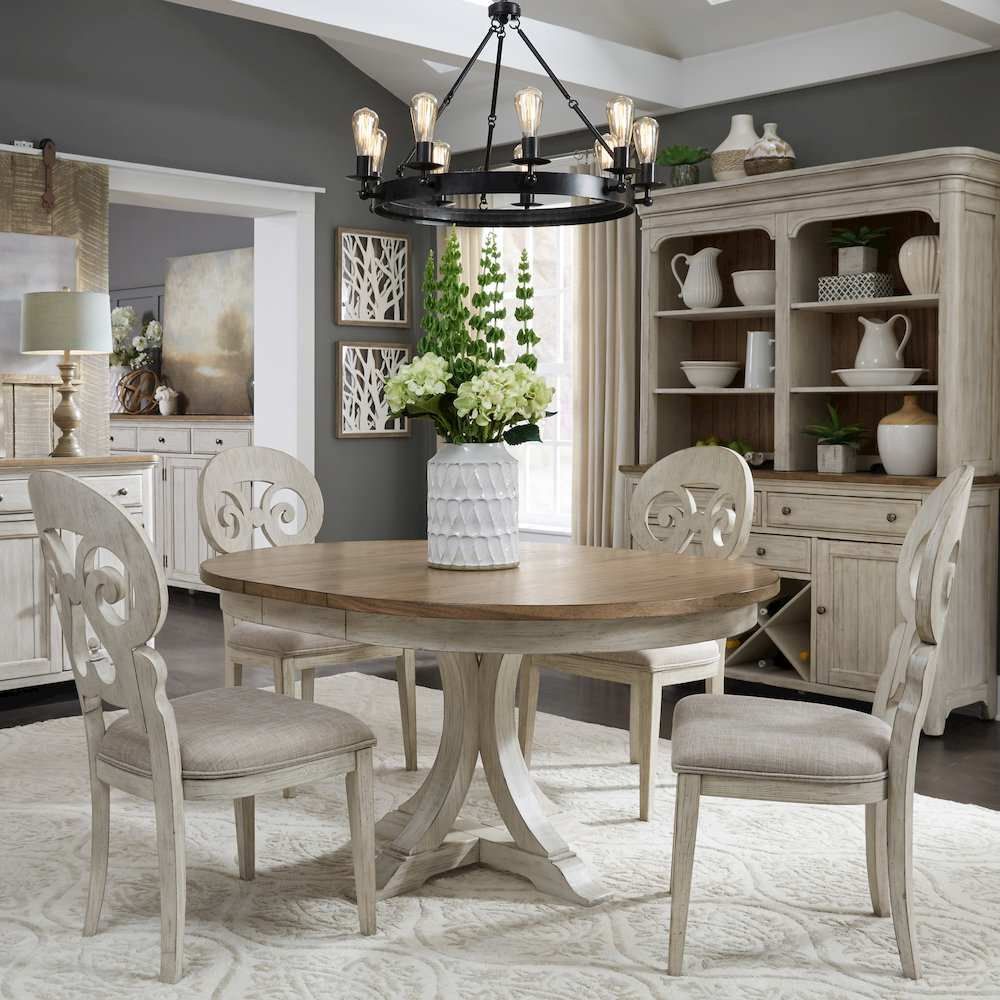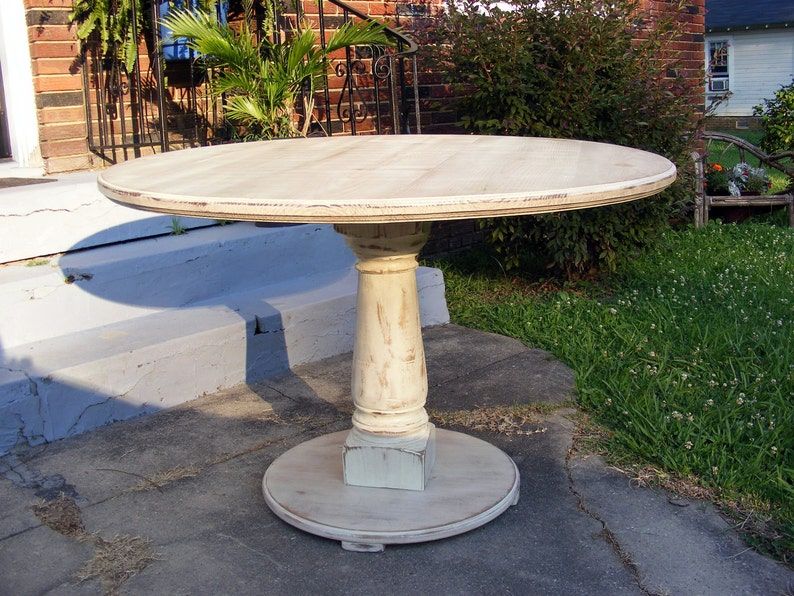
You’ve got this lovely, raw, unfinished 42-inch round pedestal table sitting there. Maybe it’s in your workshop, or perhaps it just arrived from the store, still smelling faintly of fresh-cut lumber. It’s a blank canvas, isn’t it? A waiting masterpiece. For some, this might seem daunting, but for us, the enthusiasts of personal touch and creative expression, it’s an invitation. An invitation to infuse a piece of furniture with your very own spirit and style. This isn’t just about applying a coat of paint or stain; it’s about telling a story, your story, through the grain and the finish. Let’s delve into how we can turn this simple piece of wood into something truly extraordinary.
In a world often filled with mass-produced items, there’s a unique joy and satisfaction in creating something that is uniquely yours. An unfinished 42-inch round pedestal table isn’t just a piece of furniture waiting to be completed; it’s a profound opportunity for artistic expression. Think about it: no pre-set color, no pre-drilled holes for specific hardware, no factory-perfect sheen. It’s raw, it’s real, and it’s ready for your vision. This is where the magic happens, where you get to decide every single detail, from the texture you feel under your fingertips to the specific hue that complements your living space. It’s about making a statement that whispers, ‘This is me,’ rather than shouting, ‘This is what everyone else has.’ So, let’s roll up our sleeves and explore the incredible journey of transforming this humble table into a cherished heirloom.
Understanding Your Canvas: The Wood Itself
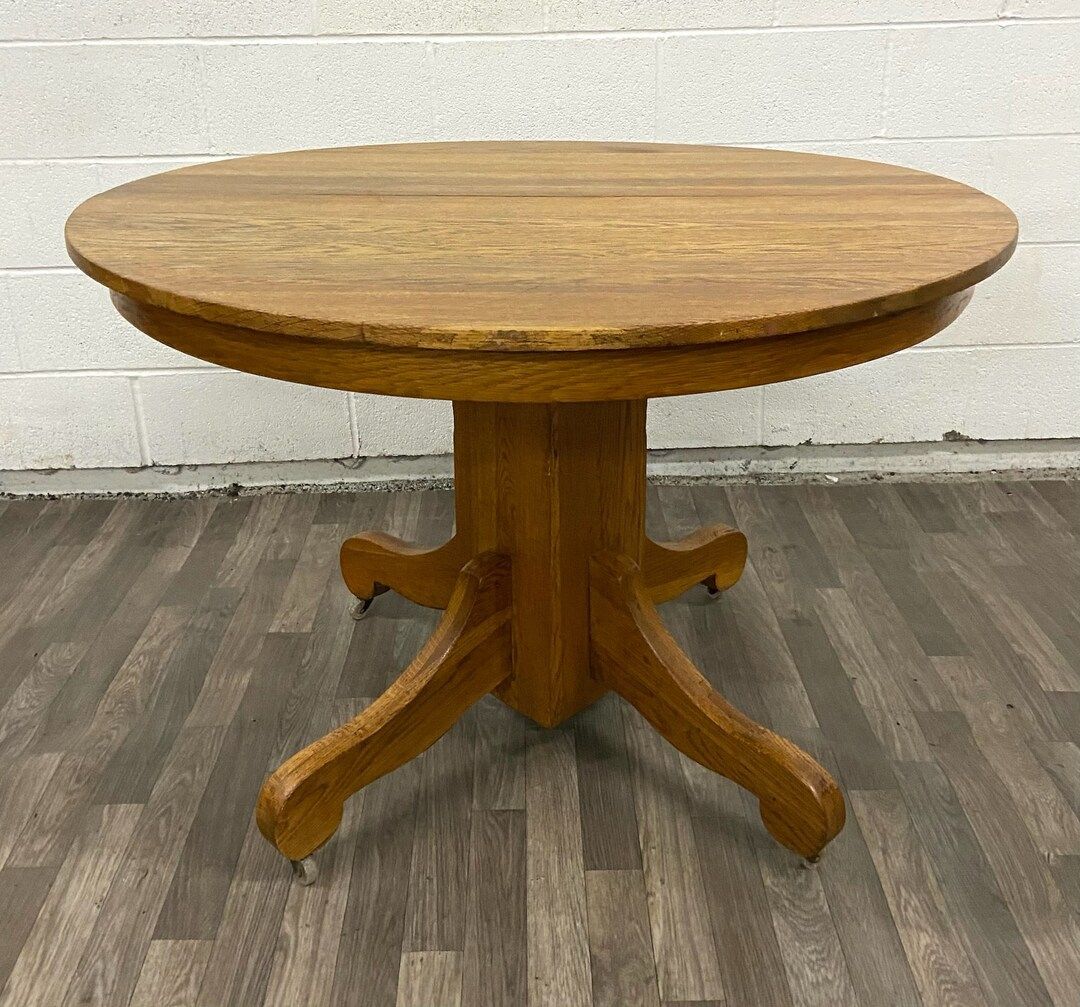
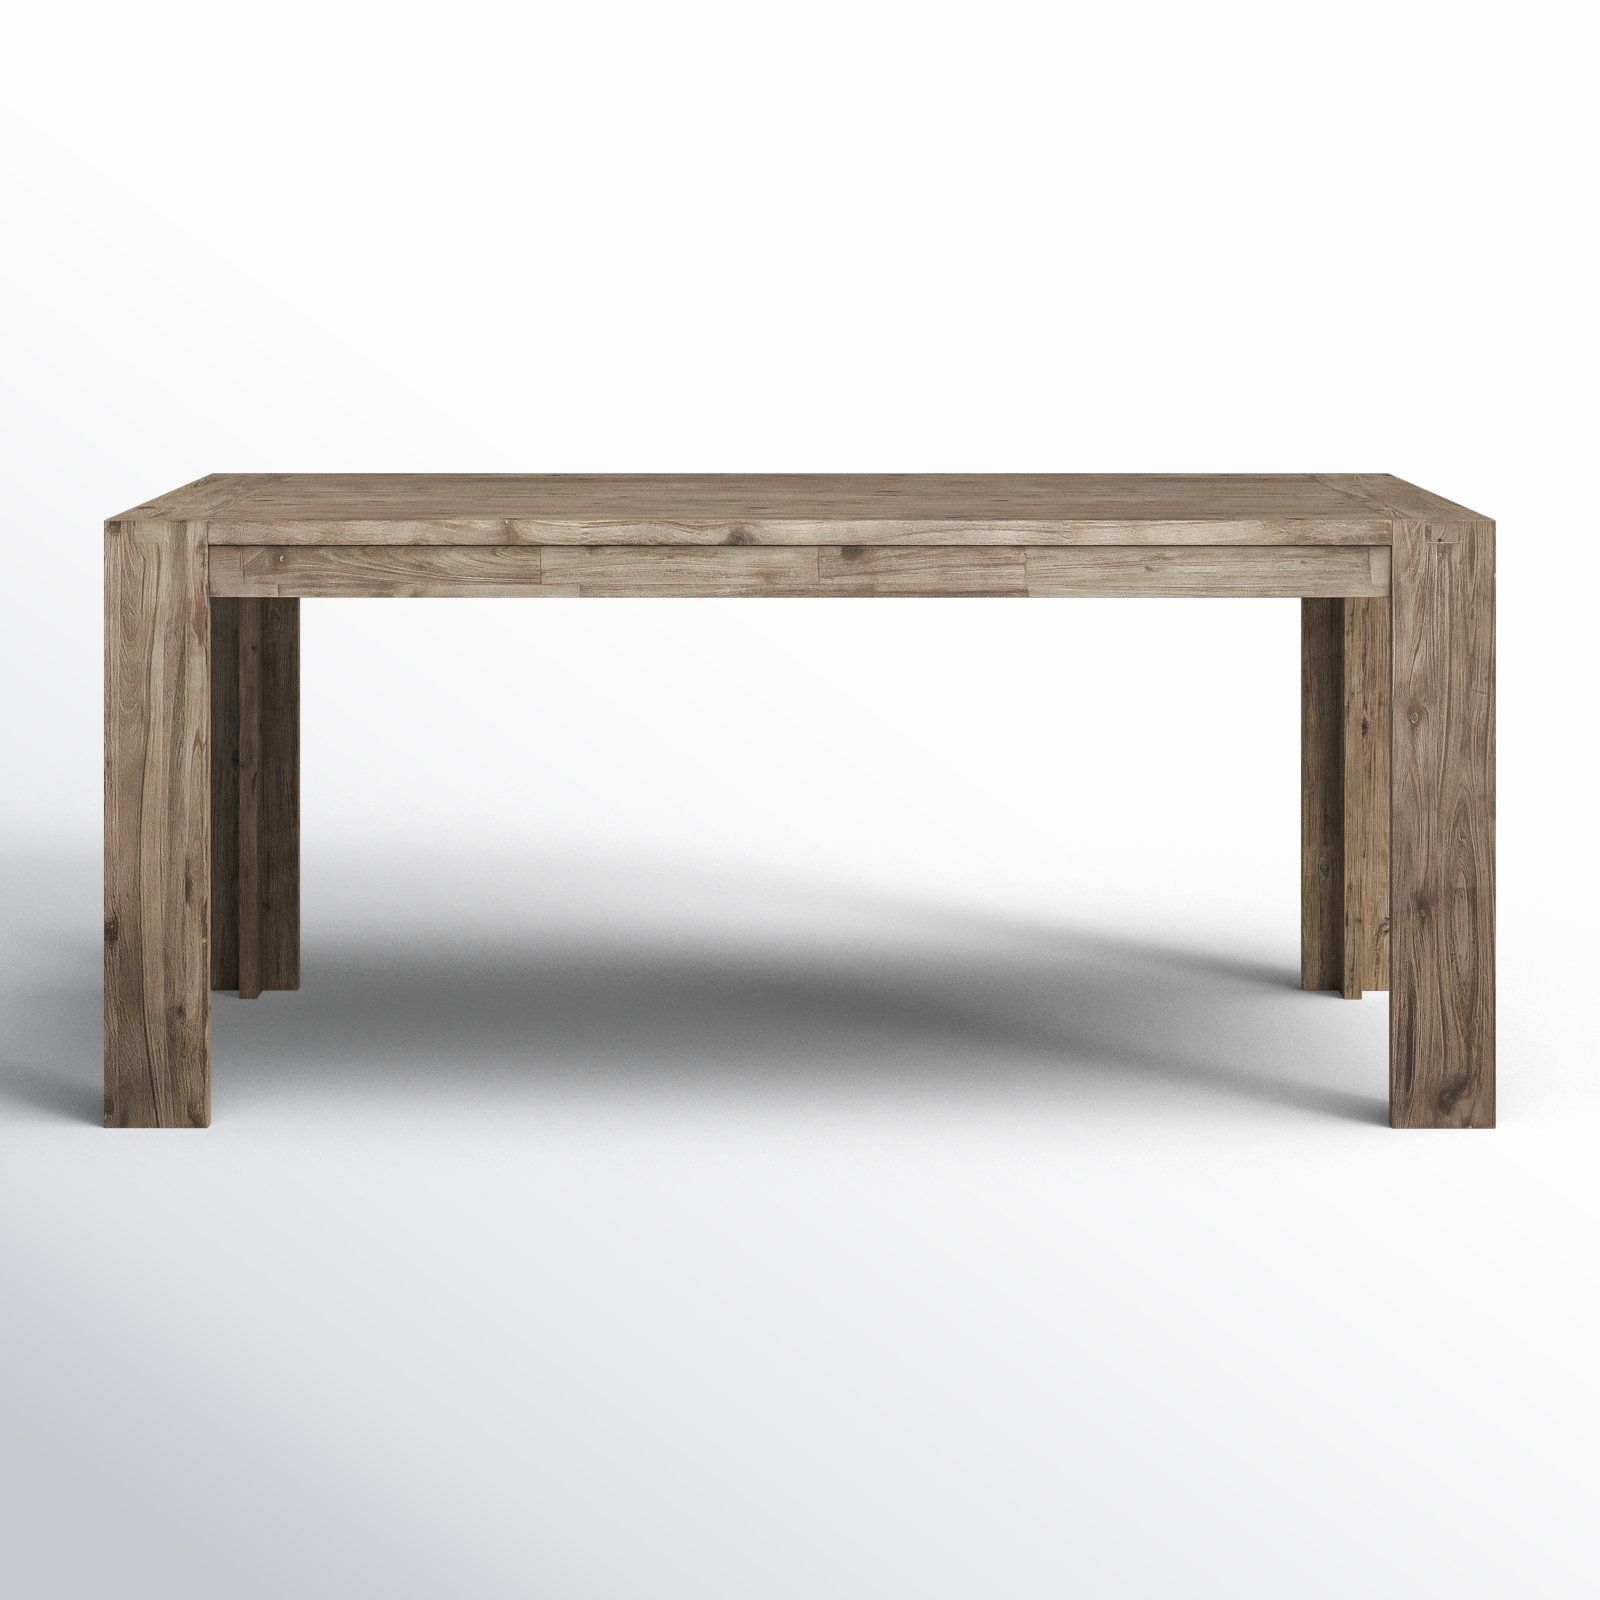
Before you even think about brushes or sandpaper, take a moment to really get to know your table. What kind of wood is it made from? Is it pine, oak, maple, or something else? Each wood type has its own distinct characteristics, and these will greatly influence your finishing choices. For instance, pine is relatively soft and has prominent knots, which can be beautiful if embraced, but might require a pre-stain conditioner to prevent blotchiness. Oak, on the other hand, has a very open grain, perfect for showing off wood grain fillers or glazes. Maple is dense and smooth, making it ideal for a super sleek, modern finish. Knowing your wood type isn’t just a technicality; it’s the first step in a respectful and successful transformation. You wouldn’t paint a watercolor on canvas meant for oils, would you? Similarly, understanding your wood helps you choose the right ‘paint’ for its ‘canvas.’ Poplar, for example, is often used for unfinished tables because it’s affordable and takes paint well, but it might not be the best choice if you’re aiming for a deep, rich stain that highlights natural grain patterns. Take a good look at the grain, feel the surface, and consider how it will interact with different finishes.
The Foundation: Prepping for Perfection
Alright, so you know your wood. Now comes the crucial step of preparation. This is where many people get impatient, but trust me, skimping on prep is like building a house on sand. First up, sanding! And I can’t stress this enough: sand, sand, and then sand some more. Start with a coarser grit sandpaper, like 80 or 100, to smooth out any rough spots or mill marks. Then, gradually move to finer grits – 120, 150, 180, and finally 220. The goal is to achieve a silky-smooth surface. Always sand with the grain, never against it, unless you want visible scratches that will haunt your finished product. After each sanding pass, wipe away all the dust with a tack cloth or a slightly damp cloth. Any dust left behind will get trapped in your finish, creating an uneven, gritty surface. Don’t forget to check for any dings or dents. Small ones can often be ‘steamed out’ with a wet cloth and an iron, while larger ones might need wood filler. Proper preparation ensures that whatever finish you apply will adhere beautifully and look professional. It’s the silent hero of any great DIY project.
Coloring Your World: Stains, Paints, and Beyond
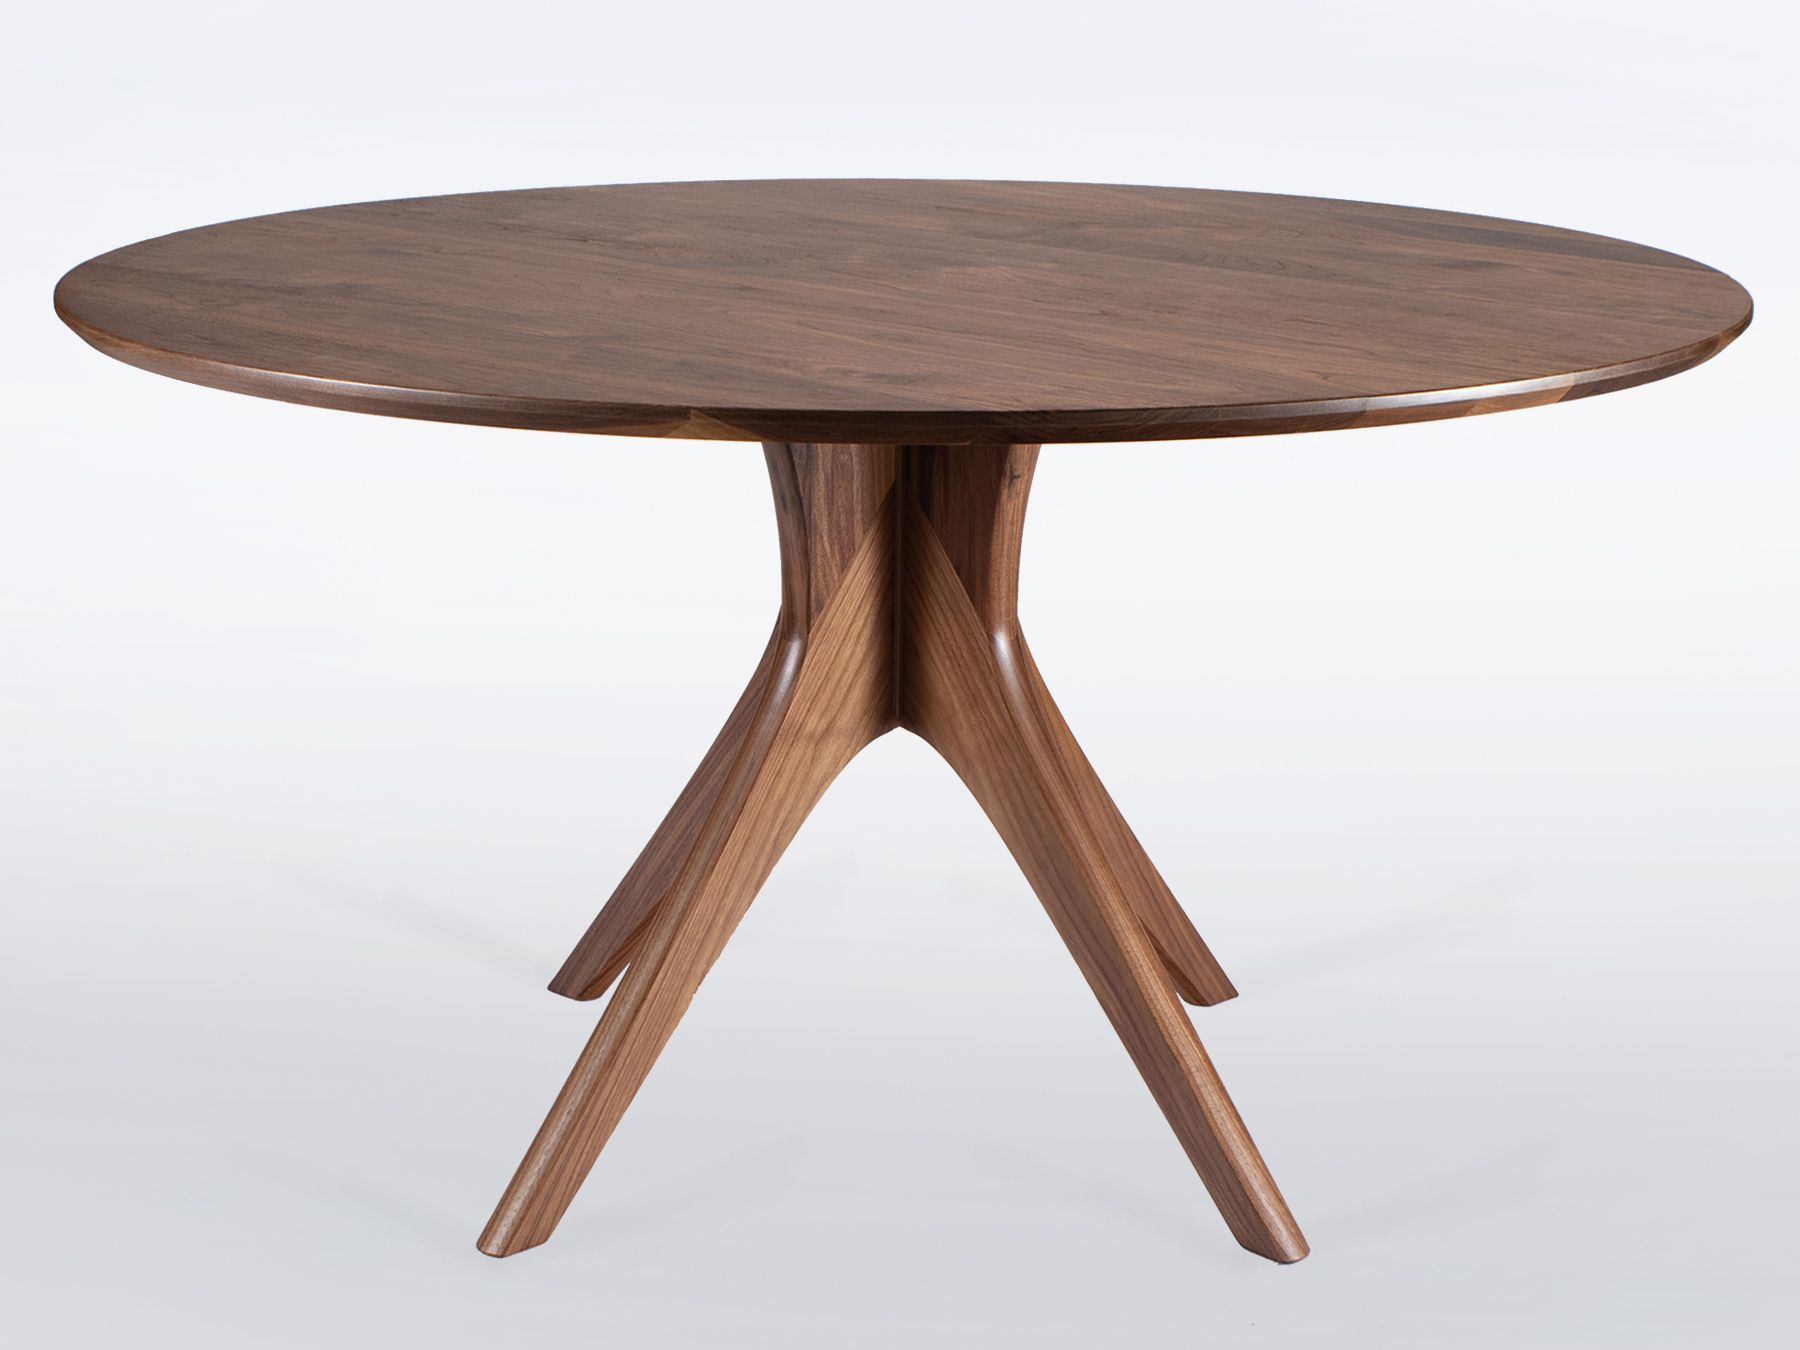
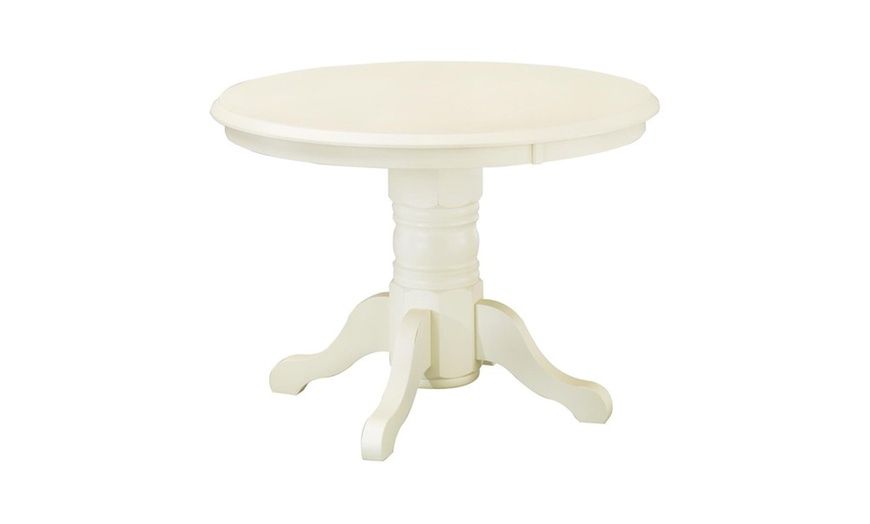
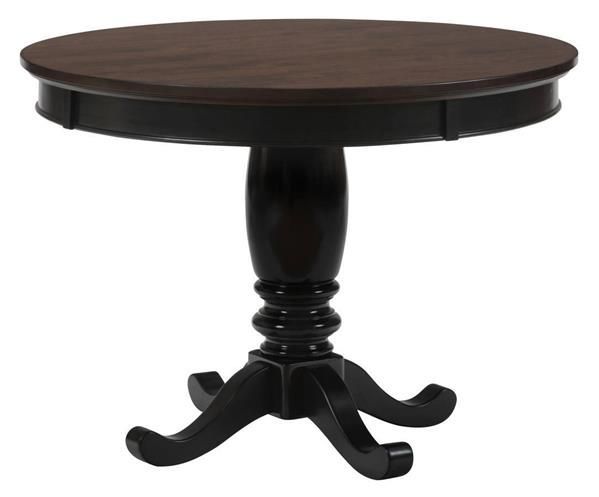
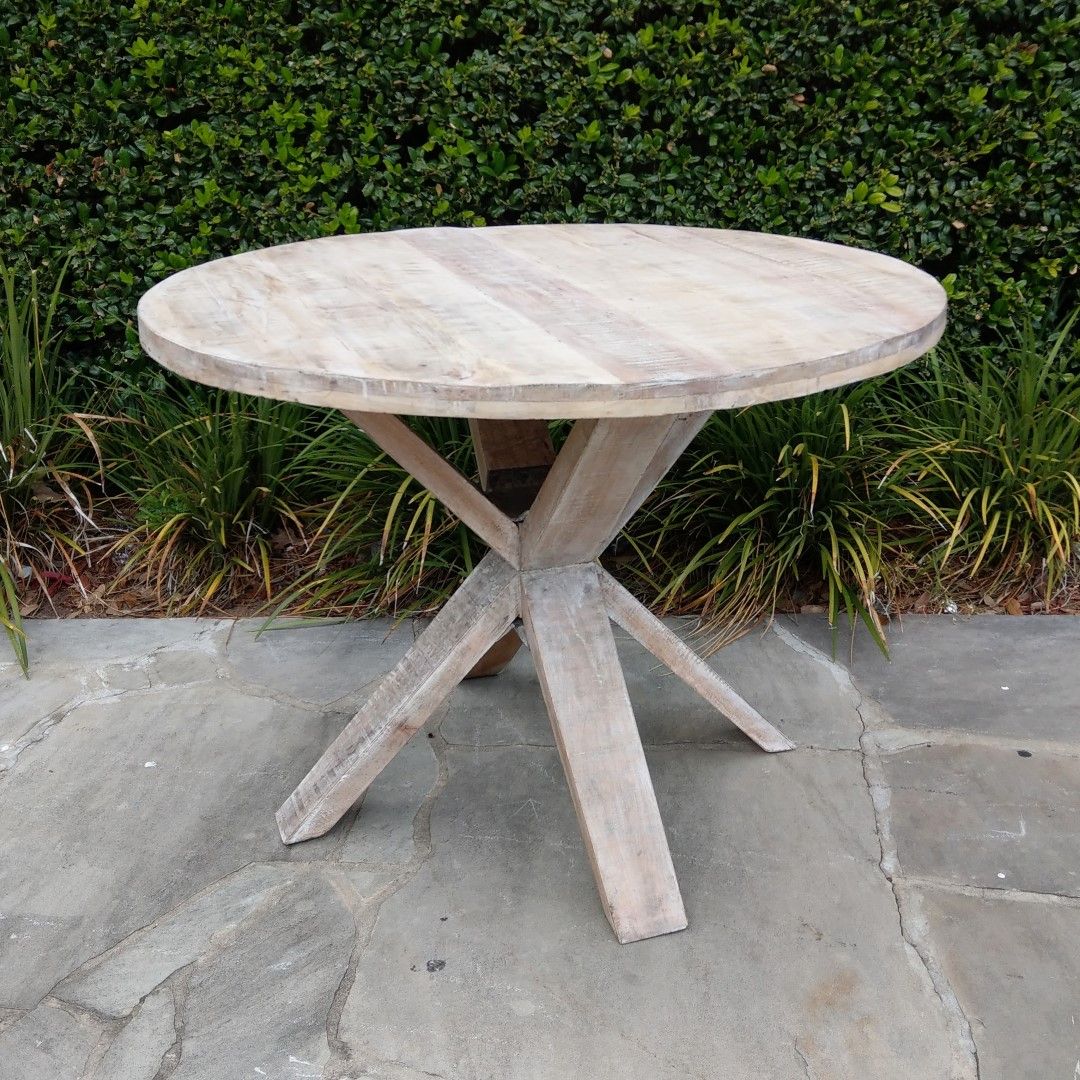
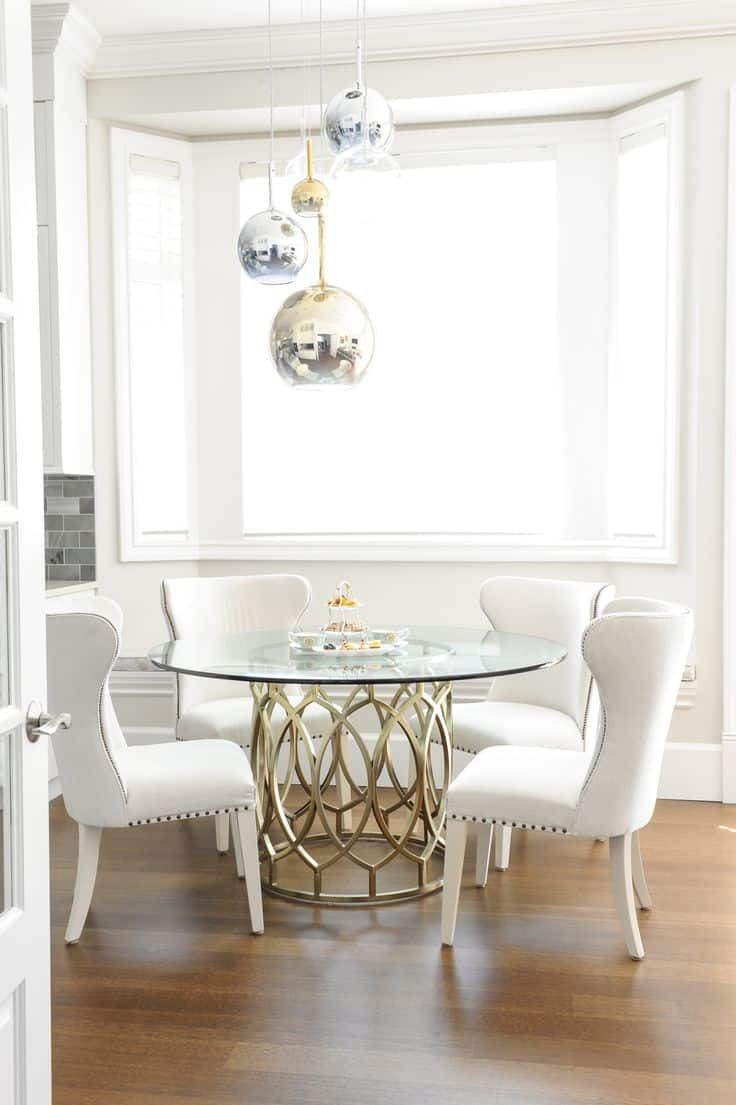
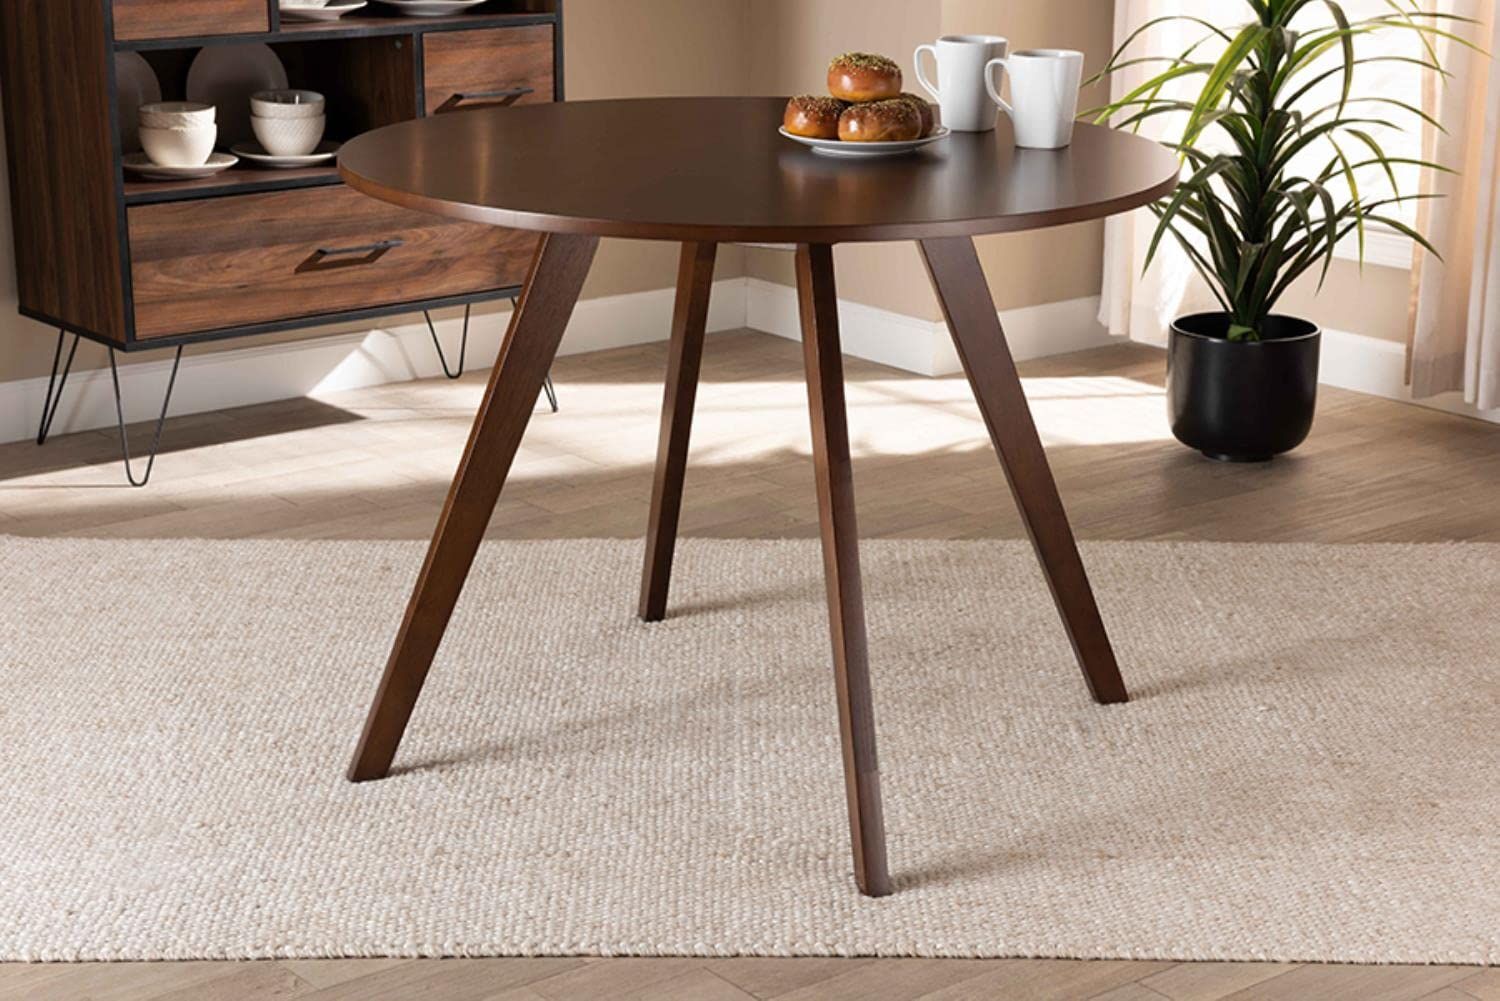
This is where the fun really begins! You have a plethora of options for adding color and character to your table. Do you want to highlight the natural beauty of the wood, or completely transform its look? If you’re leaning towards showcasing the grain, wood stains are your best friend. They come in a vast array of shades, from light natural tones to deep, rich espressos. Always test your stain on an inconspicuous area first, like the underside of the tabletop, to see how it looks on your specific wood. Remember, the wood itself has its own undertones that will interact with the stain. For a more opaque, bold look, paint is an excellent choice. You can go classic white, a vibrant pop of color, or even try a distressed, shabby chic look. Chalk paint, milk paint, and latex paint all offer different finishes and application methods. And don’t forget about other creative options like whitewashing for a light, airy feel, or even using a wood burning tool for intricate designs. The possibilities are truly limitless here. Consider the overall aesthetic of the room where the table will reside. Will it be a focal point, or blend seamlessly into the background? Let your imagination run wild, but keep practicality in mind too.
Protecting Your Masterpiece: Topcoats and Durability
You’ve put in all this effort, so the last thing you want is for your beautiful table to be ruined by spills or scratches. A durable topcoat is absolutely essential for protecting your investment and ensuring its longevity. There are several popular options, each with its own pros and cons. Polyurethane is a very common choice, offering excellent durability and resistance to water and abrasion. It comes in oil-based and water-based formulas, with water-based being easier to clean up and less odorous. Varnish provides a hard, protective finish, often used on outdoor furniture due to its UV resistance, but it’s also great for indoor pieces that see a lot of wear and tear. Lacquer dries quickly and provides a very smooth, professional-looking finish, though it can be a bit more challenging to apply for beginners. For a more natural, low-sheen look, tung oil or linseed oil can penetrate the wood, offering protection while enhancing the natural beauty of the grain. Consider how the table will be used. Is it for daily meals with kids, or an occasional-use display piece? The answer will guide your topcoat selection. Always apply multiple thin coats, sanding lightly between each one for the best adhesion and a super smooth finish. This step is about sealing in all your hard work and making sure your table can withstand the rigors of daily life.
Adding Flair: Embellishments and Details
Now that the main finish is done, it’s time to add those little touches that truly make your table one-of-a-kind. This is where your personality can really shine through. Consider stenciling a delicate pattern around the edge of the tabletop or on the pedestal base. You can use contrasting colors or even metallic paints for a bit of sparkle. Decoupage is another fantastic option; imagine applying antique maps, botanical prints, or even personal photos to the tabletop and then sealing them with a clear topcoat. For a truly unique texture, try adding decorative trim or molding to the edge of the table or the pedestal. If you’re feeling adventurous, you could even inlay small pieces of contrasting wood or mother-of-pearl for an elegant touch. Don’t forget about the underside of the table either! A surprising pop of color or a hidden message painted underneath can be a delightful secret. These small details are often what elevate a good project to a truly great one. They show thoughtfulness and attention to detail, transforming a functional object into a piece of art.
Maintenance and Enjoyment: Keeping Your Table Beautiful
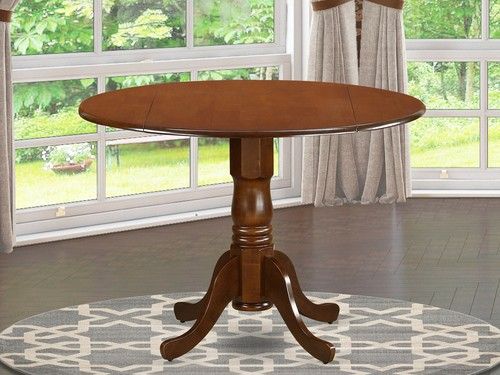
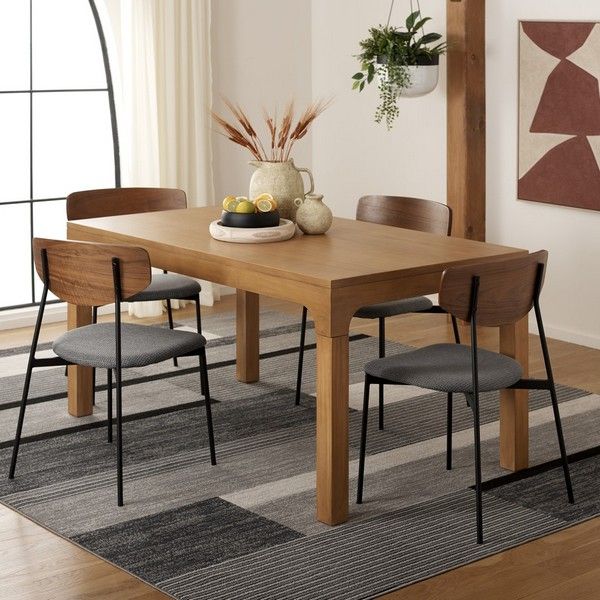
You’ve poured your heart and soul into personalizing your 42-inch round pedestal table, and now it’s time to enjoy it! But like any cherished item, it will benefit from a little ongoing care. The type of maintenance will depend largely on the finish you chose. For most polyurethaned or varnished surfaces, a simple wipe-down with a damp cloth is usually sufficient. Avoid harsh chemical cleaners, as these can dull or even damage the finish over time. For oil-finished tables, periodic reapplication of oil might be necessary to keep the wood nourished and protected. Always use coasters for drinks and placemats for hot dishes to prevent water rings and heat damage. If scratches or dings do occur, don’t despair! Many minor imperfections can be touched up with a little patience and the right products. Embrace the natural patina that develops over time; it tells the story of your table’s life and the memories made around it. Your personalized table isn’t just furniture; it’s a living piece of your home, meant to be used, admired, and loved for many years to come.
Transforming an unfinished 42-inch round pedestal table is more than just a DIY project. It’s an act of creation, a journey of discovery, and a powerful way to infuse your living space with your unique personality. From carefully selecting the wood to the final protective coat, every step is an opportunity to express yourself. The beauty lies not just in the finished product, but in the process itself – the sanding, the staining, the painting, the little imperfections that make it truly human. This table will become a focal point in your home, a conversation starter, and a testament to your creativity and dedication. So, go forth, embrace the challenge, and craft a table that isn’t just functional, but a genuine reflection of who you are. It’s not just a table; it’s your legacy, standing proudly in your home.