Bronze casting, a process as old as civilization itself, continues to captivate artists and art enthusiasts alike. It’s a journey from concept to a tangible piece, a testament to human creativity and skill. This article will be your guide, offering a comprehensive look at this fascinating craft, perfect for anyone eager to delve into the world of bronze.
We’ll navigate the history, the techniques, and the challenges, all while equipping you with the knowledge to start your own bronze adventures. Get ready, because it’s going to be quite a ride.
So, you’re curious about bronze casting? Excellent choice. It’s a medium that allows for incredible detail, durability, and a truly timeless quality. But where do you begin? Don’t worry, it’s not as intimidating as it might seem. This guide will break down the process, explain the key steps, and help you understand what it takes to bring your artistic vision to life in bronze. Whether you’re a seasoned sculptor or a complete novice, there’s a place for you in the world of bronze casting. Let’s get started and turn those ideas into something real, something enduring.
A Brief History: Bronze Through the Ages
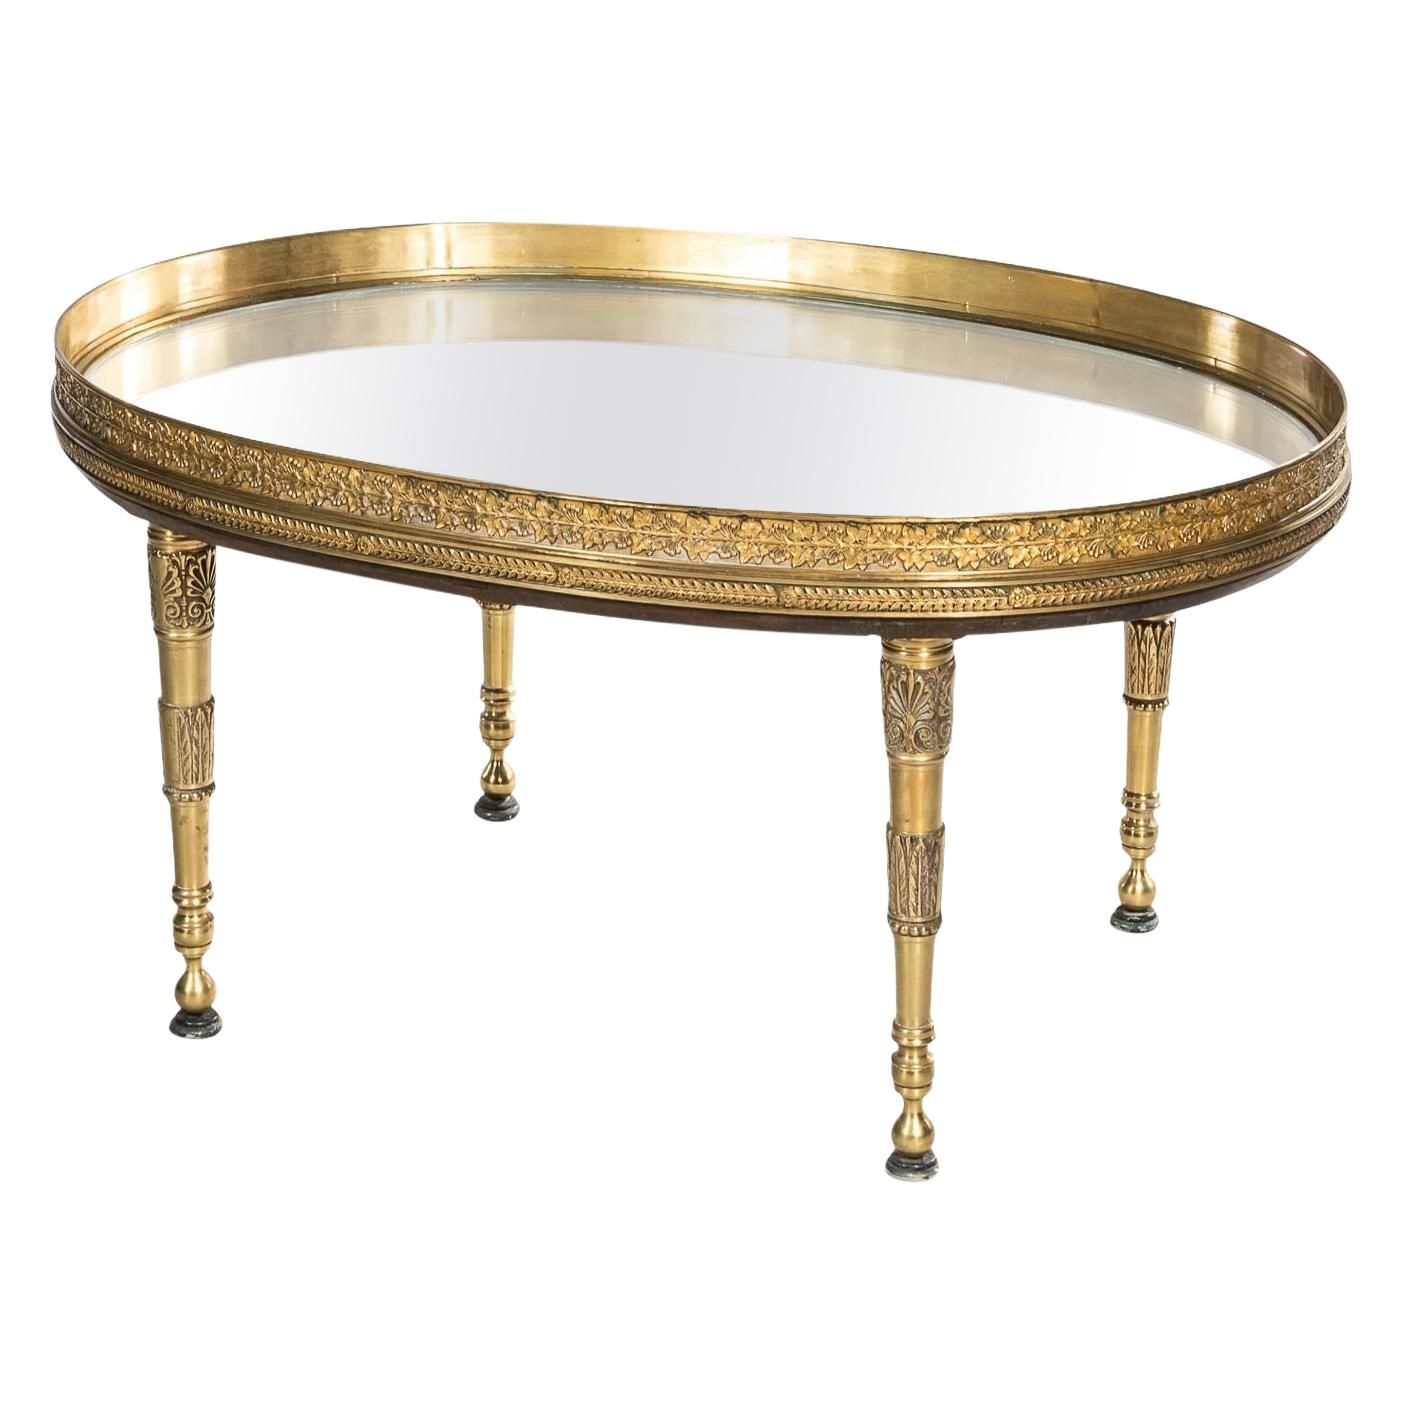
Bronze casting is ancient. We’re talking thousands of years. It dates back to the Bronze Age, of course, when humans discovered the magic that happens when copper and tin come together. Early civilizations used bronze for tools, weapons, and, of course, art. Think of the incredible bronze statues of ancient Greece and Rome – they’re still around, a testament to the material’s strength and beauty. And it wasn’t just the Greeks; cultures all over the world, from China to Africa, embraced bronze for its versatility and lasting power. Understanding this history gives you a deeper appreciation for the process and the legacy you’re joining.
The Lost-Wax Method: The Core of Bronze Casting
The lost-wax method, also known as cire perdue in French, is the heart and soul of most bronze casting. Here’s how it generally works:
- Creating the Original: You begin with a model, often made of clay, wax, or another material. This is your initial design.
- Making a Mold: A mold is made around your model, usually using a rubber-like material. This mold captures all the details.
- Wax Reproduction: Molten wax is poured into the mold, creating a wax copy of your original model.
- Spruing: Wax rods (sprues) are attached to the wax copy. These act as channels for the molten bronze to flow through and vents for air to escape.
- Investment: The wax copy, complete with sprues, is then covered in a ceramic material, creating a robust mold.
- The Burnout: The mold is heated, melting out the wax (hence, "lost-wax") and leaving a hollow space.
- Pouring the Bronze: Molten bronze is poured into the mold, filling the space where the wax once was.
- Cooling and Finishing: Once the bronze cools and solidifies, the mold is broken away. The sprues are removed, and the bronze piece is cleaned, chiseled, and polished. That’s when the real magic happens.
Materials and Equipment: What You’ll Need
Getting started requires a few essential tools and materials. Here’s a basic list:
- Wax: For creating or reproducing your designs.
- Clay: For initial models and mold making.
- Mold-Making Materials: Rubber, plaster, or other materials to create the molds.
- Ceramic Investment: The material that forms the final mold.
- Crucible: A heat-resistant container for melting the bronze.
- Furnace: To heat the crucible and melt the bronze (this can be a gas or electric furnace).
- Bronze Ingots: The raw material, typically an alloy of copper and tin.
- Safety Gear: Crucial. This includes a respirator, safety glasses, heat-resistant gloves, and a well-ventilated workspace.
- Tools: Chisels, hammers, files, and polishing tools for finishing.
Remember, the specific equipment will vary depending on the size and complexity of your projects. Always prioritize safety. Wear your safety gear. Always. It is important. And be sure to do your research on the best equipment for your needs.
Step-by-Step: From Wax to Bronze
Let’s walk through a simplified version of the casting process:
- Model Creation: Create your initial model, either by sculpting directly in wax or using clay and then making a wax replica.
- Mold Making: If starting with clay, create a mold. Then, create a wax copy.
- Spruing: Attach sprues to your wax copy to create channels for the bronze.
- Investment: Dip the wax copy, with sprues, into the ceramic investment, creating a shell.
- Burnout: Place the invested mold in a kiln to melt out the wax and harden the ceramic.
- Melting the Bronze: Melt the bronze ingots in your crucible, using the furnace. Make sure the metal reaches the right temperature.
- Pouring: Carefully pour the molten bronze into the mold.
- Cooling: Let the bronze cool and solidify.
- Breaking the Mold: Once cooled, break away the ceramic mold to reveal your bronze casting.
- Finishing: Remove sprues, clean the surface, and polish the bronze to the desired finish. This is where your artistic vision truly shines through.
Troubleshooting: Common Challenges and Solutions
Bronze casting can be tricky, and it’s normal to encounter problems. Here are a few common ones:
- Air Pockets: These can form if air gets trapped in the mold during pouring. Make sure your sprues are positioned correctly and that the bronze flows smoothly.
- Cracks: These can occur if the mold isn’t strong enough or if the bronze cools too quickly. Ensure your investment is properly prepared and that you allow for slow cooling.
- Porosity: This can result from gas bubbles in the bronze. Ensure your bronze is degassed properly before pouring.
- Mold Cracking: This can happen if the mold isn’t properly fired or if the bronze is poured at too high a temperature. Follow the manufacturer’s instructions for your investment material.
- Incomplete Casting: This means the bronze didn’t fill all areas of the mold. Ensure the sprues are correctly positioned and that the bronze is hot enough. It takes practice, so don’t get discouraged. Everyone makes mistakes. Learn from them, and keep going.
Beyond the Basics: Advancing Your Skills
Once you’ve mastered the fundamentals, there’s a whole world of techniques to explore:
- Patination: Applying chemicals to the bronze to create different colors and textures.
- Welding: Joining bronze pieces together, to create larger or more complex sculptures.
- Chasing and Repoussé: Refining the details of the bronze with hammers and punches.
- Sand Casting: A different method for casting, suitable for larger pieces or simpler shapes. This is an alternative to the lost-wax method.
- Working with Foundries: If you’re ready for larger projects or need specialized equipment, consider collaborating with a professional bronze foundry. This can open up exciting new possibilities for your artwork. Constant learning is key to evolving as an artist. Never stop exploring and experimenting. You’ll discover new techniques and approaches that will deepen your love for the art.
Bronze casting is an art form that blends history, skill, and creativity. It’s a journey of learning, experimentation, and ultimately, the creation of something enduring. From the historical roots to the modern techniques, bronze casting offers a unique and rewarding experience for artists of all levels. Start small, learn the basics, and don’t be afraid to experiment. The beauty of bronze casting lies not only in the final product, but in the process itself. So gather your materials, put on your safety gear, and get ready to transform your vision into a timeless work of art. The world of bronze awaits, and your artistic adventure starts now. Good luck, have fun, and keep creating.