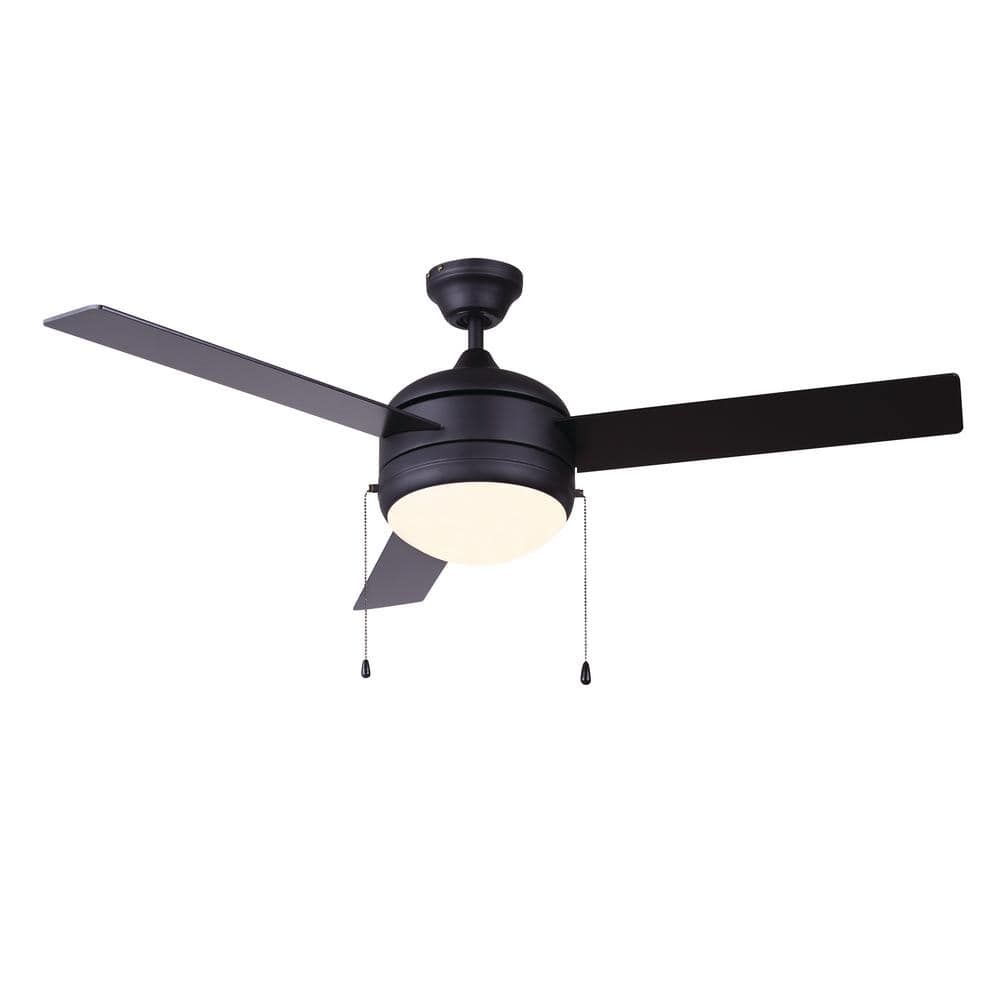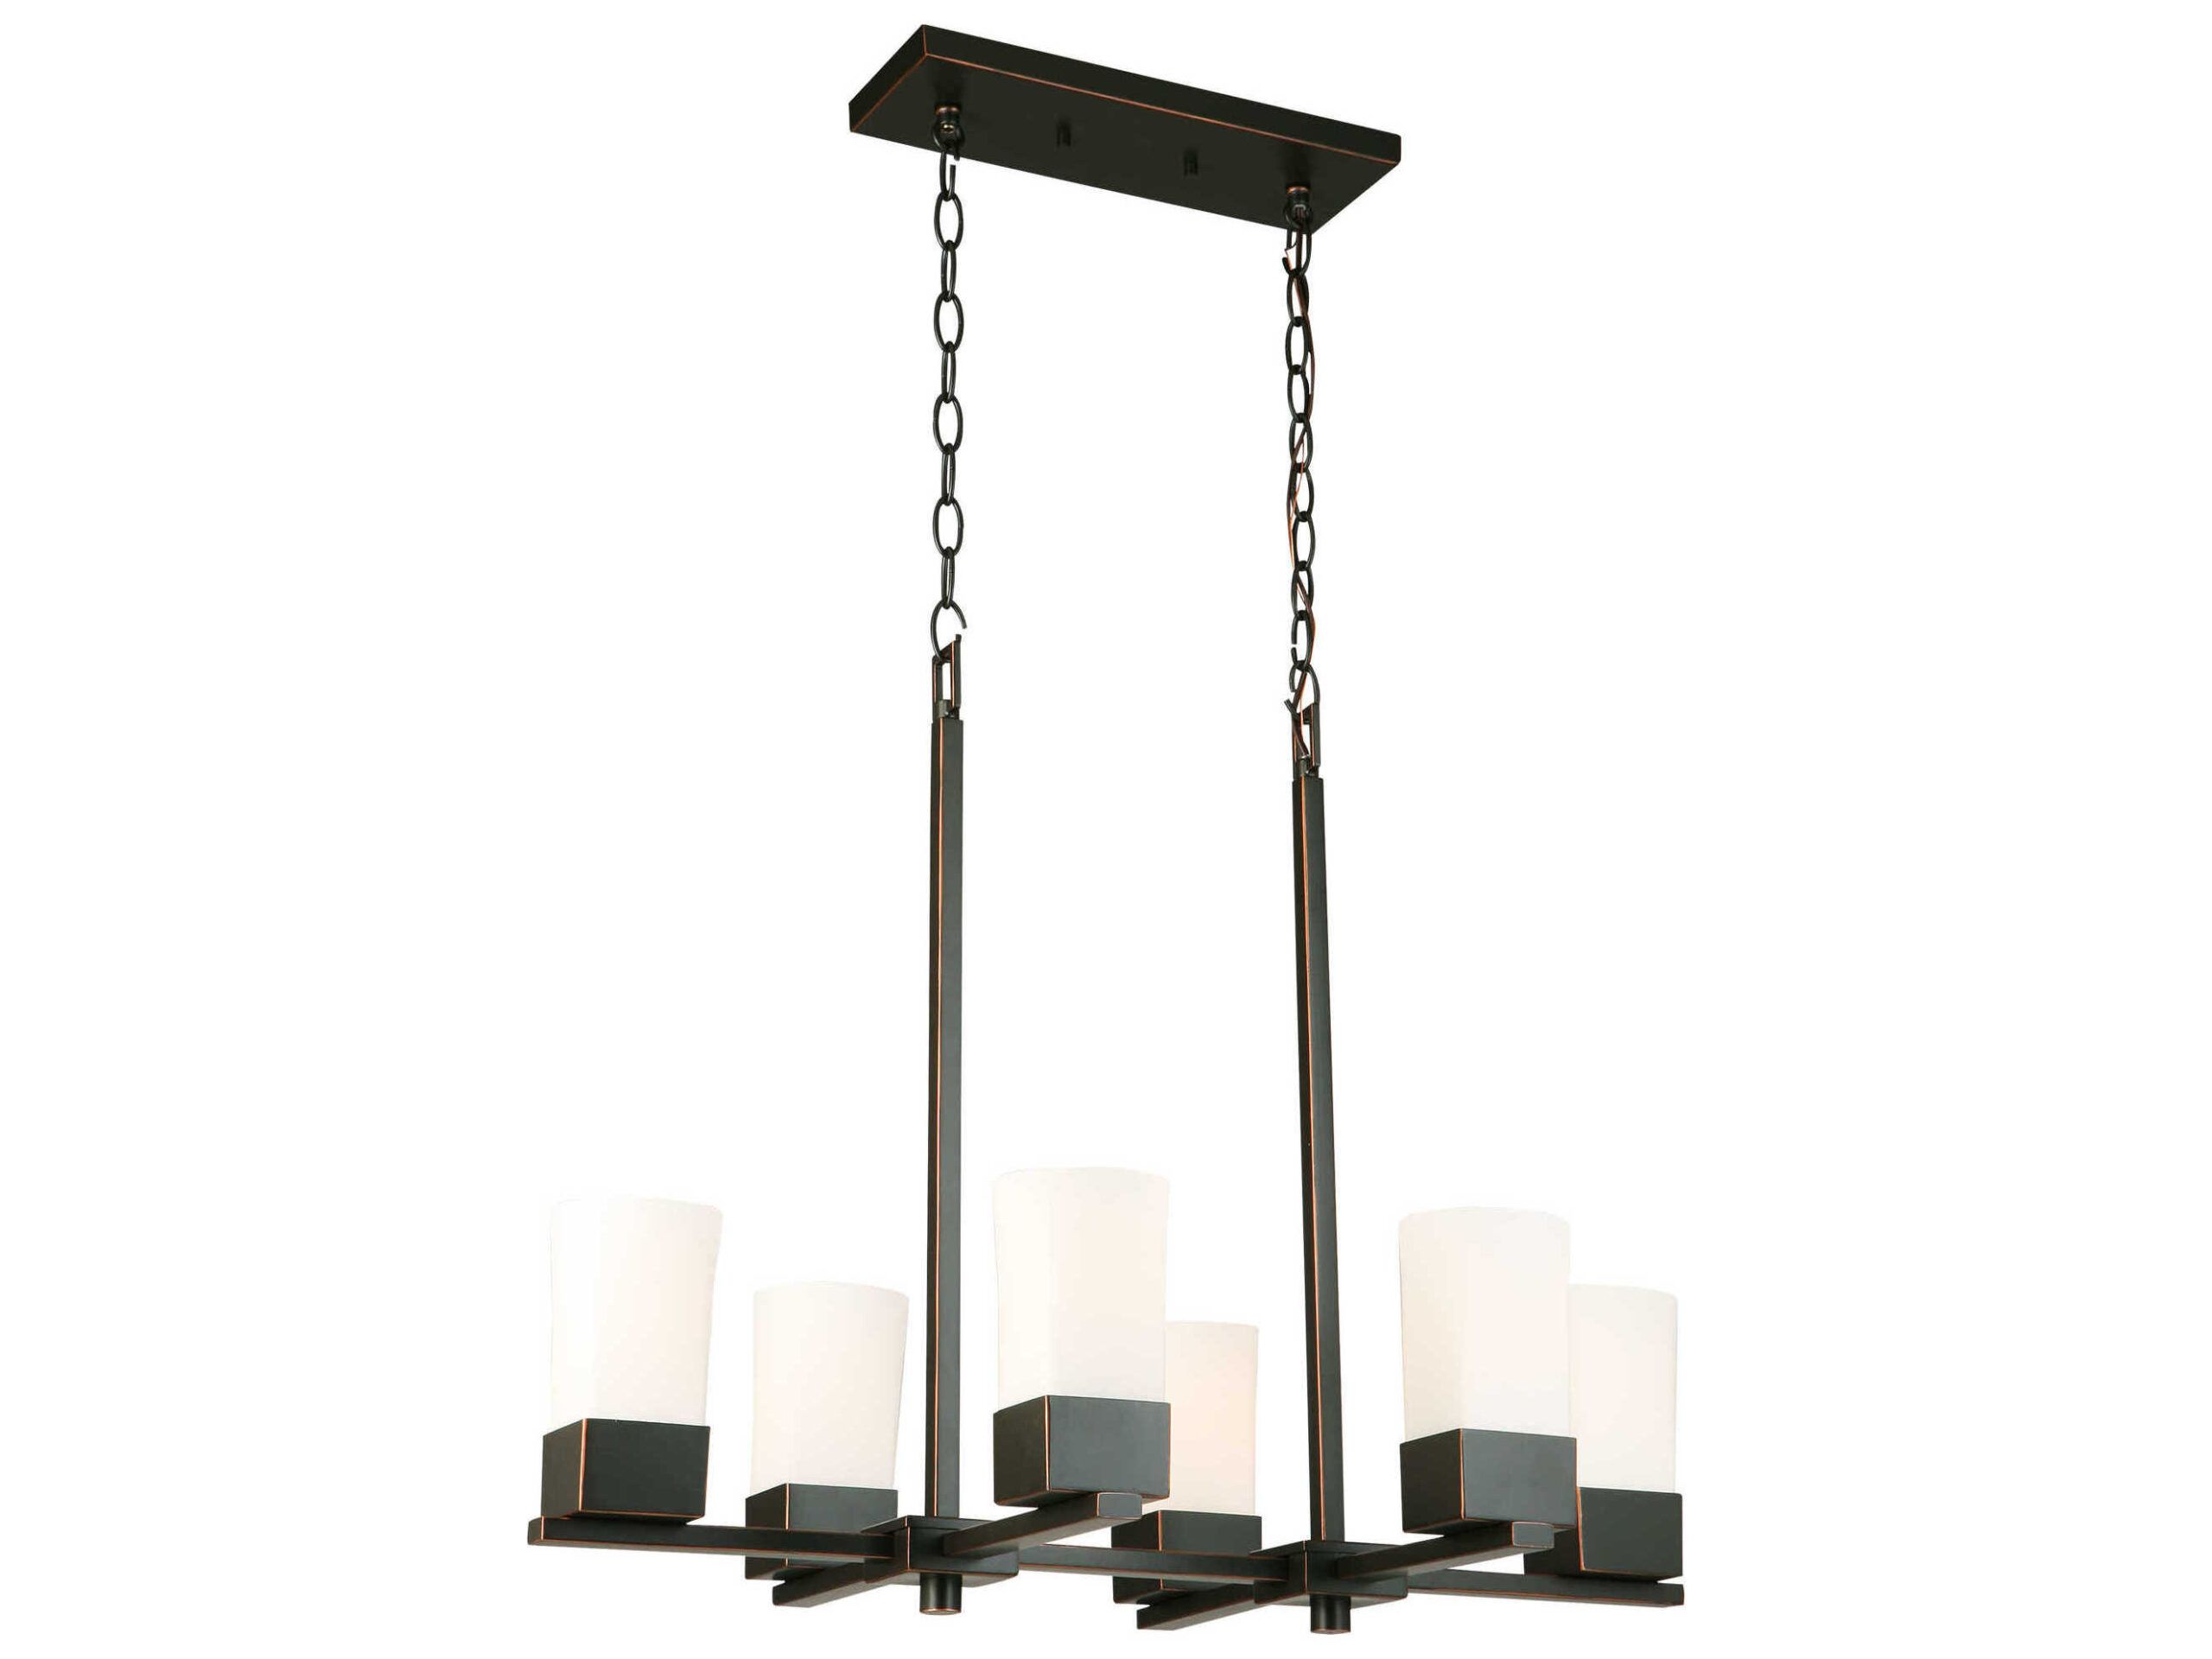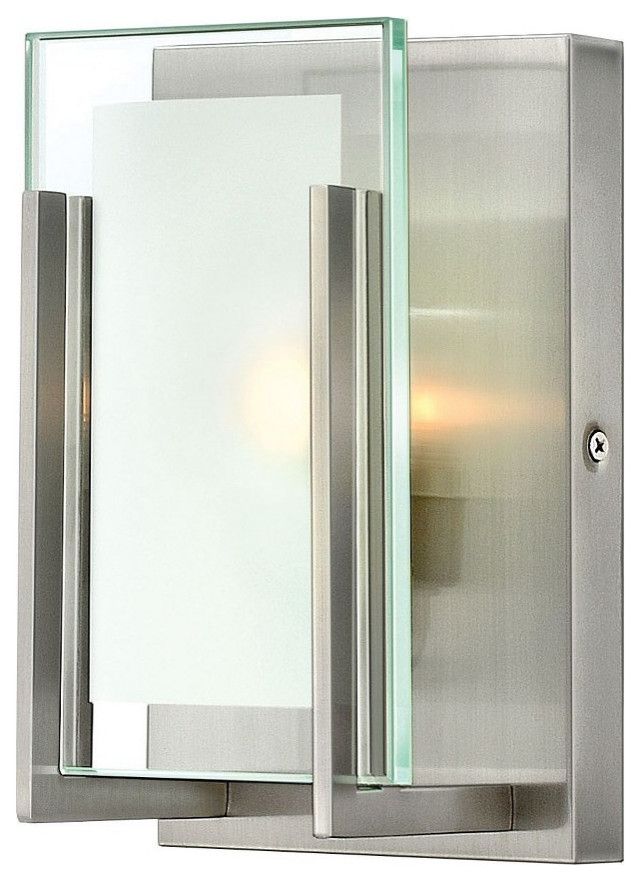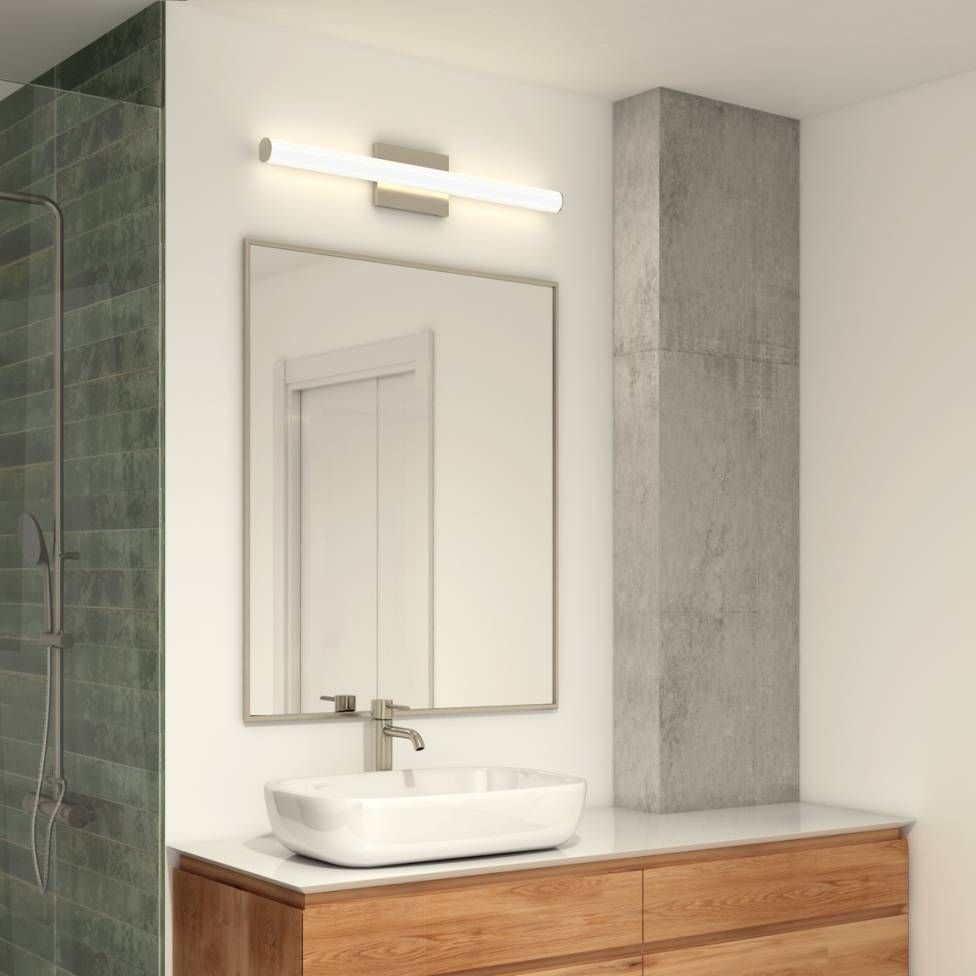
Hey there, fellow lighting lovers. I’m here to help, and today, we’re rolling up our sleeves to tackle some typical snags you might be hitting with your Canarm IVL259A03 fixture. This is one of those fixtures that looks great when it’s working right, but can be a little… temperamental, at times. Don’t worry though; most problems have straightforward solutions. Whether it’s flickering, not turning on at all, or something in between, we’ll break it down, step by step, so you can get your space illuminated again. And, of course, and keep it real, no jargon, just practical advice you can use, right now.
Before we dive in, let’s quickly chat about the Canarm IVL259A03 itself. This fixture is known for its sleek design and the nice light it provides, but like any piece of tech, it can have its moments. Common complaints include flickering, the fixture not working at all, or maybe just parts of the light not functioning as they should. But don’t get discouraged! We’re going to go through the most common issues, offer some simple explanations, and then give you the how-to steps to get things back in tip-top shape. Think of this as your go-to troubleshooting manual.
The Flickering Fiasco: Why Your Lights Dance
Flickering is, without a doubt, one of the most frequent problems people encounter. This might be caused by a few things.
- Loose Connections: Sometimes, the wires connecting to the fixture get a little loose over time. This interrupts the flow of electricity.
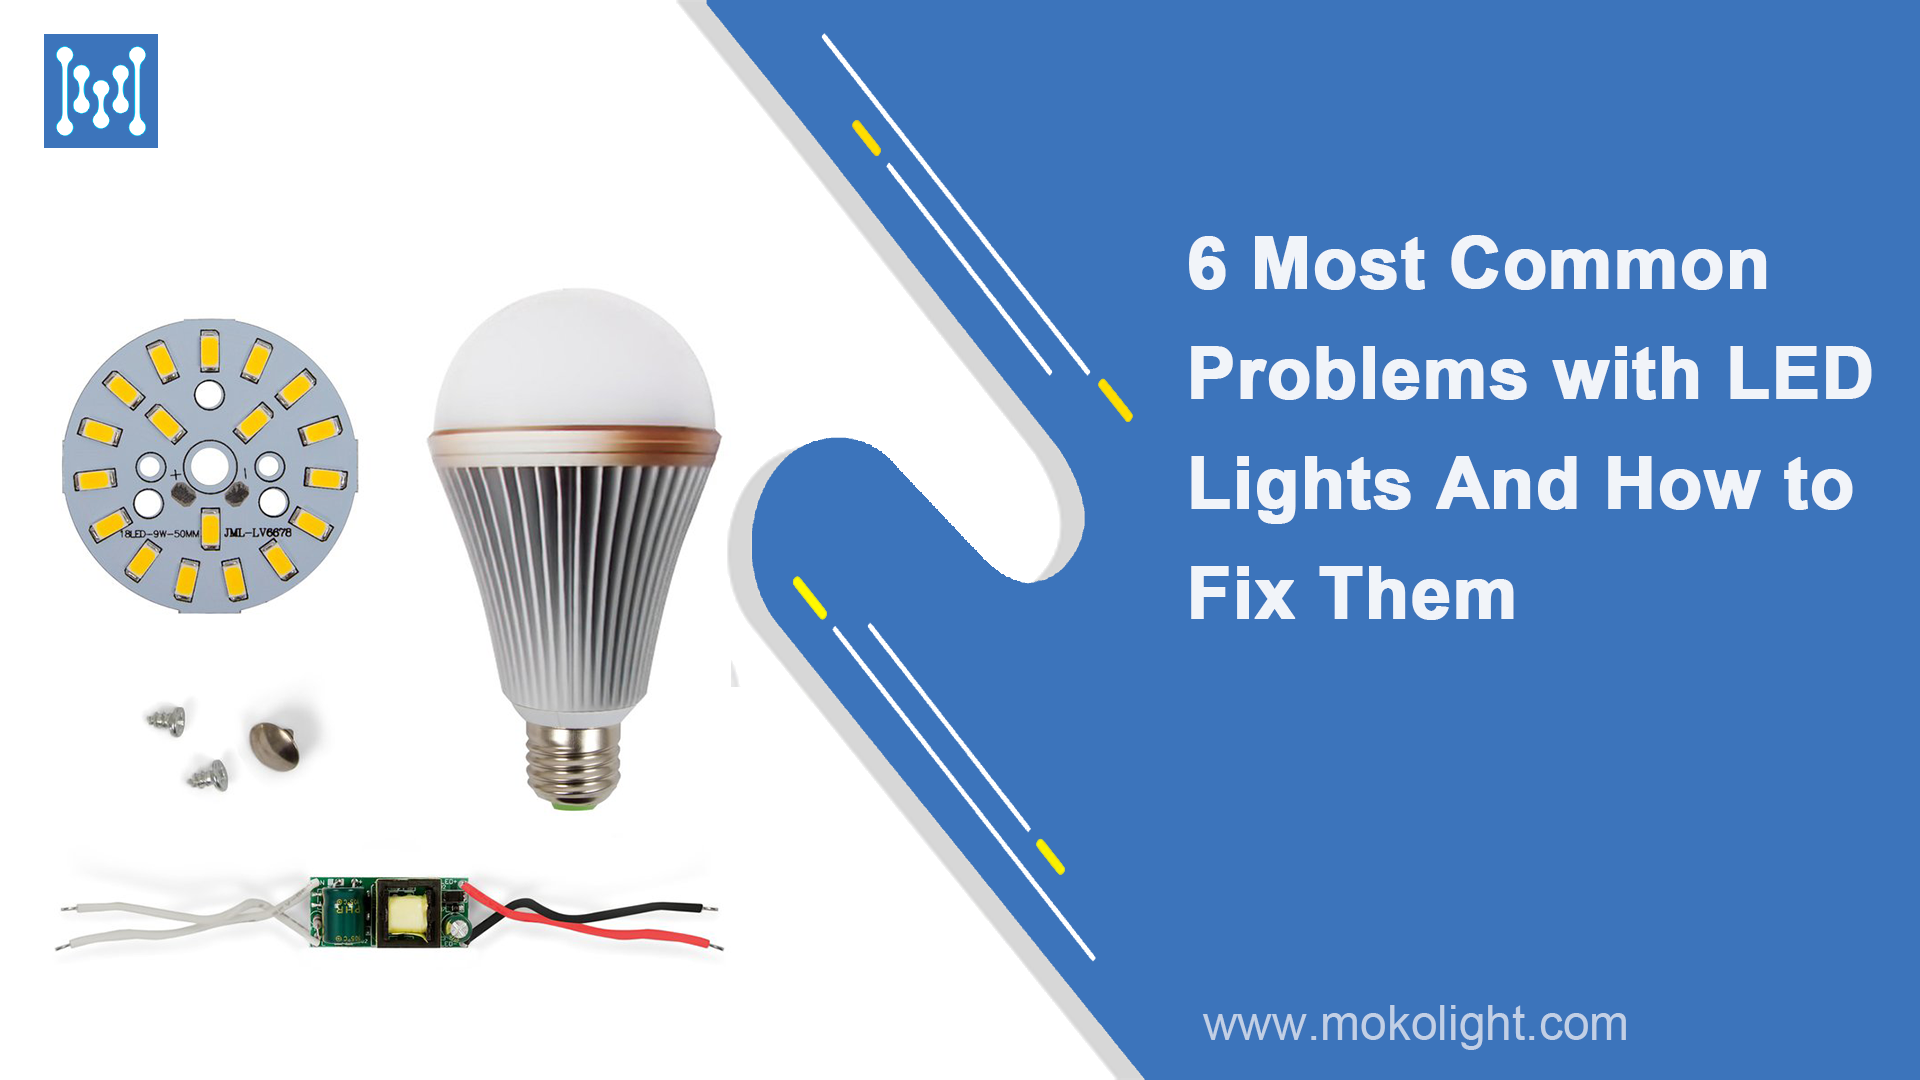
- Bulb Issues: The bulb itself could be the culprit. It might be nearing the end of its lifespan, or it could be incompatible with the fixture.
- Dimmer Switch Problems: If you have a dimmer switch, it might not be compatible with the type of bulb you’re using, or it might be failing.
What to do:
- Safety First: Turn off the power at the circuit breaker before you do anything. Seriously. It’s not worth the risk.
- Check the Bulb: Make sure the bulb is screwed in tightly. Try replacing it with a new one of the correct type (check the fixture for the right specs).
- Inspect the Wiring: Carefully inspect the wires connecting to the fixture. If anything looks loose, gently tighten the connections. If you aren’t comfortable with electrical work, call an electrician.
- Dimmer Troubles: If you use a dimmer, make sure it’s compatible with your bulb type (LED, incandescent, etc.). If the dimmer is old, try replacing it.
No Light at All: The Dead Fixture Dilemma
Okay, so your light’s not working at all. This can be a real downer, but don’t panic. Let’s go through some things to check.
- Power Supply: Is the circuit breaker tripped? Is the light switch working? This sounds simple, but it’s the first thing to check.
- Bulb Failure: Sometimes, a bulb just decides to quit.
- Wiring Problems (Again): A more serious issue could be a break in the wiring somewhere.
How to Fix It:
- Circuit Check: Go to your breaker box and make sure the breaker for that light isn’t tripped. If it is, flip it back on. If it trips again, you have a bigger problem (like a short) and should call an electrician.
- Switch Test: Try another light switch in the same room to see if it’s working. If it’s not, the problem might be in the switch itself.
- Bulb Replacement: Replace the bulb, even if you think it’s good. It’s the easiest thing to try, and it fixes the problem a lot of the time.
- Wiring Inspection (Carefully): Turn off the power. Then, carefully check the wiring connections in the fixture. If you see anything burnt, frayed, or loose, that’s a sign of a bigger problem, and you should call a pro.
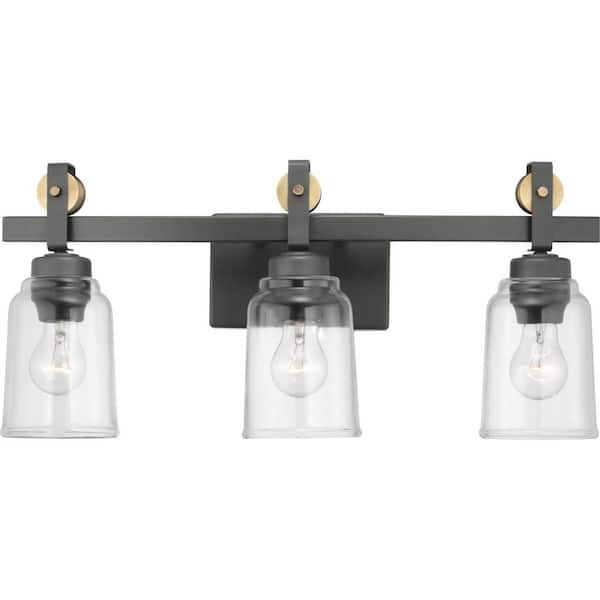
Partial Illumination: When Some Lights Refuse to Shine
So, some of the light is working, but not all of it. This usually points to a problem with the bulbs or their connections.
- Failed Bulbs: One or more bulbs have burned out.
- Loose Connections (Yet Again): A loose connection to one or more bulbs.
Troubleshooting Steps:
- Bulb Swap: Replace the bulbs that aren’t working with new ones of the correct type.
- Connection Check: With the power off, carefully check the connections for each bulb. Make sure they are all firmly in place.
- Fixture Wiring: If all the bulbs are good, and the connections seem tight, the problem might be in the fixture’s internal wiring. At this point, it’s a good idea to consult an electrician.
The Buzzing Blues: Dealing with Noisy Fixtures
A buzzing sound coming from your light fixture is not a good sign. It often means something isn’t quite right.
- Faulty Ballast: Some fixtures have a ballast (especially older fluorescent ones). A failing ballast can buzz.
- Loose Components: Vibrations from loose parts within the fixture can also cause buzzing.
- Bulb Compatibility: Using an incompatible bulb can sometimes cause a buzzing sound.
What You Should Do:
- Identify the Source: Try to pinpoint exactly where the buzzing is coming from.
- Bulb Check: Try using a different type of bulb, making sure it’s the right type for your fixture (LED, etc.).
- Ballast Issues: If you suspect a ballast problem, it’s best to have it checked by a qualified electrician, as ballasts can be tricky to replace.
- Tighten Everything: With the power off, check all connections and screws within the fixture to ensure they’re secure. If anything is loose, tighten it.
Water Damage Woes: What to Do When Things Get Wet
If your Canarm IVL259A03 fixture has been exposed to water (rain, leaks, etc.), it’s crucial to address it immediately.
- Short Circuits: Water and electricity do not mix.
- Corrosion: Water can cause corrosion of the electrical components.
How to Handle It:
- Power Down: Immediately turn off the power at the circuit breaker. Safety first.
- Assess the Damage: Carefully inspect the fixture for any signs of water damage.
- Dry It Out: If you can safely access the fixture, try to dry it out completely.
- Professional Help: Water damage often requires professional attention. Contact an electrician to assess the situation and repair or replace the fixture.
Preventative Measures: Keeping Your Fixture Happy
The best way to deal with problems is to prevent them in the first place. Here are some simple maintenance tips:
- Regular Inspections: Every few months, give your fixture a quick visual check. Look for loose wires, signs of wear, and tear, and any discoloration.
- Bulb Swaps: Replace bulbs before they burn out to avoid potential issues.
- Cleanliness: Keep the fixture clean. Dust and debris can sometimes cause problems.
- Proper Bulbs: Use the correct type of bulbs for your fixture. This avoids issues like overheating and incorrect voltage draw.
- Avoid Overloading: Don’t overload the circuit. Make sure the fixture isn’t drawing too much power, which could cause a short.
When to Call a Pro
Sometimes, the best course of action is to call in a professional. Here are signs that it’s time to call an electrician:
- Persistent Problems: If you’ve tried the basic troubleshooting steps and the problem persists.
- Wiring Concerns: If you’re uncomfortable working with electrical wiring.
- Major Issues: Any signs of burning, sparking, or significant damage.
- Water Damage: If the fixture has been exposed to water.
- Unusual Noises: Loud buzzing sounds or other strange noises that you can’t identify.
Remember, safety is key. It’s always better to be safe than sorry.
So there you have it – a breakdown of the most common issues with your Canarm IVL259A03 fixture, and how you can tackle them. Remember, a little bit of troubleshooting can often save you time and money. And if things get too complicated, don’t hesitate to call in a pro. The important thing is to keep your space well-lit and safe. I hope this guide has been useful. If you have any more questions or need further help, feel free to ask. Now go forth and illuminate your world. And thanks for hanging out with me. I hope you found this helpful and good luck. And rememeber, always be safe and have fun fixing things.