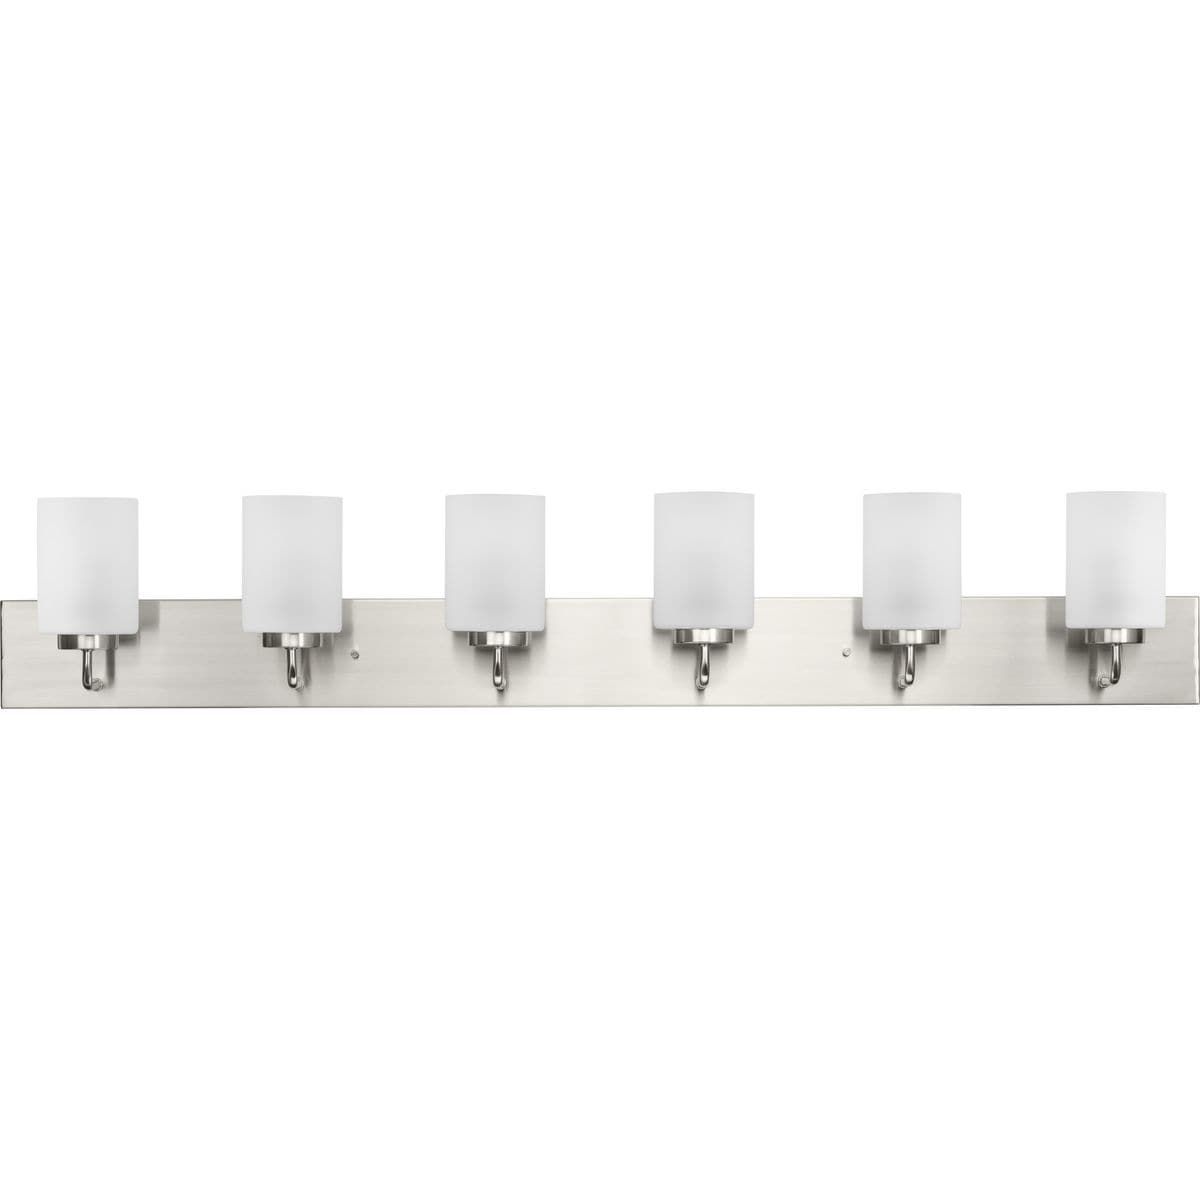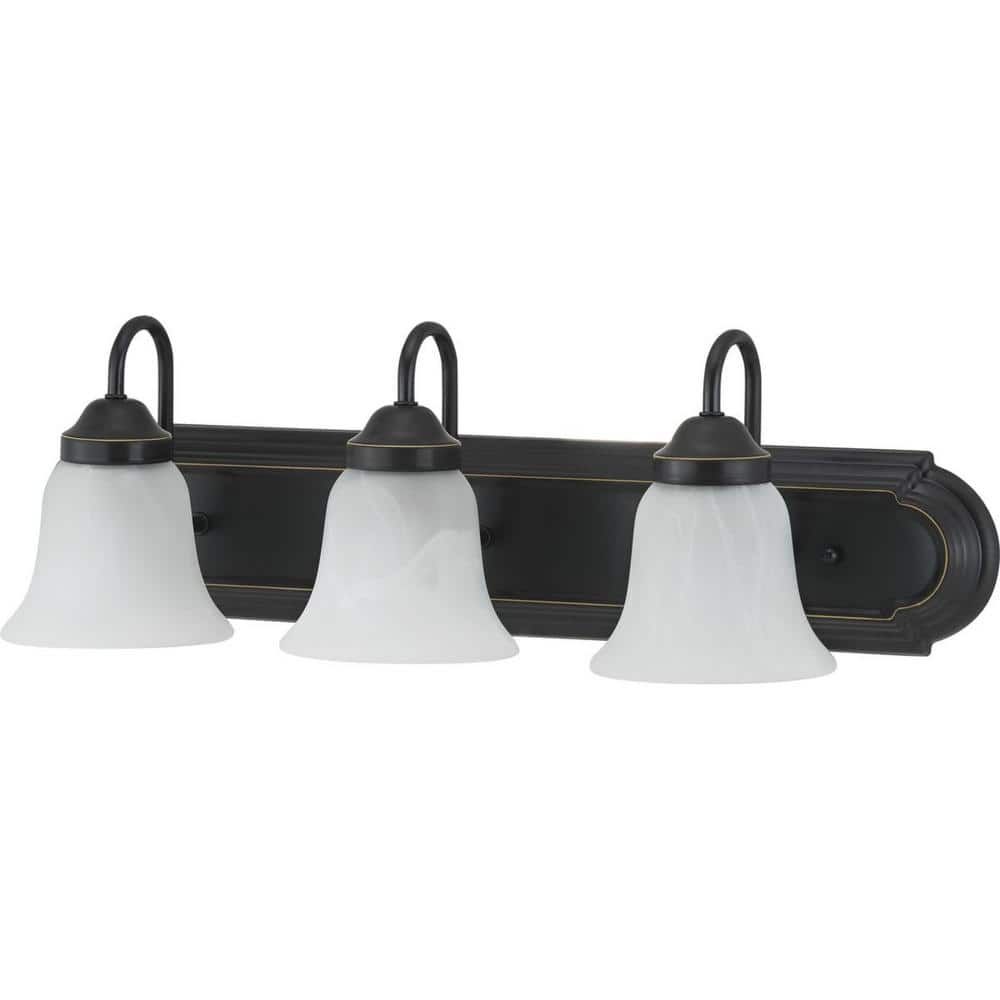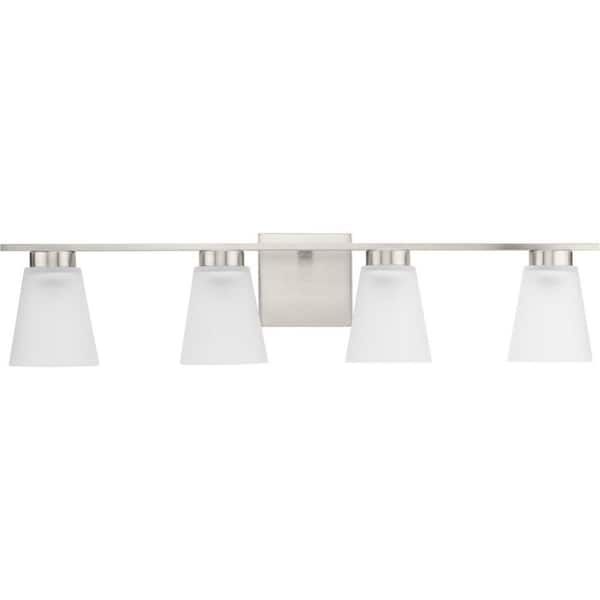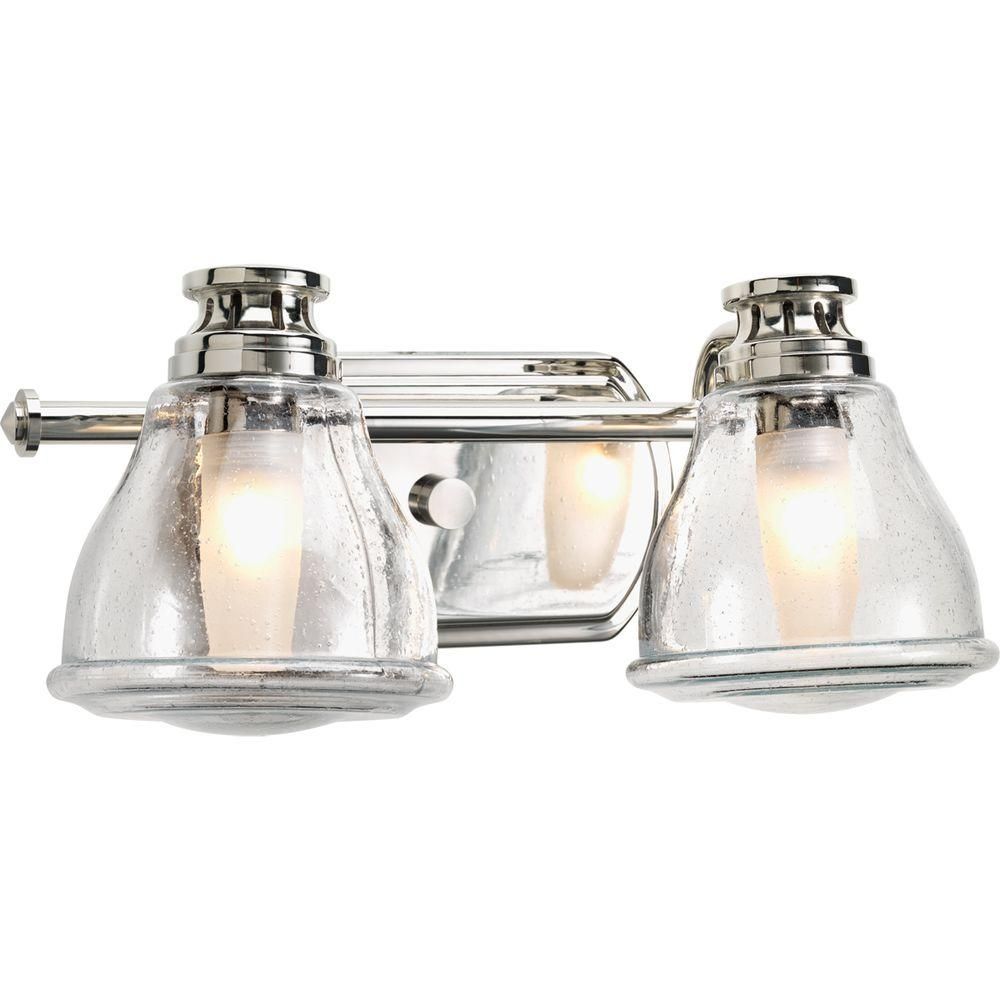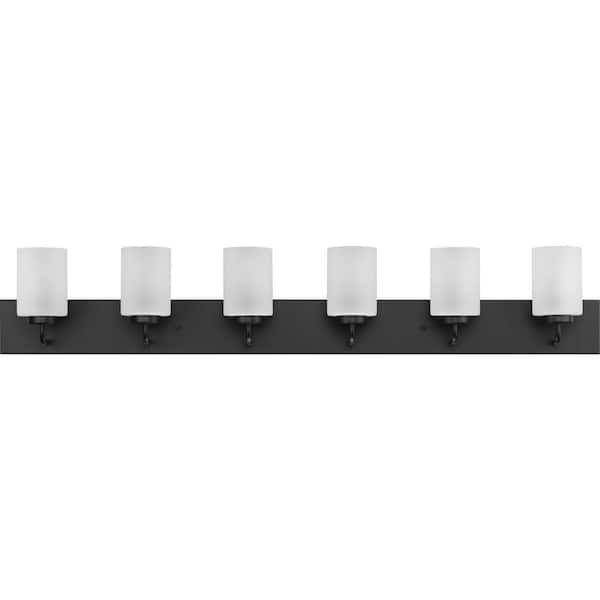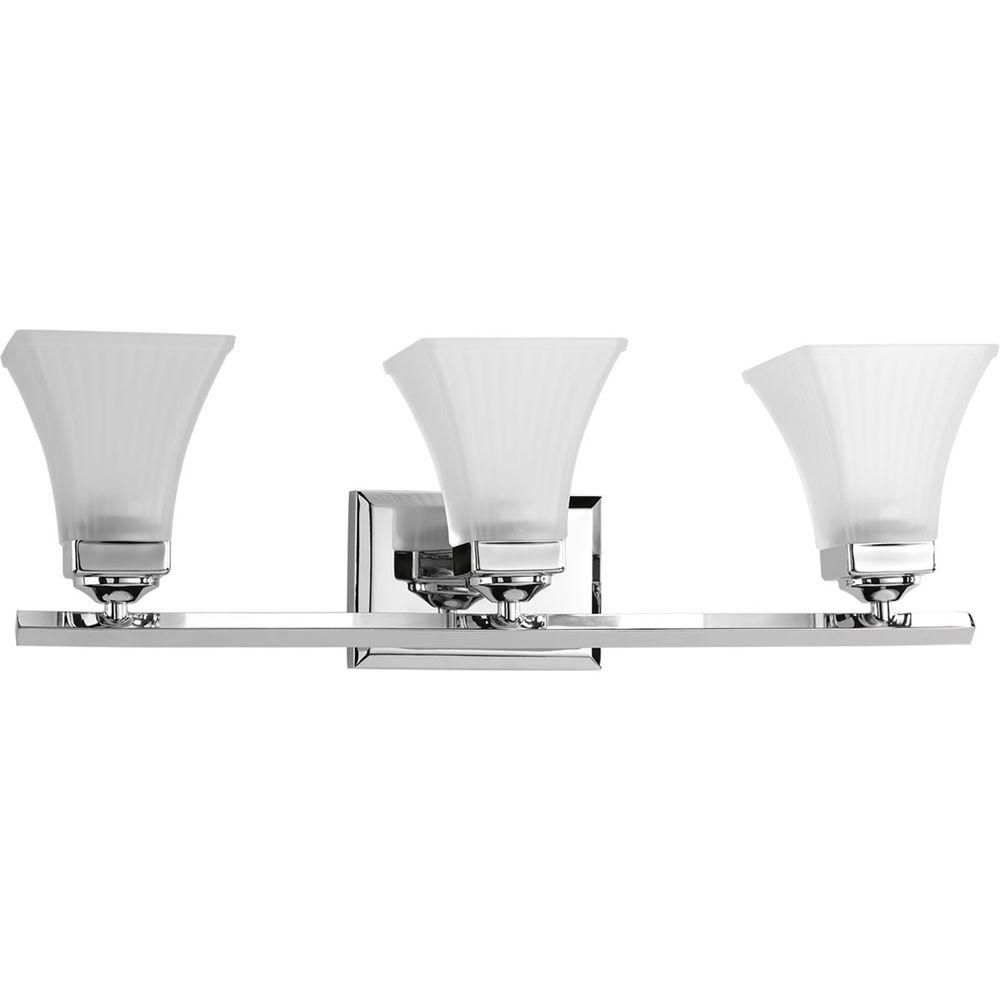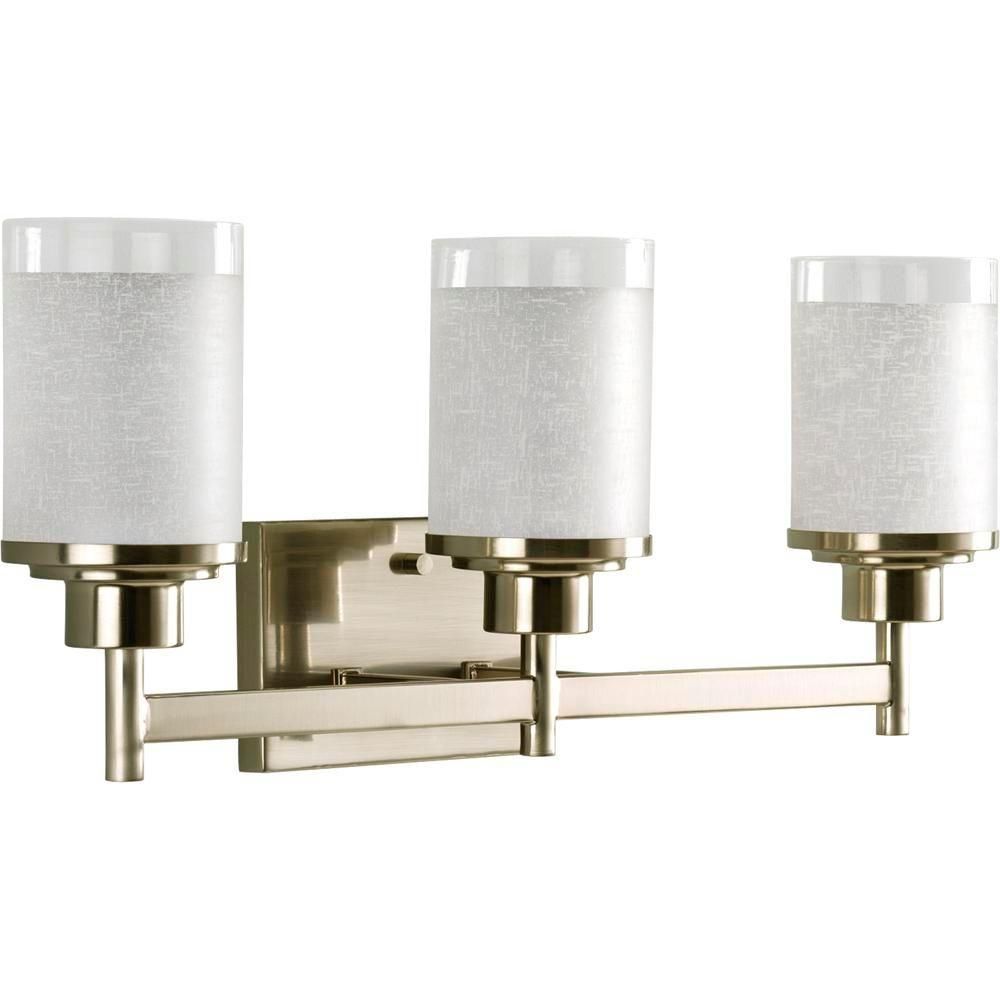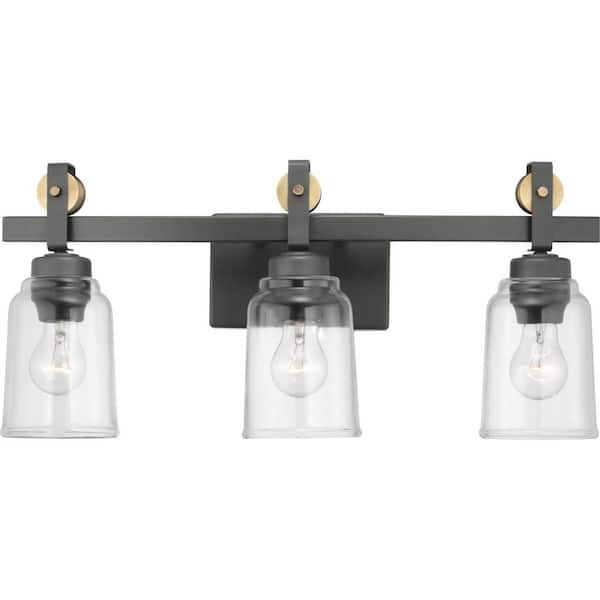
Progress Lighting vanity lights are a popular choice for bathrooms, known for their stylish designs and functional illumination. But like any electrical fixture, they can sometimes present problems. This guide is designed to help you troubleshoot the most common issues, ensuring your vanity lights continue to brighten your space for years to come. We’ll delve into the common problems that can occur, from flickering lights to complete failures, and provide you with practical solutions you can implement yourself. Get ready to become your own lighting expert, and say goodbye to frustrating lighting glitches.
This guide isn’t about selling you anything – it’s about empowering you with the knowledge to diagnose and fix problems. We’ll break down complex concepts into easy-to-understand steps, providing real-world examples and actionable tips to help you through the process. Let’s get started and light up your knowledge.
Let’s face it: a well-lit bathroom is essential. It’s where we get ready for the day, wind down in the evening, and, let’s be honest, sometimes take those crucial selfies. Progress Lighting offers a wide range of vanity lights to fit every style, but even these high-quality fixtures can experience issues. This guide is your go-to resource for understanding and solving these common problems. We’ll explore the most frequent issues, from flickering bulbs to complete outages, providing you with the tools and information you need to get your bathroom lighting back to its best, and maybe even a little bit better.
We’ll cover everything from the basics of electrical safety to specific troubleshooting steps, ensuring that you feel confident in your ability to address any issues that arise. This is not about fancy technical jargon; it’s about giving you the practical knowledge you need to get your lights shining bright again.
Flickering or Dimming Lights: The Usual Suspects
Flickering or dimming lights are among the most common complaints. These issues can be caused by a few different things. First, check your bulbs. Are they the correct type and wattage for your fixture? Using the wrong type, such as a bulb that’s incompatible with a dimmer switch, can cause flickering. Also, consider the age of your bulbs; older bulbs are more prone to flickering, and it might be time to change them.
Secondly, examine the dimmer switch itself (if you have one). A faulty dimmer switch can certainly be the culprit. Try replacing the switch to see if that resolves the problem. And don’t forget the wiring. Loose wiring connections, either at the light fixture or in the junction box, can also cause flickering. Carefully check all connections to ensure they’re secure. Sometimes, you might find that your fixture is overloaded, meaning you’re trying to power too many lights from a single circuit. If this is the case, you might need to consider rewiring or consulting an electrician.
Bulb Burnout: Why Your Lights Aren’t Shining
Bulb burnout is another common issue. The reasons for this can be simple, such as the bulb reaching the end of its lifespan. But, it can also be due to other factors. One major cause is using the wrong type of bulb. Always make sure you’re using the correct wattage and type of bulb recommended for your Progress Lighting fixture. Using a bulb with a higher wattage than the fixture is designed for can cause it to overheat and burn out quickly, and it could be dangerous.
Another reason for premature bulb failure is voltage fluctuations. If your home’s electrical system experiences voltage spikes, your bulbs can be damaged. Consider installing a surge protector to help protect your lights and other electrical appliances. A less obvious cause might be poor ventilation. If your vanity light is enclosed and doesn’t have proper ventilation, heat can build up, shortening the lifespan of the bulbs. Ensure your light fixture has adequate ventilation, and don’t block any vents with decorations or other items. Also, check the fixture itself for any signs of damage, like corrosion or wear and tear, as this can also contribute to bulb failures.
Wiring Woes: Troubleshooting Electrical Connections
Electrical wiring problems can be some of the trickiest to diagnose, but they’re also some of the most common. Start by turning off the power at the circuit breaker before you do anything. Seriously, safety first. Then, carefully inspect the wiring connections at the light fixture, the junction box, and the switch (if applicable). Look for loose wires, frayed insulation, or any signs of corrosion.
If you find loose wires, carefully tighten them using the appropriate wire connectors. If the insulation is frayed, you might need to replace the wires or the entire fixture. Also, check the neutral wire connections. A loose neutral wire can cause flickering, dimming, or even complete failure. Use a multimeter to test for voltage at the fixture; this will help you determine if the problem is with the wiring or the fixture itself. If you’re not comfortable working with electrical wiring, it’s always best to call a qualified electrician. Safety is paramount, and an electrician can quickly diagnose and repair any wiring issues.
Water Damage and Corrosion: Protecting Your Lights
Bathrooms are humid environments, and that humidity can wreak havoc on your vanity lights. Water damage and corrosion are common problems, especially if your lights are not properly sealed or if they’re exposed to direct water spray. Check the fixture for any signs of water intrusion, such as rust, corrosion, or water stains. If you see any of these signs, you’ll need to address the source of the water damage.
Make sure that the fixture is properly sealed. Ensure that the light is mounted correctly and sealed around the edges to prevent water from seeping in. If you have a shower or bathtub near your vanity lights, consider using a fixture that is rated for damp or wet locations. These fixtures are designed to withstand moisture. If the corrosion is minor, you might be able to clean it off with a wire brush and some electrical contact cleaner. However, if the corrosion is severe, you’ll likely need to replace the fixture. Also, be sure that any ventilation fans are working correctly to reduce humidity. Proper ventilation can significantly extend the life of your vanity lights. Don’t put off dealing with water damage; it can quickly lead to more serious electrical problems.
Compatibility Concerns: Matching Bulbs and Dimmers
Choosing the right bulbs and dimmer switches is crucial for optimal performance and longevity. Using incompatible bulbs and dimmers can cause a range of problems, from flickering to complete failure. Make sure you are using bulbs that are specifically designed to work with dimmer switches, like dimmable LEDs or incandescent bulbs. Non-dimmable bulbs won’t work correctly with a dimmer switch, and they can even be damaged.
Also, make sure your dimmer switch is compatible with the type of bulbs you’re using. Some dimmer switches are designed for incandescent bulbs only, while others are designed for LEDs or CFLs. Read the dimmer switch’s instructions to ensure compatibility. If you’re upgrading to LED bulbs, you might need to replace your dimmer switch with one that’s specifically designed for LEDs. Consult the bulb packaging and the dimmer switch’s manual for specific compatibility information. Incorrect matches can not only cause flickering, but they can also reduce the lifespan of your bulbs, and potentially damage the dimmer switch, too. Taking the time to properly match these components can save you a lot of headaches, and money, in the long run.
Troubleshooting Beyond the Basics: Advanced Techniques
If you’ve tried the basic troubleshooting steps and your vanity lights still aren’t working correctly, it’s time to consider some more advanced techniques. One option is to test the voltage at the fixture using a multimeter. This will help you determine if the problem is with the power supply or the fixture itself. If you’re not comfortable working with electricity, call a qualified electrician.
Another thing you can do is to inspect the internal components of the light fixture. Carefully remove the fixture from the wall (after turning off the power, of course!) and check for any loose connections, burnt wires, or damaged components. If you see any damage, you might need to replace the fixture or its internal parts. You can also try swapping the light fixture with a known working one (if you have one). This will help you determine if the problem is with the fixture itself or with the wiring. Before you do anything, always turn off the power. If you’re still stumped, don’t hesitate to call a professional electrician. They have the expertise and equipment to diagnose and fix complex electrical problems safely and efficiently. Remember, safety is always the most important thing.
By understanding the common issues associated with Progress Lighting vanity lights, you can save yourself time, money, and frustration. From flickering lights to bulb burnout and wiring problems, we’ve covered the most frequent issues and provided practical solutions. Remember to always prioritize safety by turning off the power before working on any electrical fixture. If you’re not comfortable with electrical work, it’s always best to call a qualified electrician. With the knowledge and tips provided in this guide, you’re now well-equipped to diagnose and troubleshoot the problems that may arise with your Progress Lighting vanity lights.
Keep your bathroom illuminated beautifully, and enjoy the comfort and convenience of a well-lit space. Now go forth, and keep your bathroom lighting shining brightly. You’ve got this, and now you’re a vanity light expert, and can maintain those lights with ease. Happy lighting!