Hey everyone, it’s your friend here, ready to dive into the world of outdoor lighting. Today, we’re not just talking about any light fixture – we’re focusing on the Trade Winds Candler Chandelier. This piece is more than just a light; it’s a statement. It’s about creating an atmosphere, a feeling, and a place where you actually want to spend your time, especially after the sun goes down. Let’s get started, shall we?
Outdoor lighting can be trickier than you think. You need something durable, something that weathers the elements, and most importantly, something that looks amazing. The Trade Winds Candler Chandelier ticks all those boxes. It’s a fantastic blend of elegance and practicality, designed to withstand the elements while casting a warm, inviting glow. Think of it as the cherry on top of your outdoor space – the finishing touch that elevates everything. We’ll explore its design, talk about the ideal places for it, and give you some tips for installation and maintenance. Get ready to transform your patio, deck, or even your gazebo into a nighttime oasis.
Understanding the Design: What Makes it Special?
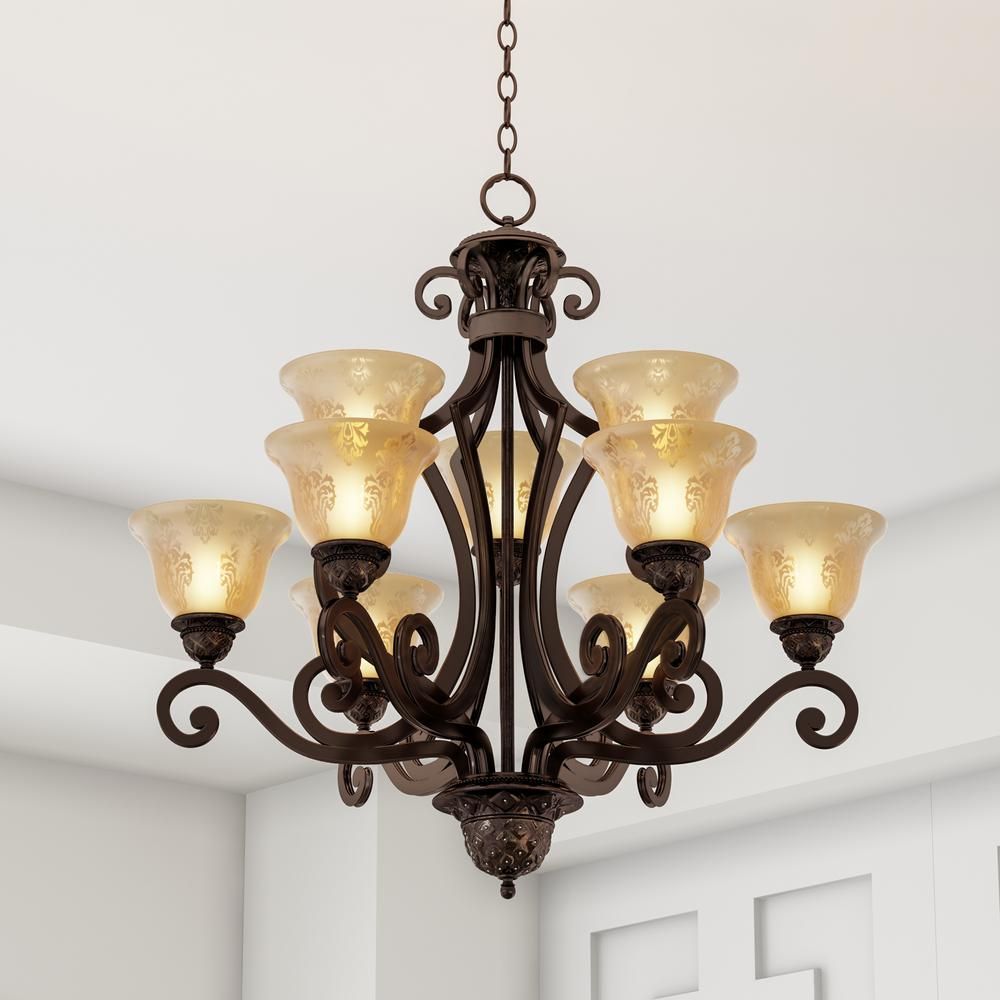
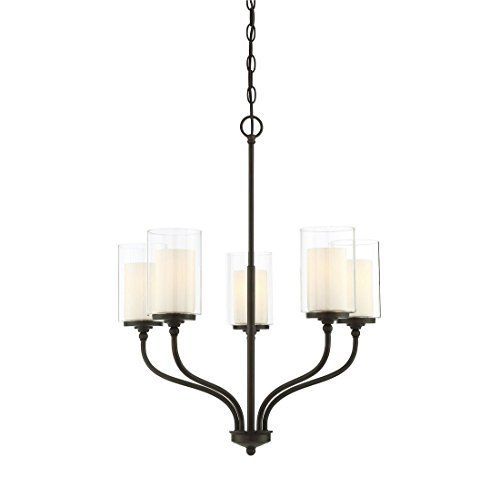
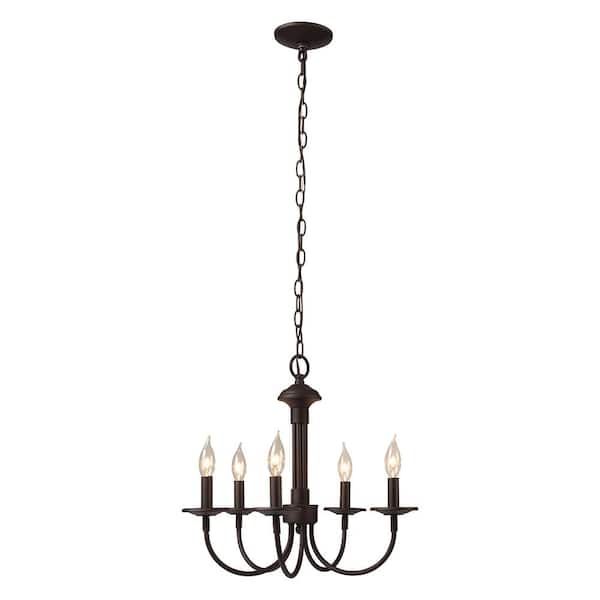
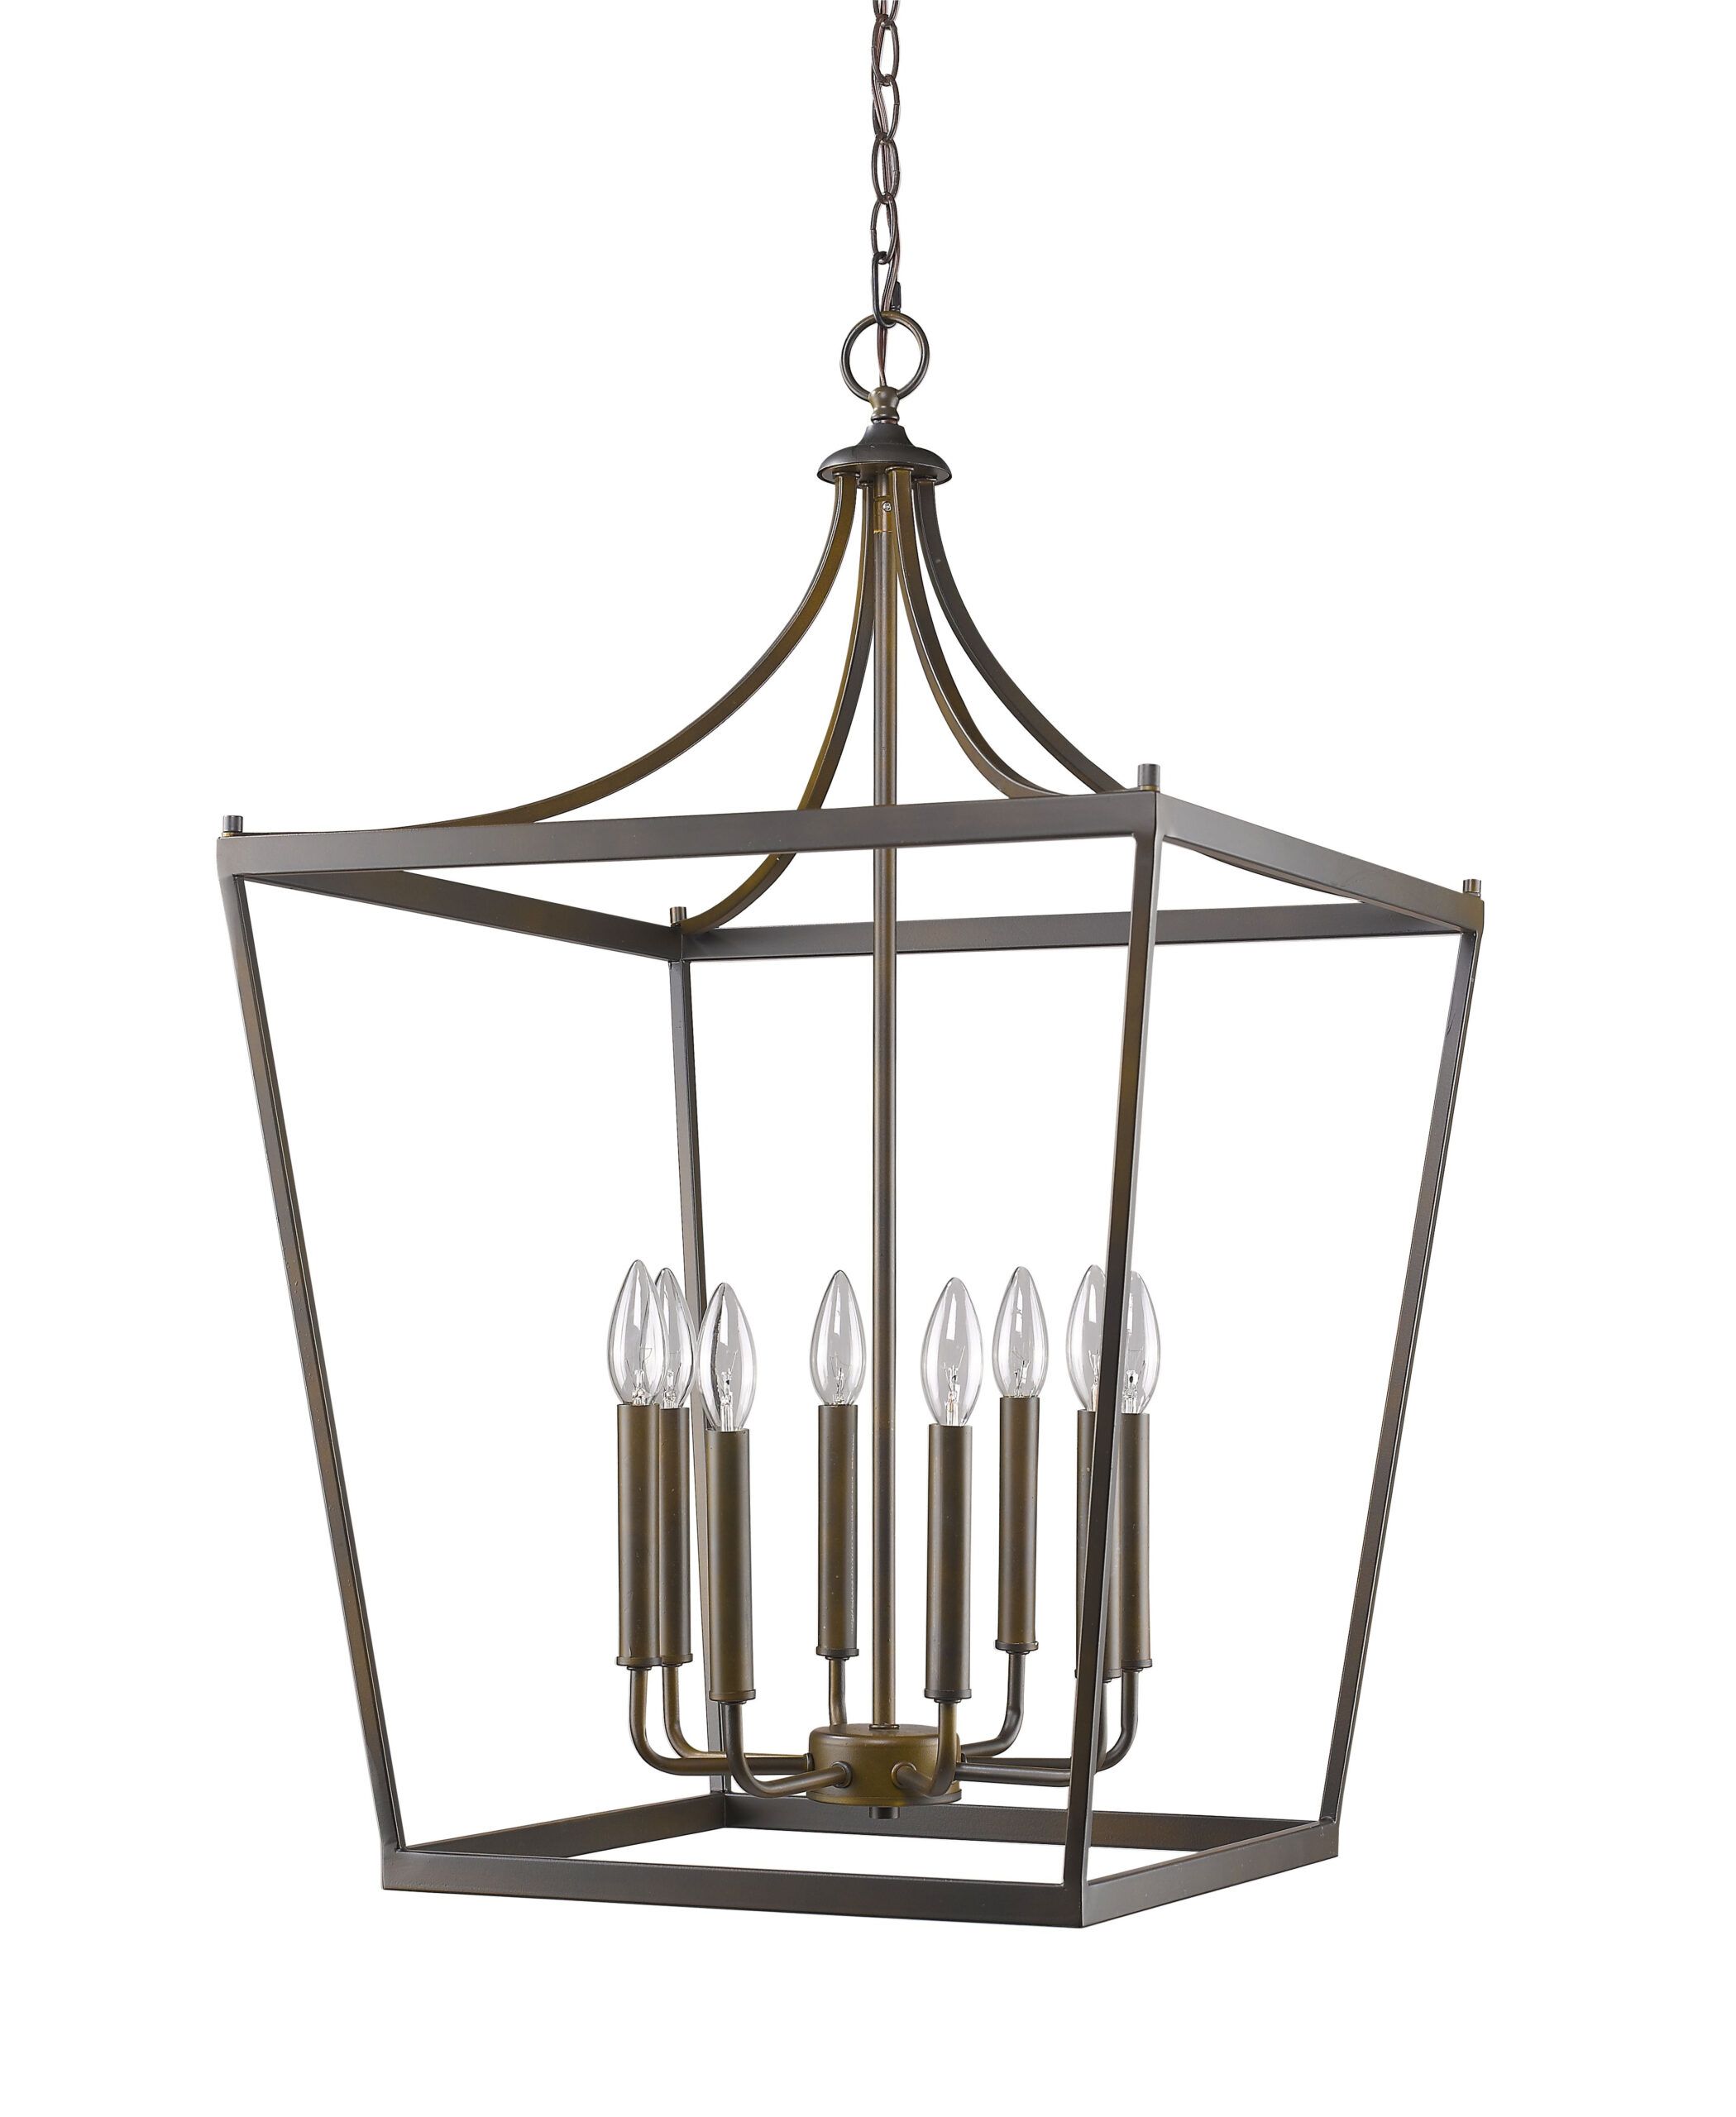
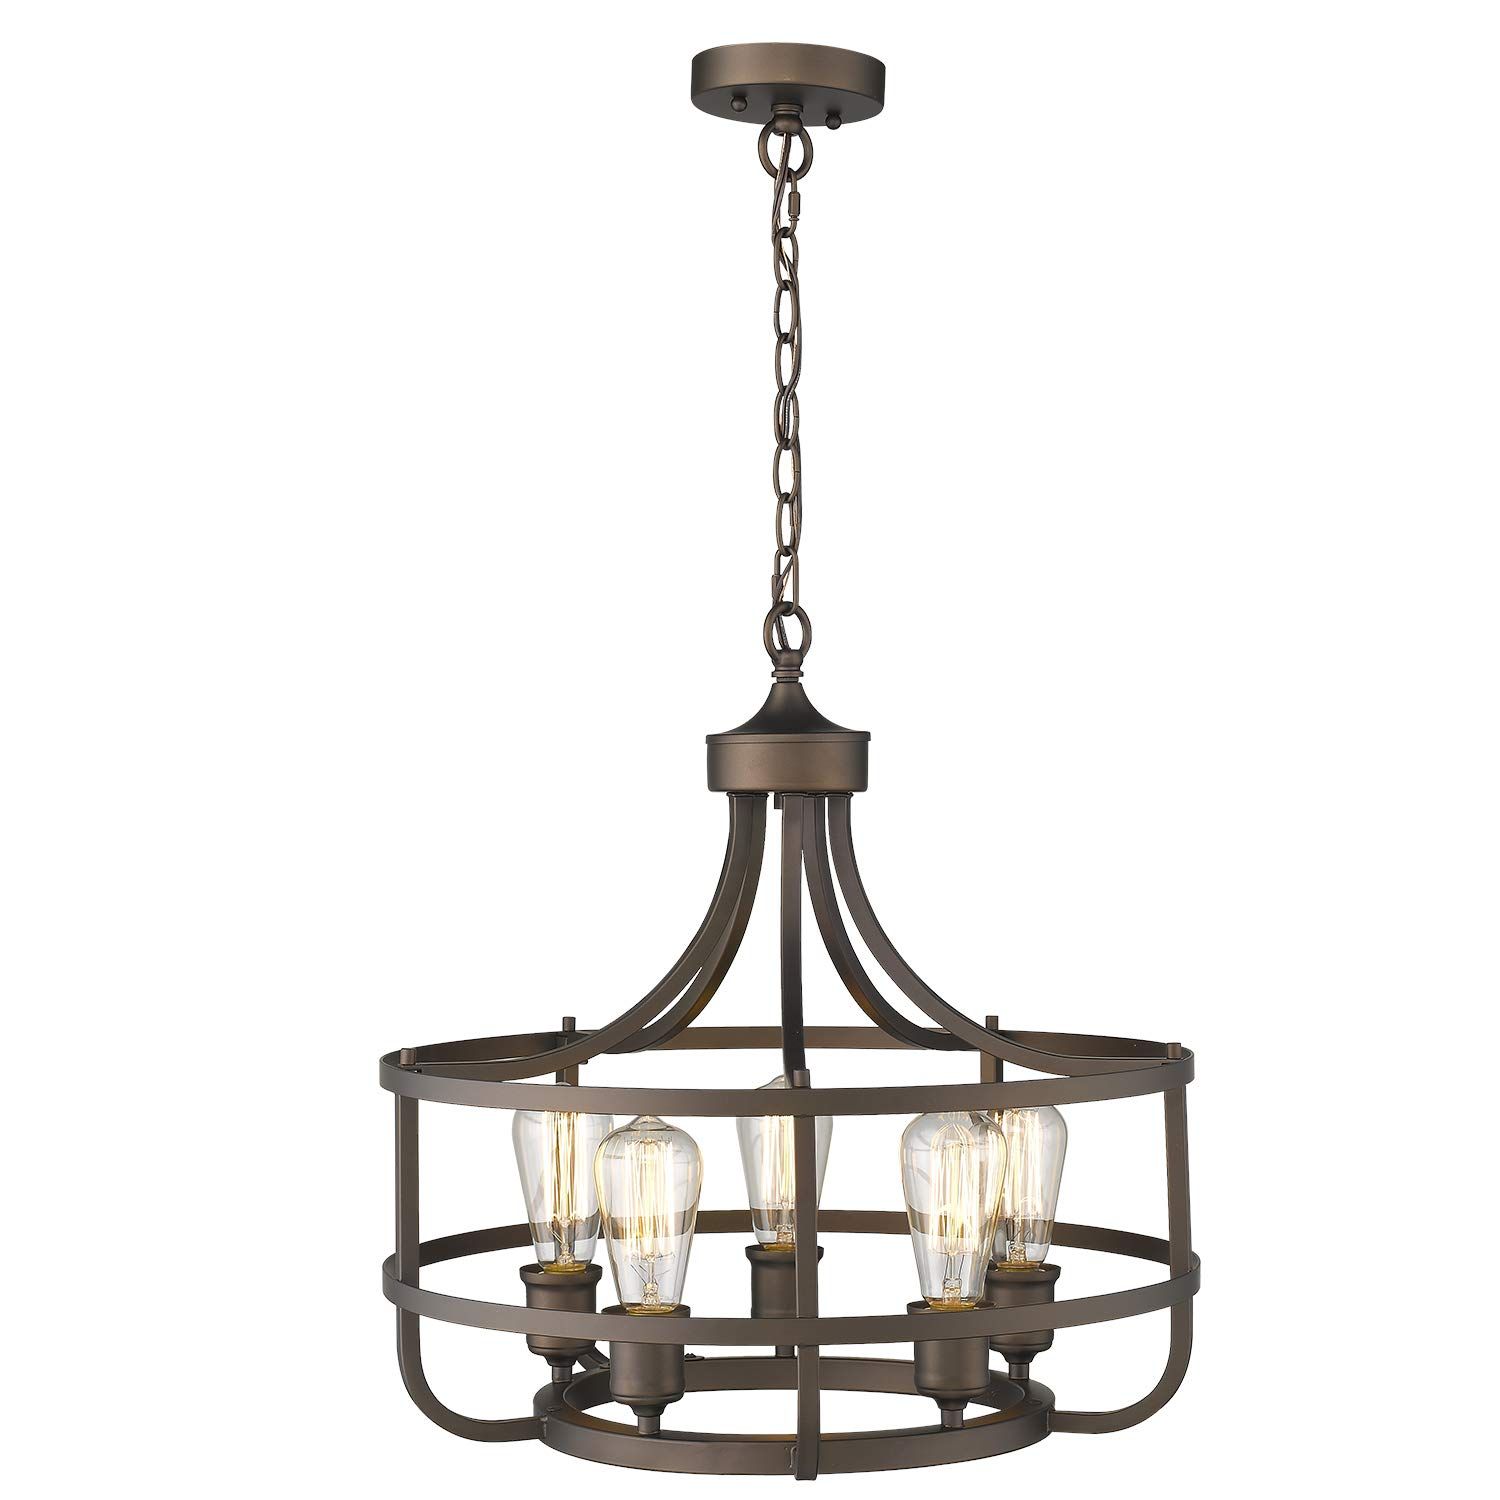
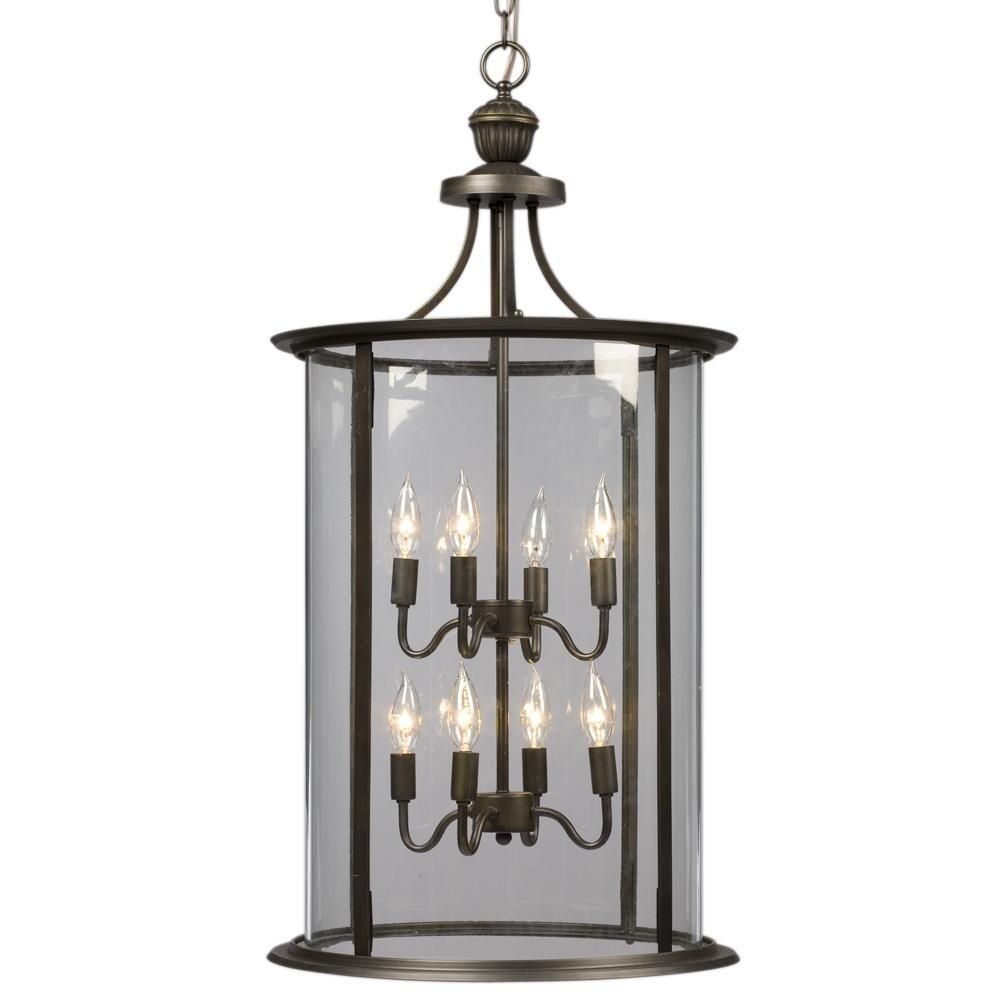
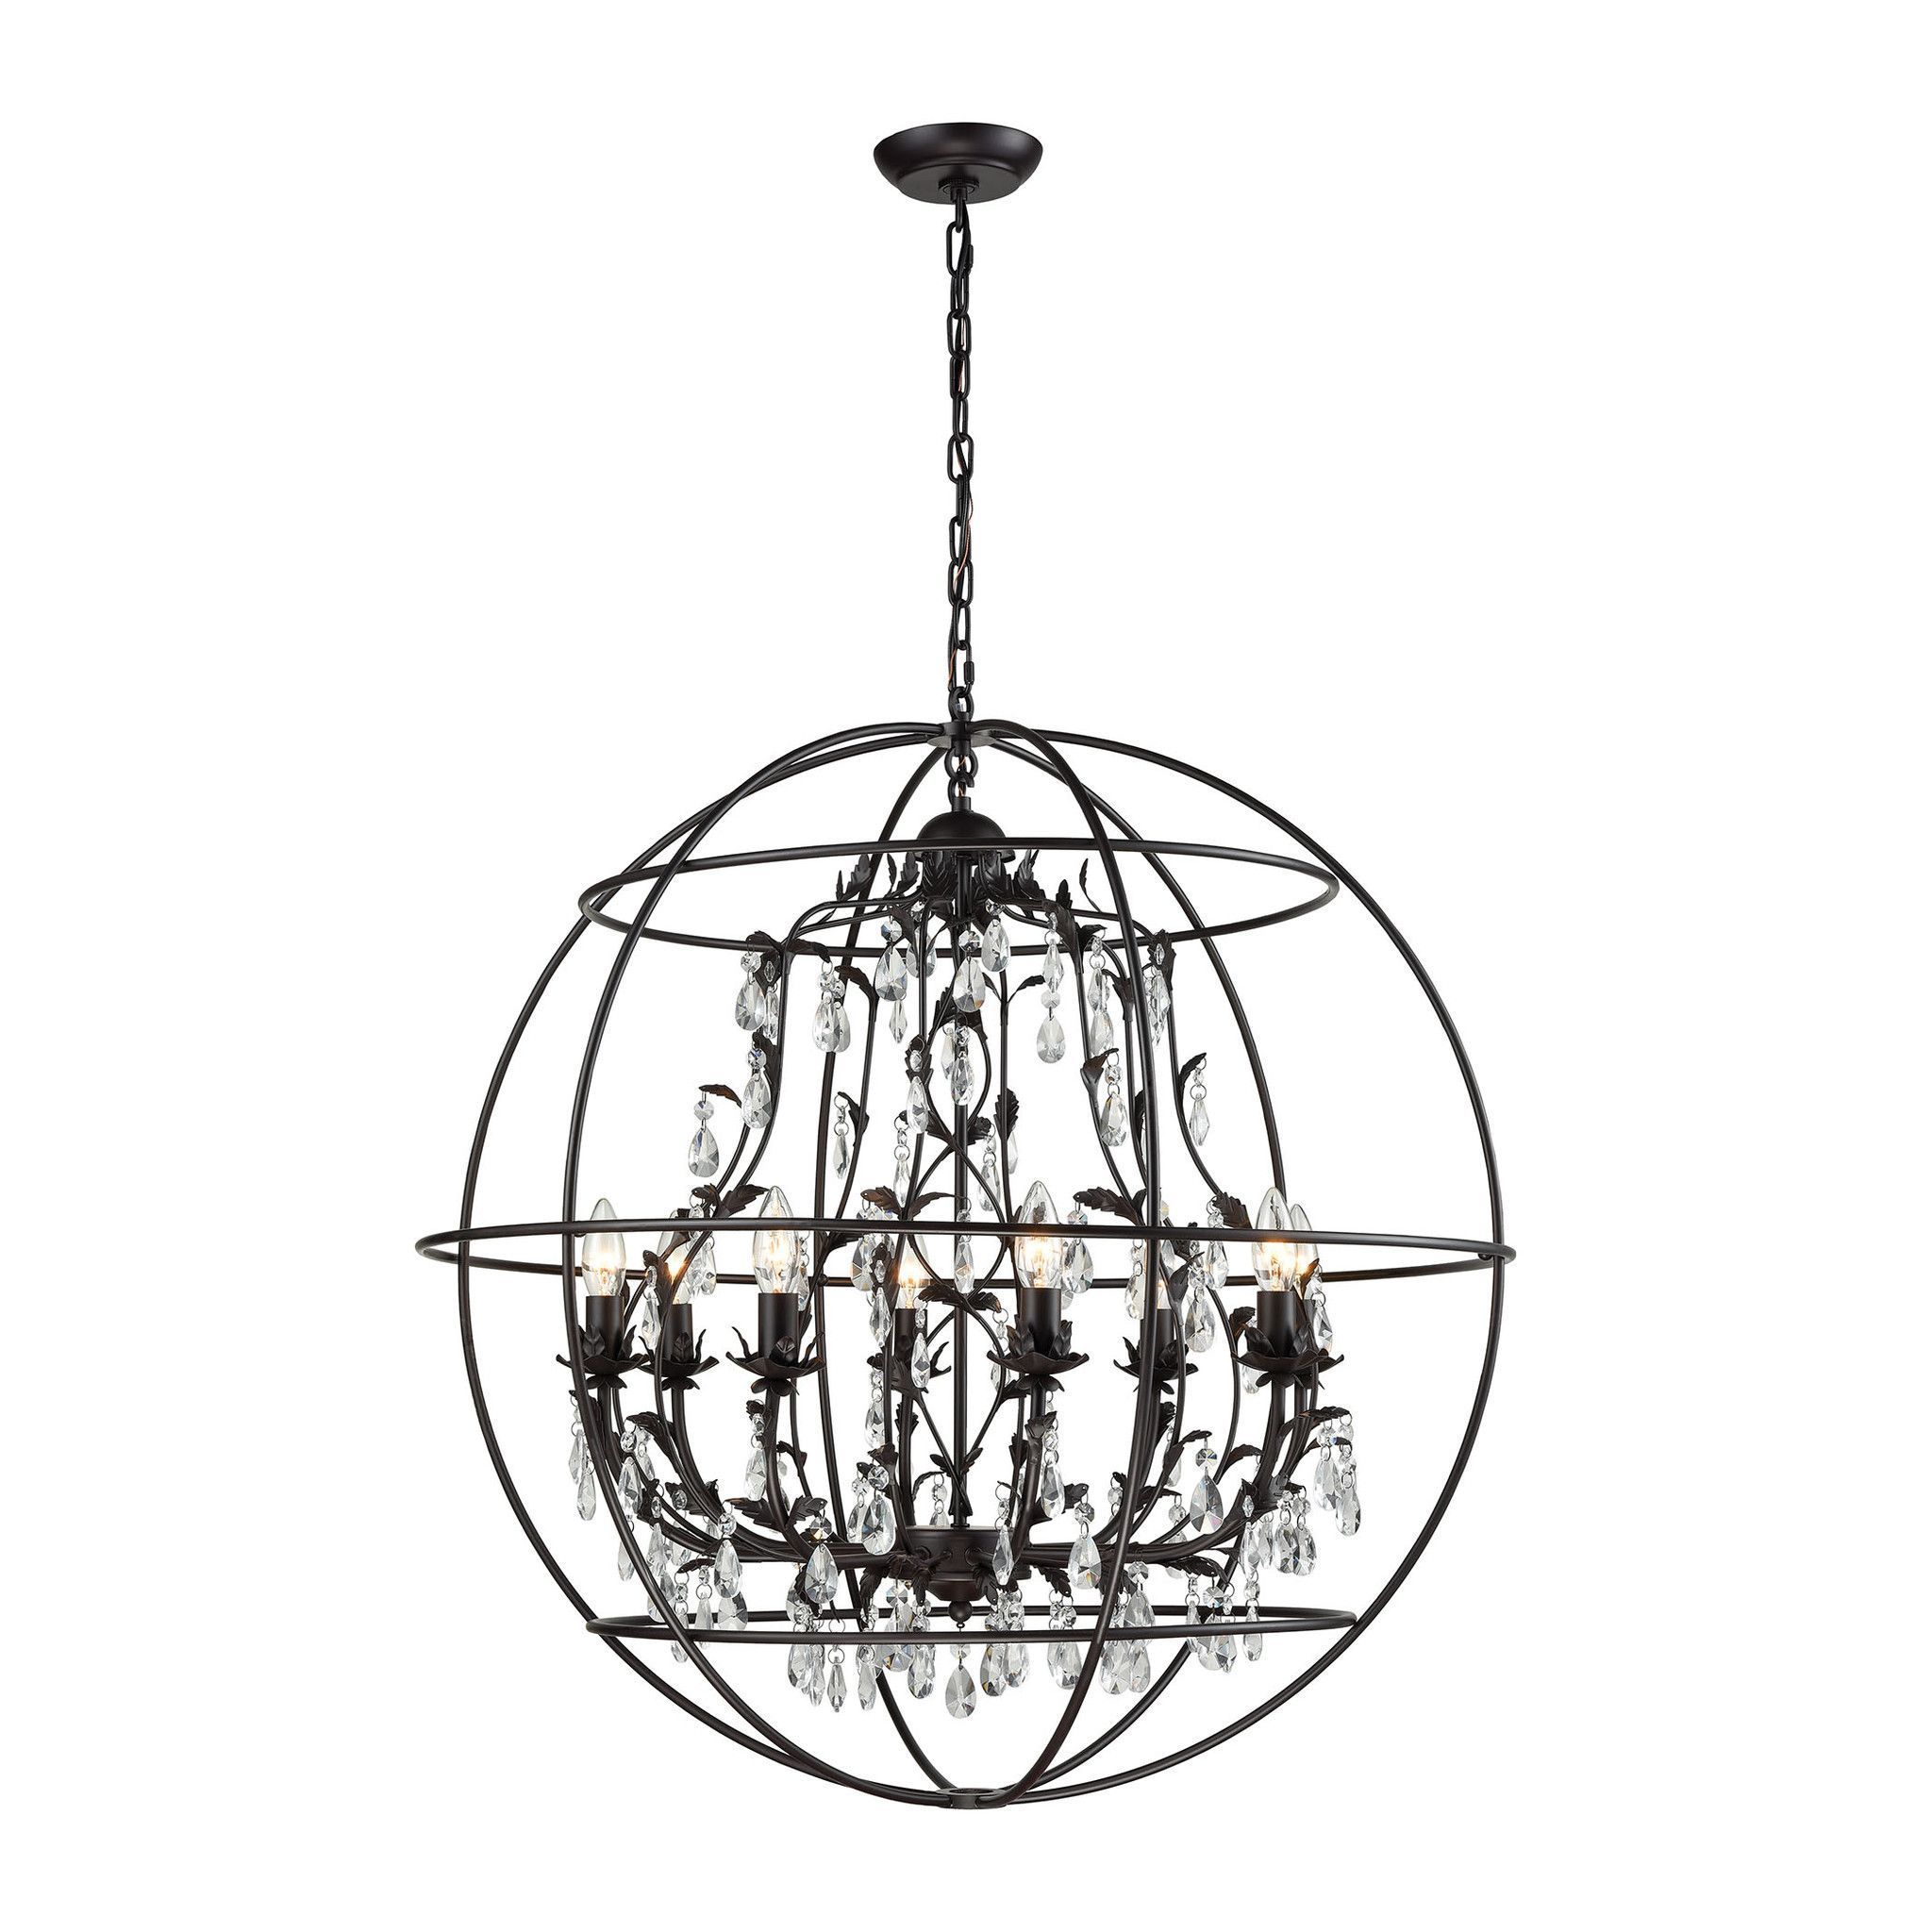
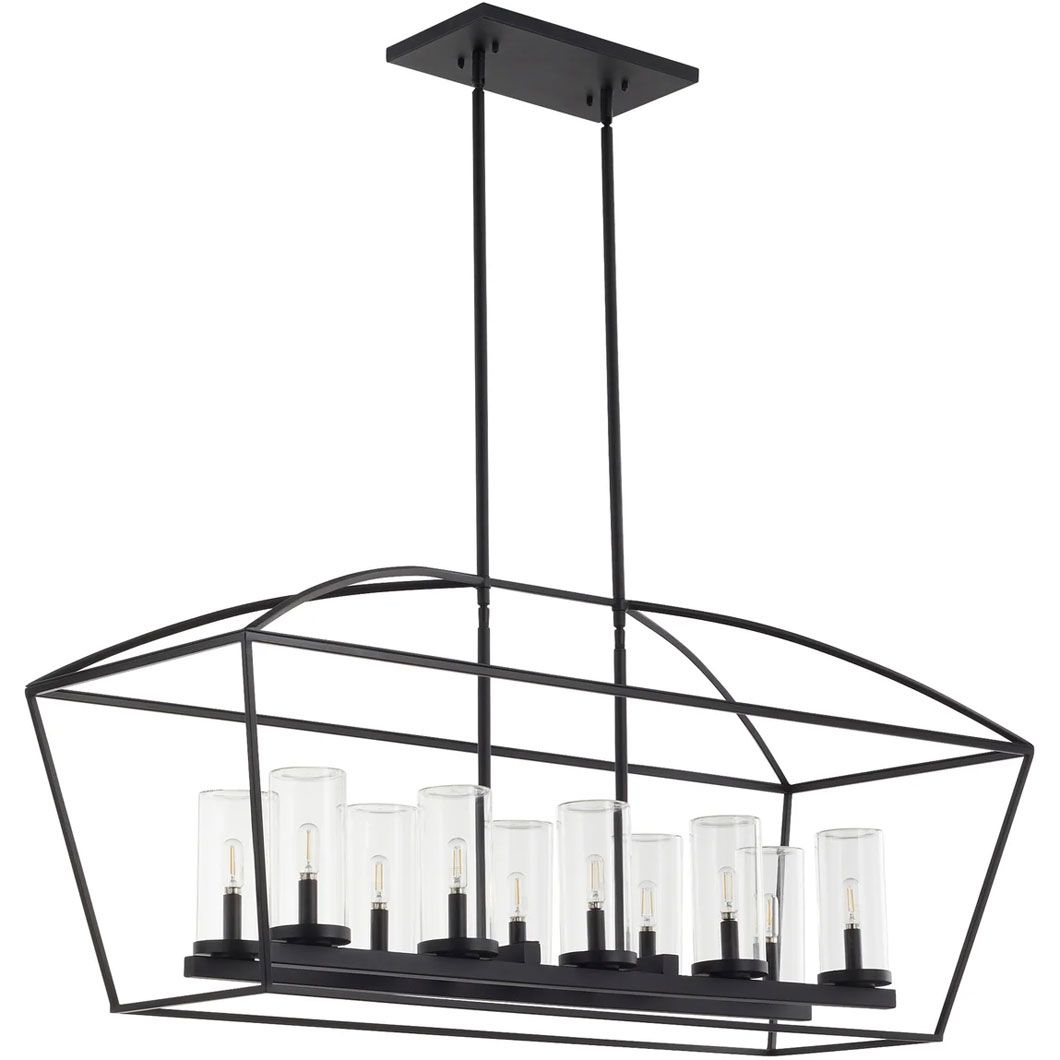
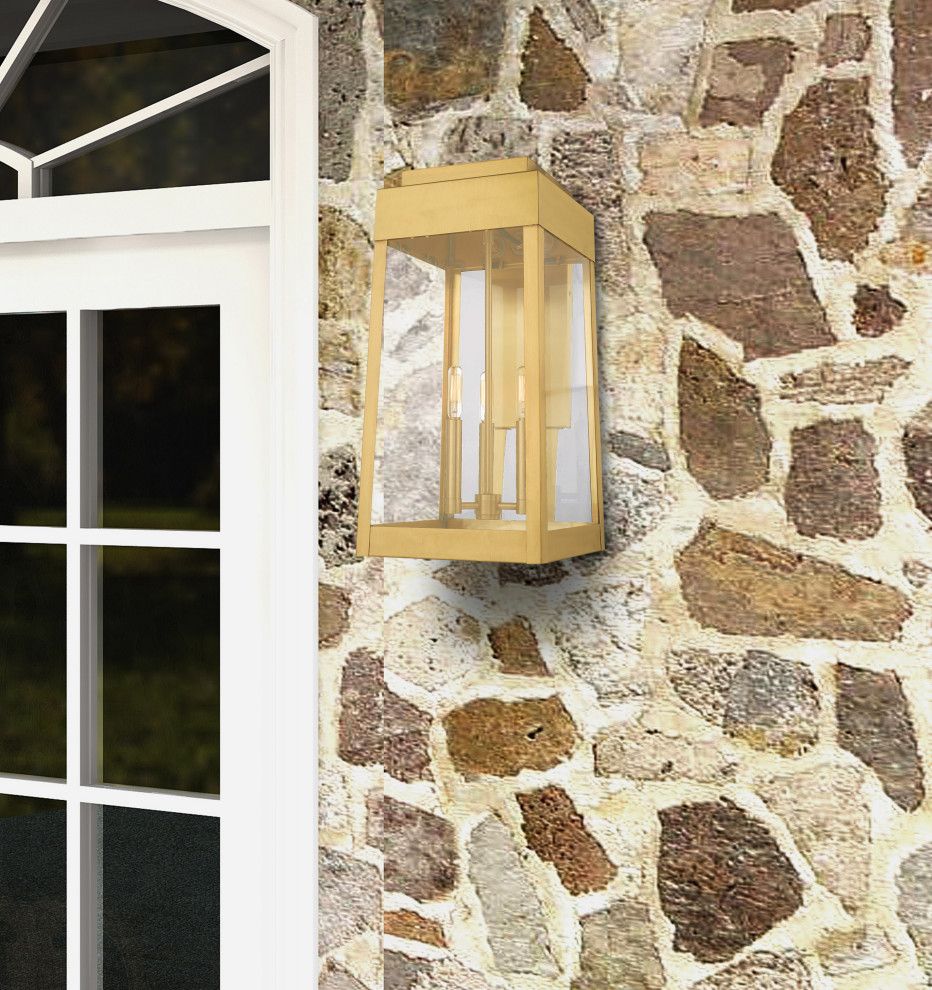
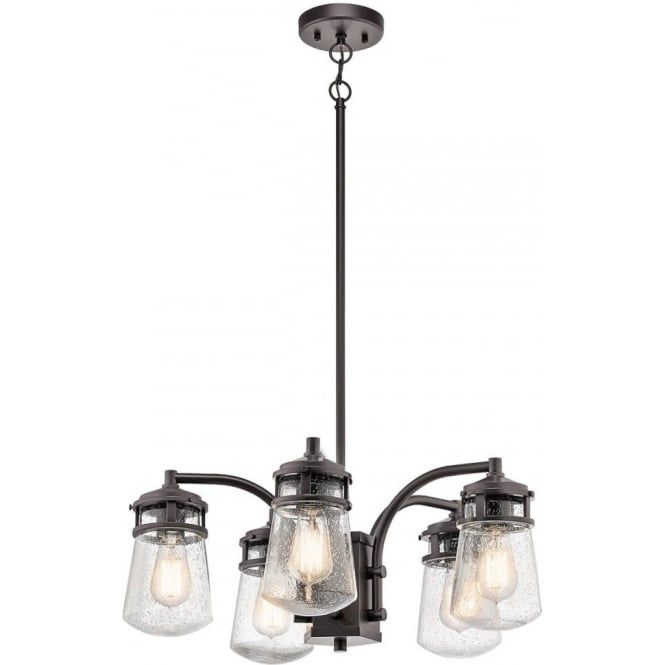
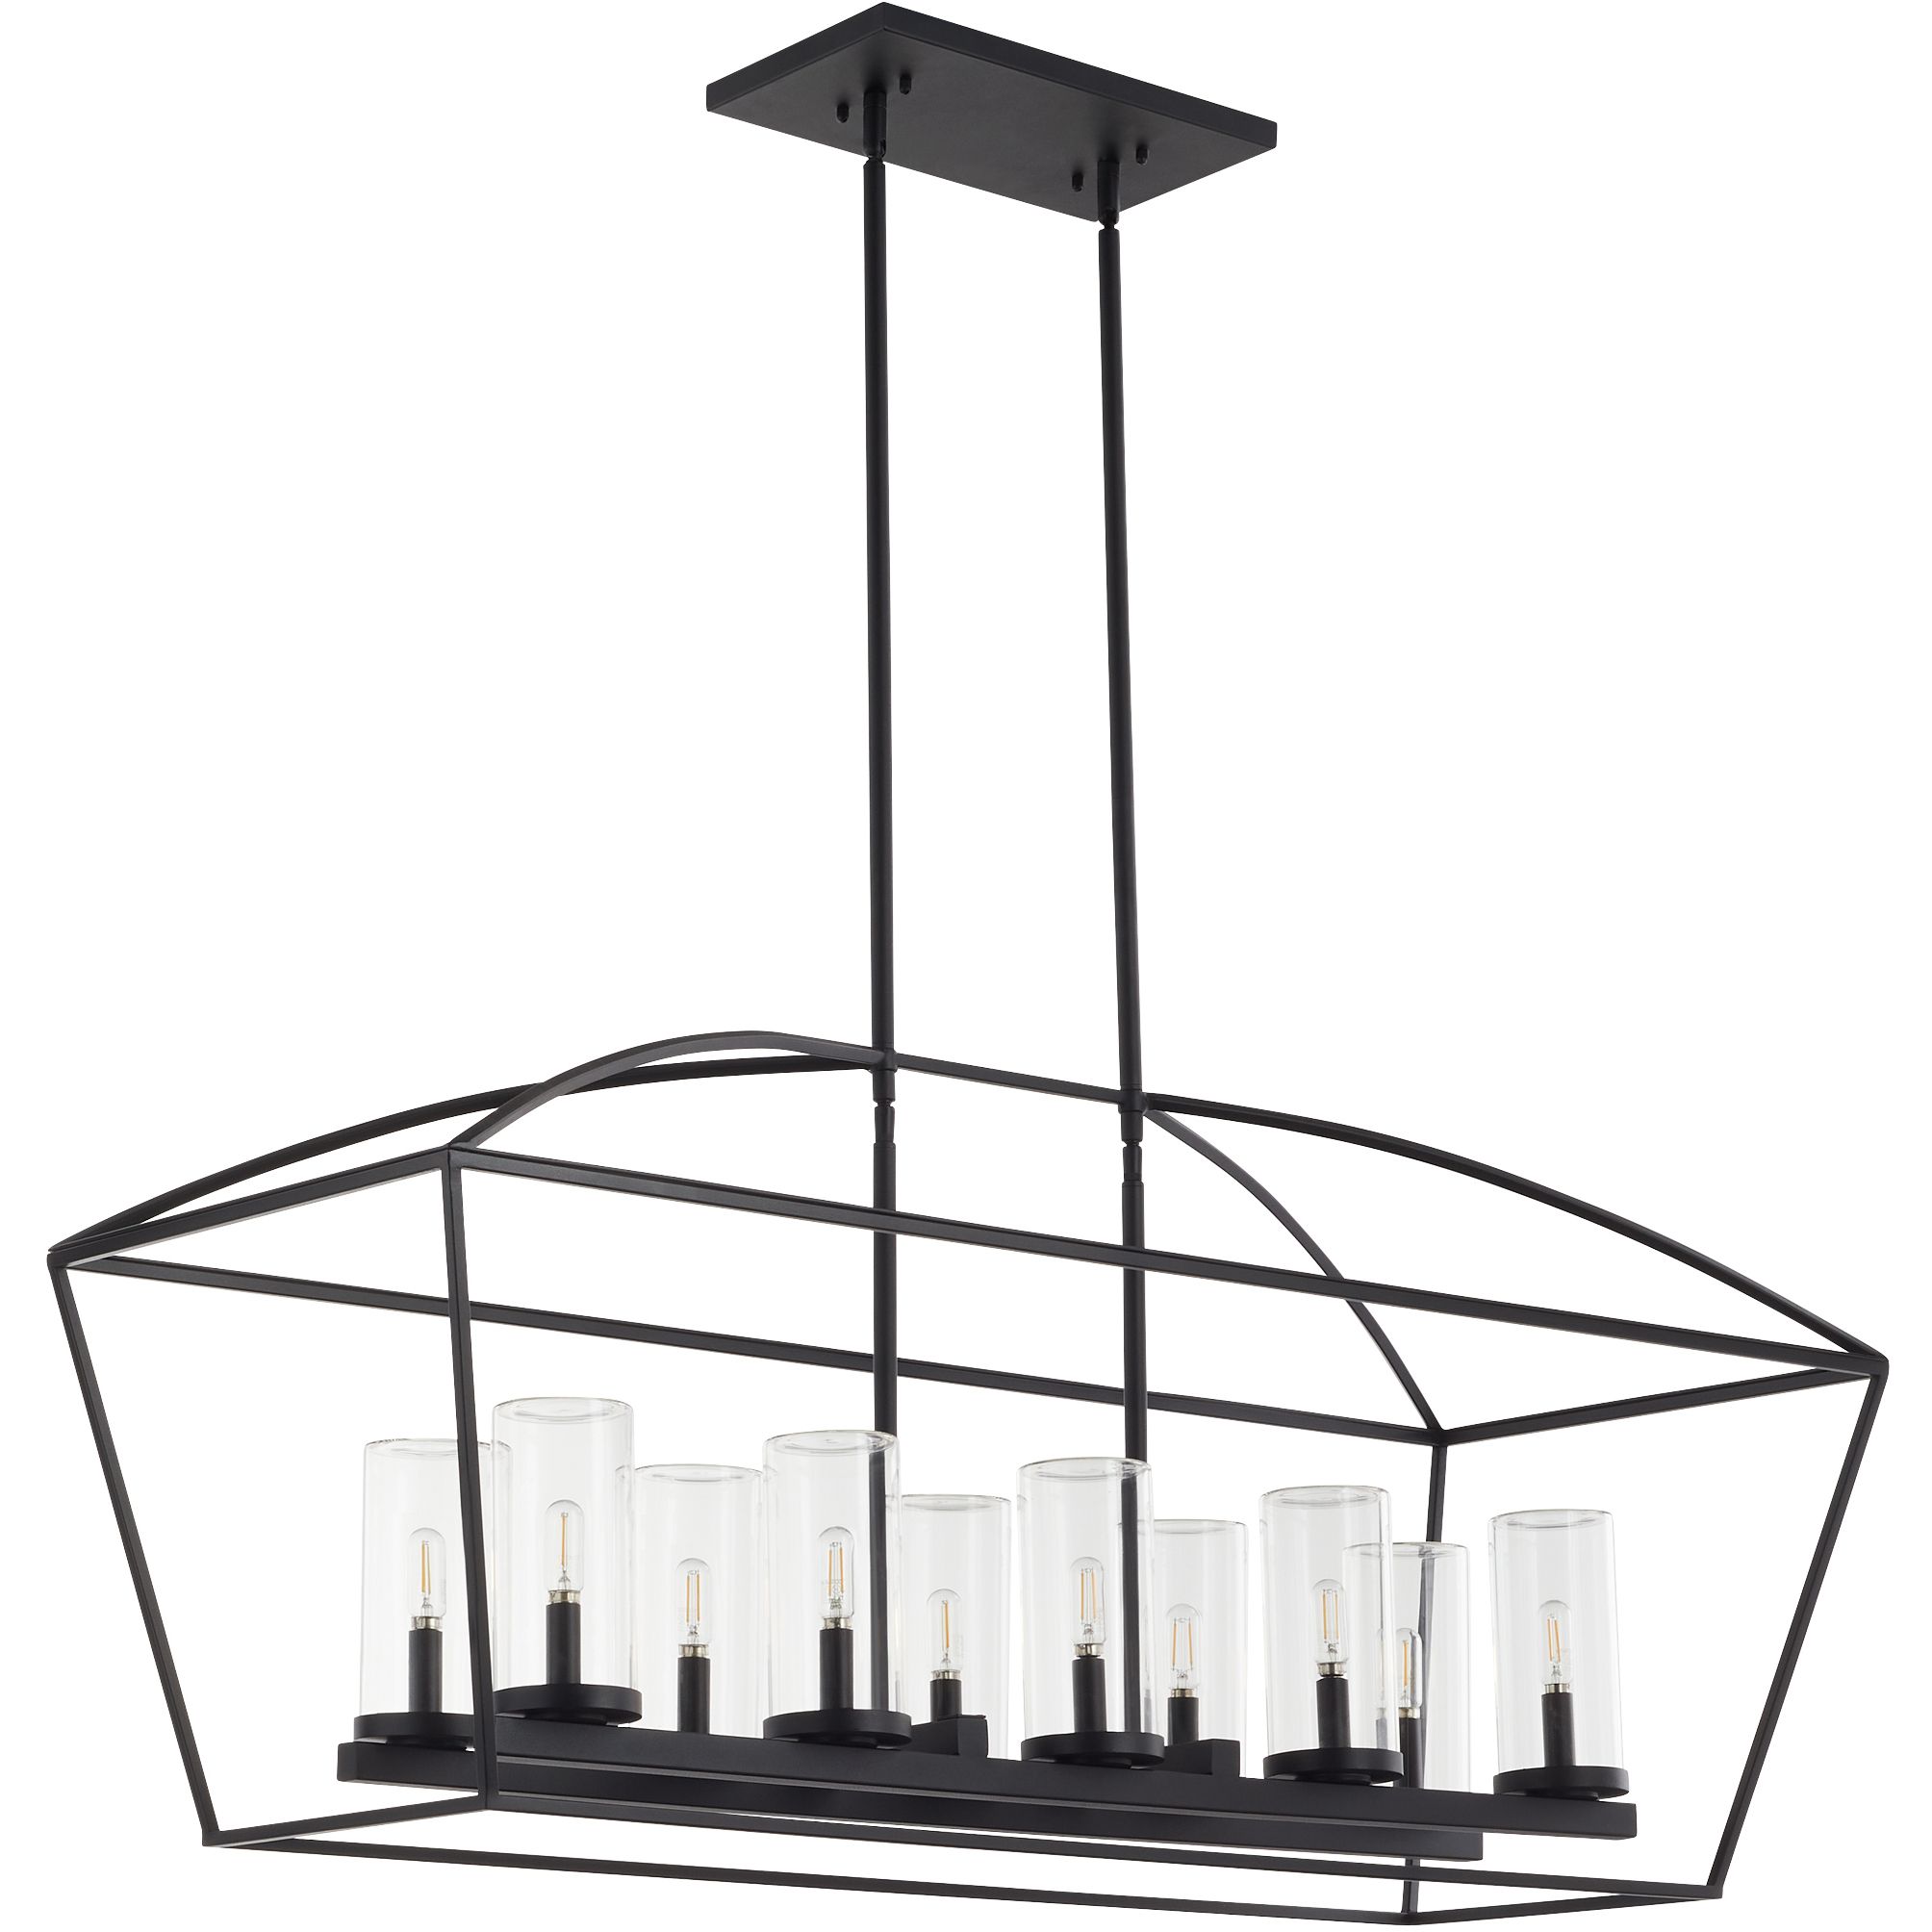
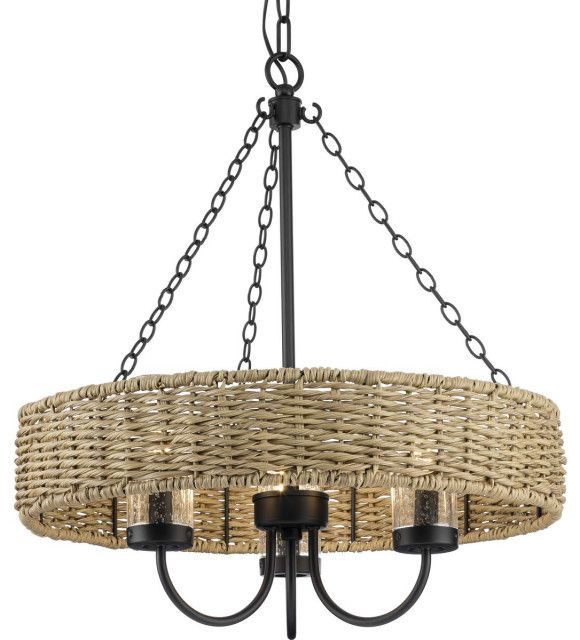
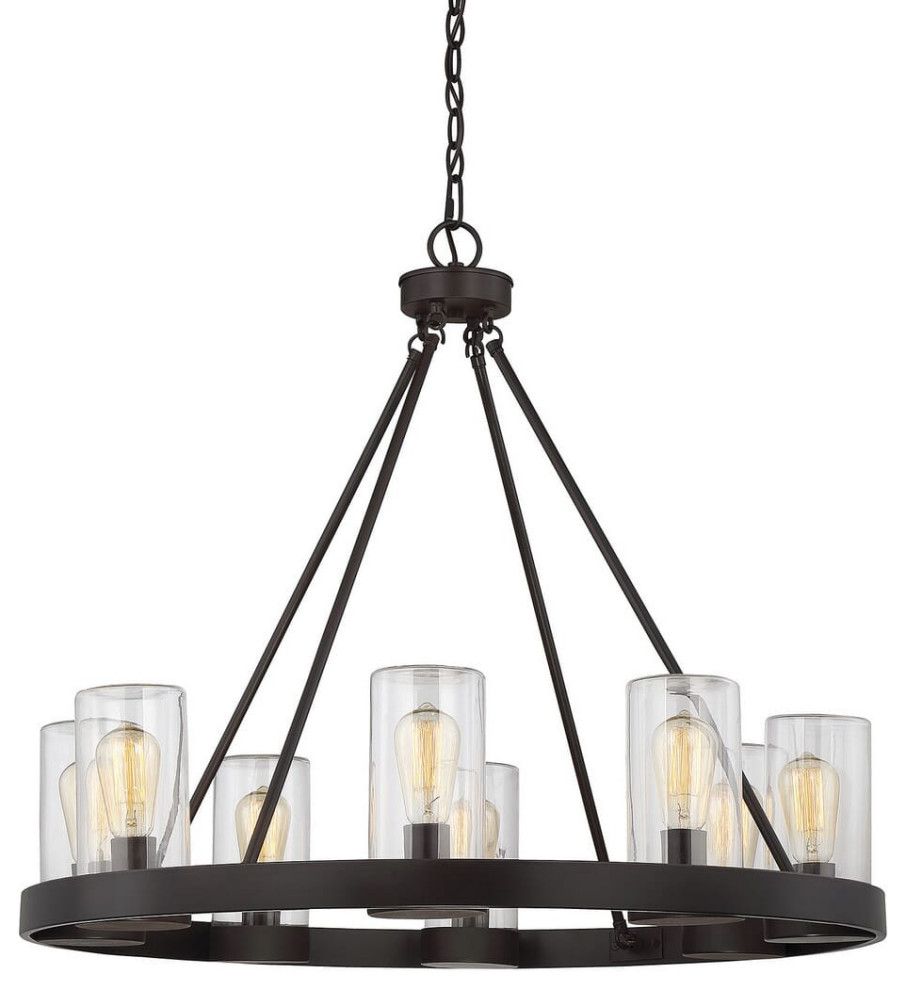
The Trade Winds Candler isn’t just any old light. It’s usually created with weather-resistant materials, like sturdy metal frames and possibly glass or resin components. This design is great for withstanding rain, wind, and those pesky sun’s rays. The candelabra style often includes multiple lights, casting a wide, welcoming light. This kind of design gives off a classic, timeless look that goes well with many different decorating styles. You’ll often find details like intricate scrollwork or a distressed finish, adding to its charm. Think of it as a piece of art that also happens to light your space. And, the different sizes available, from small to grand, mean you can find the perfect fit for your area.
Finding the Right Spot: Where to Place Your Chandelier
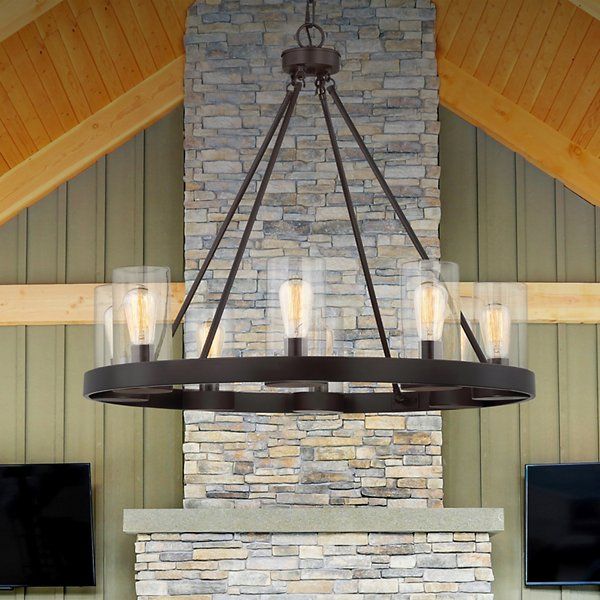
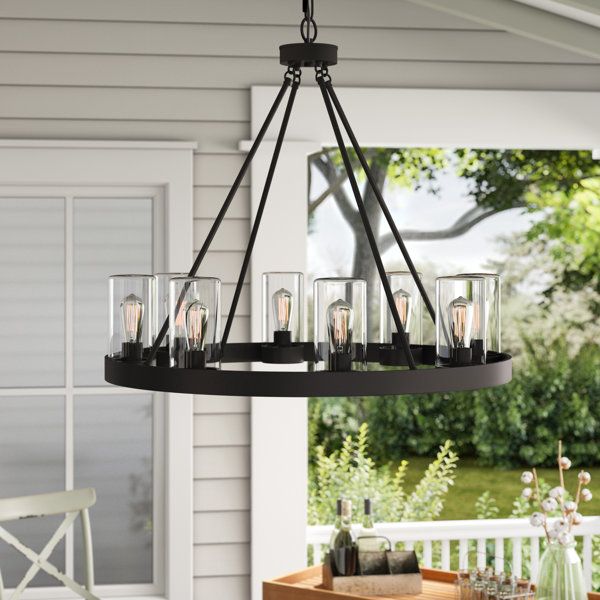
Placement is key to getting the most out of your chandelier. Consider the size of your area. A large chandelier can overwhelm a small patio, while a tiny one might get lost in a huge outdoor space. Think about the purpose of the space, too. If it’s a dining area, placing the chandelier directly above the table is a great idea. For a seating area, hang it lower to create a cozier atmosphere. Consider the height of your ceiling, too. You want it high enough so people can easily walk around it, but low enough to provide effective lighting. And don’t forget about the surrounding landscape. You can use the chandelier to highlight the features around your outdoor space, like trees or paths.
Installation and Safety: A Step-by-Step Guide
Safety first, always. Before you even think about installing it, turn off the power at the breaker box. Seriously. Next, make sure your chandelier is compatible with your existing electrical system. If you’re not comfortable with electrical work, hire a professional. They’ll ensure everything is wired correctly and up to code. Installation usually involves mounting the fixture to a ceiling hook or bracket. Follow the manufacturer’s instructions carefully. Once it’s up, double-check all the connections. After that, carefully install the light bulbs (make sure they’re the right type and wattage), and only then turn the power back on. It’s better to take your time and do it right than to rush and risk problems.
Choosing the Right Bulbs: Light Up Your Life
The type of light bulb you choose can dramatically impact the ambiance. LED bulbs are a fantastic choice because they’re energy-efficient, long-lasting, and come in a variety of color temperatures. For a warm, inviting glow, go for bulbs with a lower Kelvin rating (around 2700K-3000K). If you prefer a brighter, more modern look, you can opt for a higher Kelvin rating. Think about the lumens, too – that’s the measure of brightness. You want enough light to see, of course, but you also don’t want it to be harsh. Consider using dimmable bulbs so you can adjust the light level to suit the mood. And always make sure the bulbs are rated for outdoor use.
Maintenance and Upkeep: Keeping it Looking Great
Taking care of your chandelier will ensure it lasts for years. Regularly clean it with a soft cloth and mild soap and water. Avoid using harsh chemicals that could damage the finish. Inspect the wiring and connections periodically for any signs of wear or damage. If you live in an area with harsh weather, consider taking the chandelier down during the off-season to protect it. Always replace any burnt-out bulbs promptly. And, you might want to give it a fresh coat of protective sealant every few years to keep it looking its best. Little things like these can really make a difference in the long run.
Beyond the Basics: Adding Extra Charm
Now, let’s think about taking it one step further. Consider adding a dimmer switch to your chandelier so you can change the mood. Think about the surroundings. You could pair your chandelier with other outdoor lighting, like string lights or spotlights, to create layers of light. Consider the furniture and decor. Your chandelier is a central point, so choose furniture that complements it. Add some plants and maybe some outdoor cushions to really bring the space together. And don’t be afraid to get creative. Your outdoor area is an extension of your home, so make it reflect your style, and most importantly, have fun with it.
So, there you have it – a deep dive into the Trade Winds Candler Chandelier. From its elegant design and versatile placement to the necessary installation, maintenance, and how to really make it shine, we’ve covered everything. Remember, it’s about more than just lighting; it’s about creating an experience. It’s about transforming your outdoor area into a place you love to be, whether you’re hosting a dinner party or just relaxing with a book. I hope this guide has given you the inspiration and the knowledge to make it happen. Now go out there, create something beautiful, and enjoy your stunning, well-lit outdoor space. Until next time, happy illuminating, everyone.