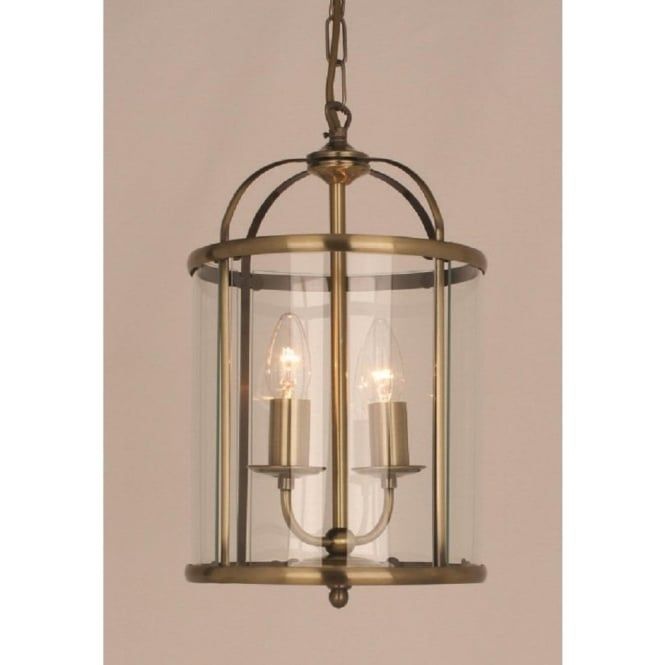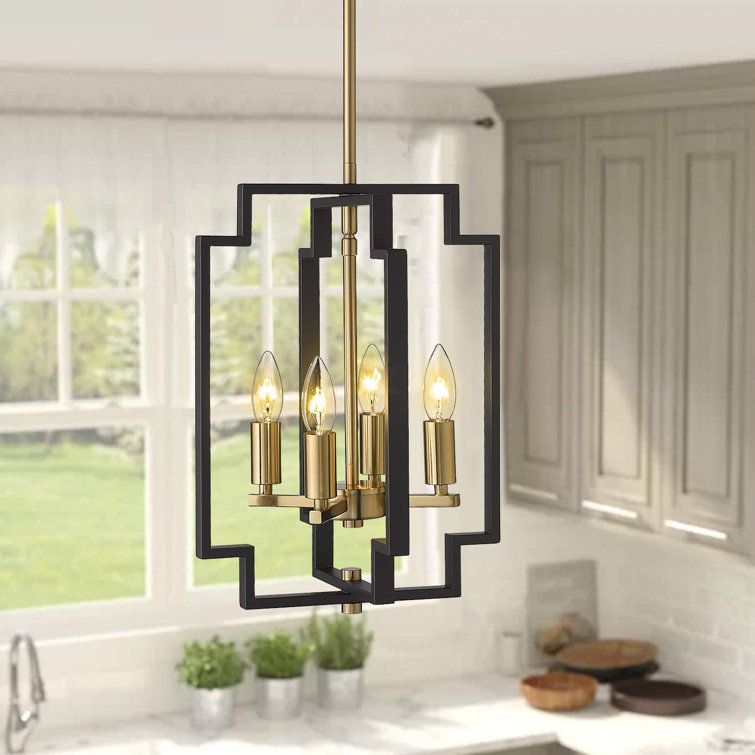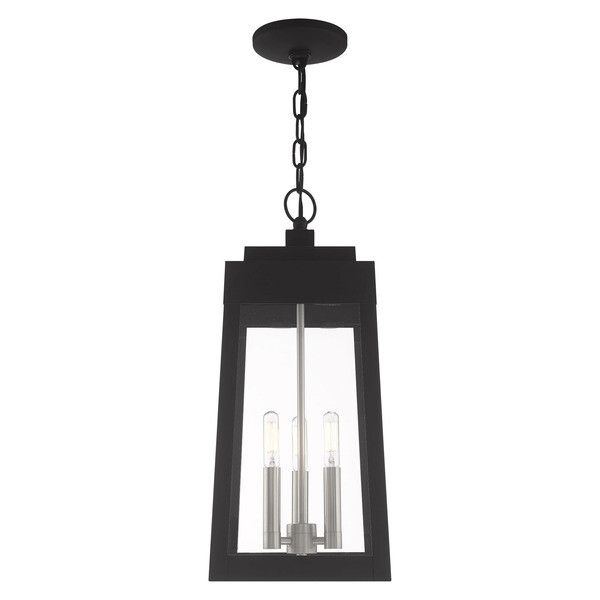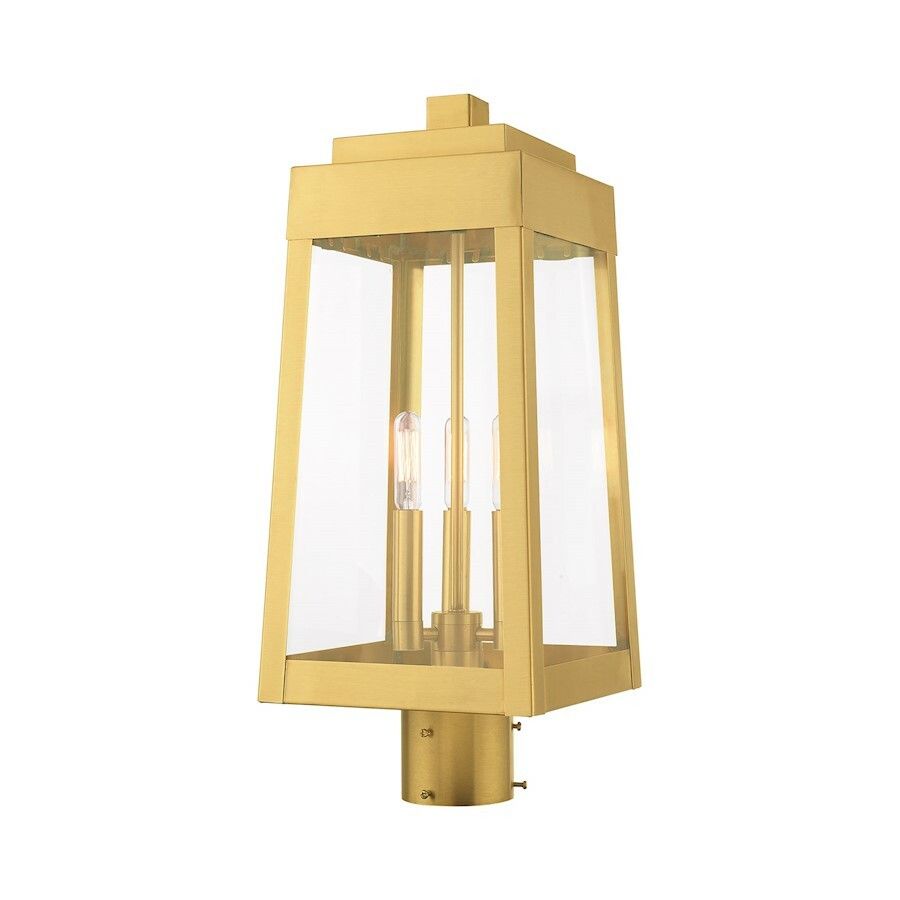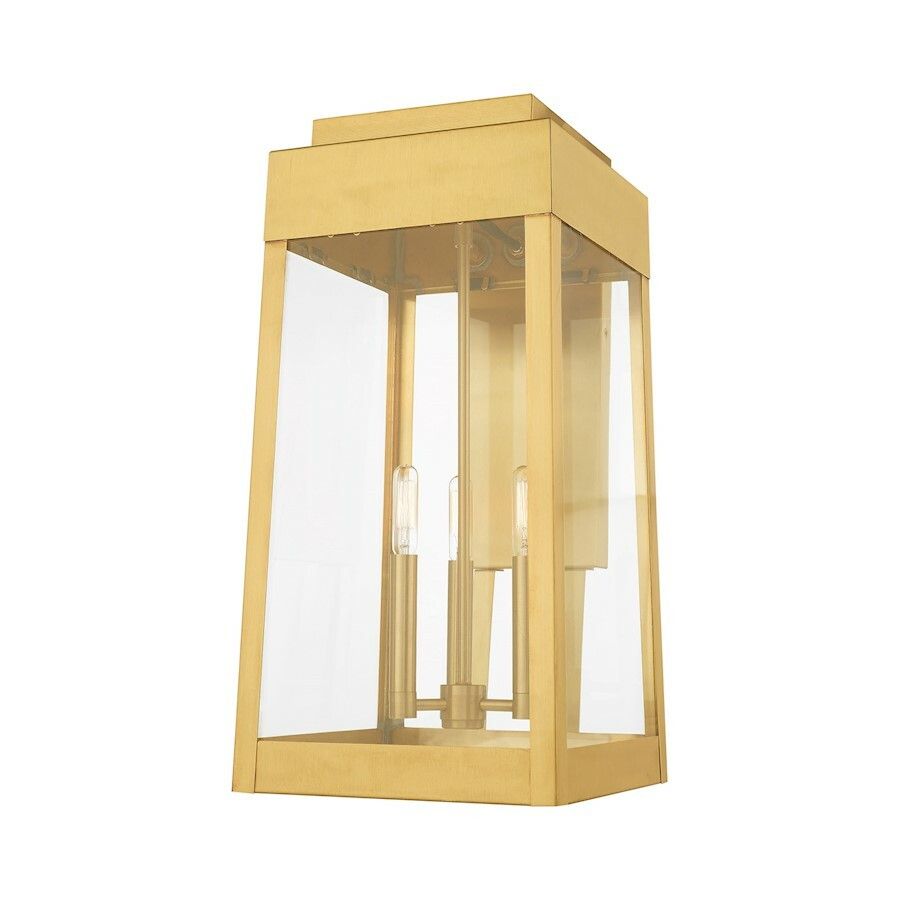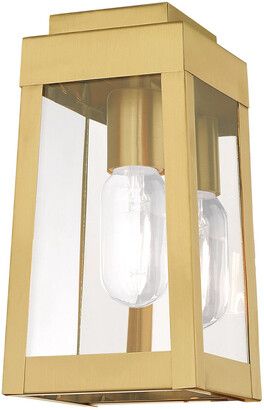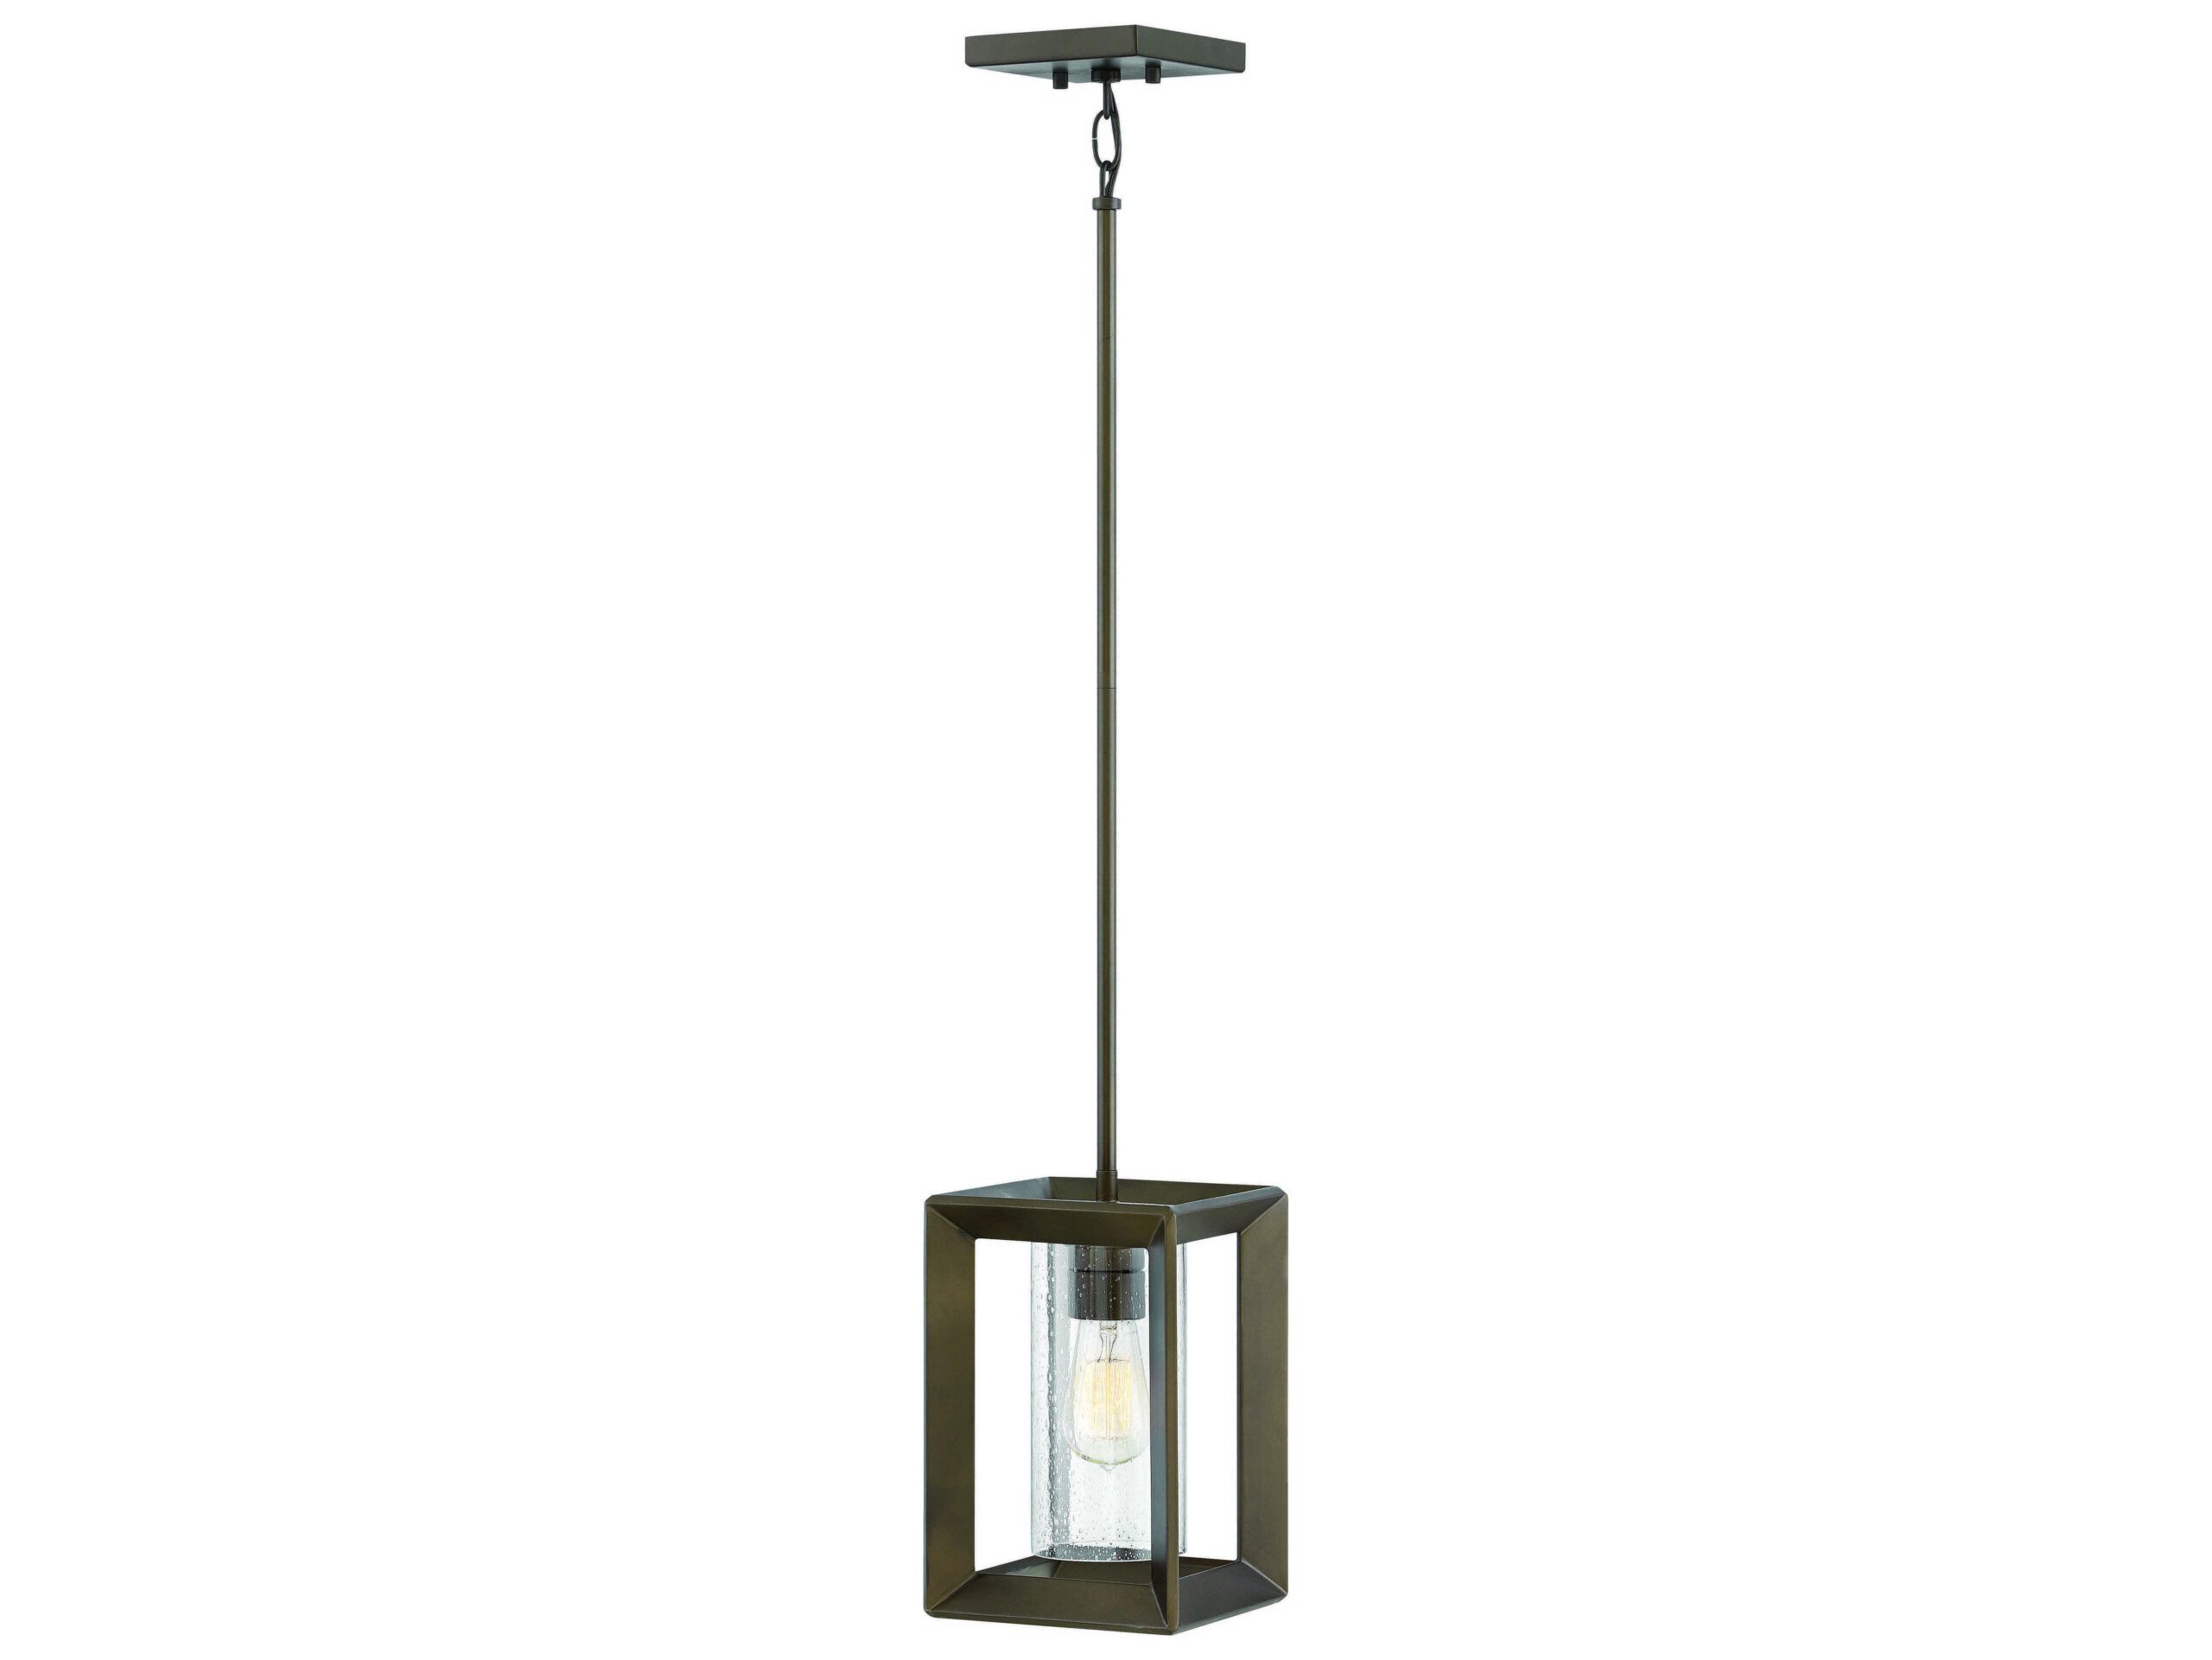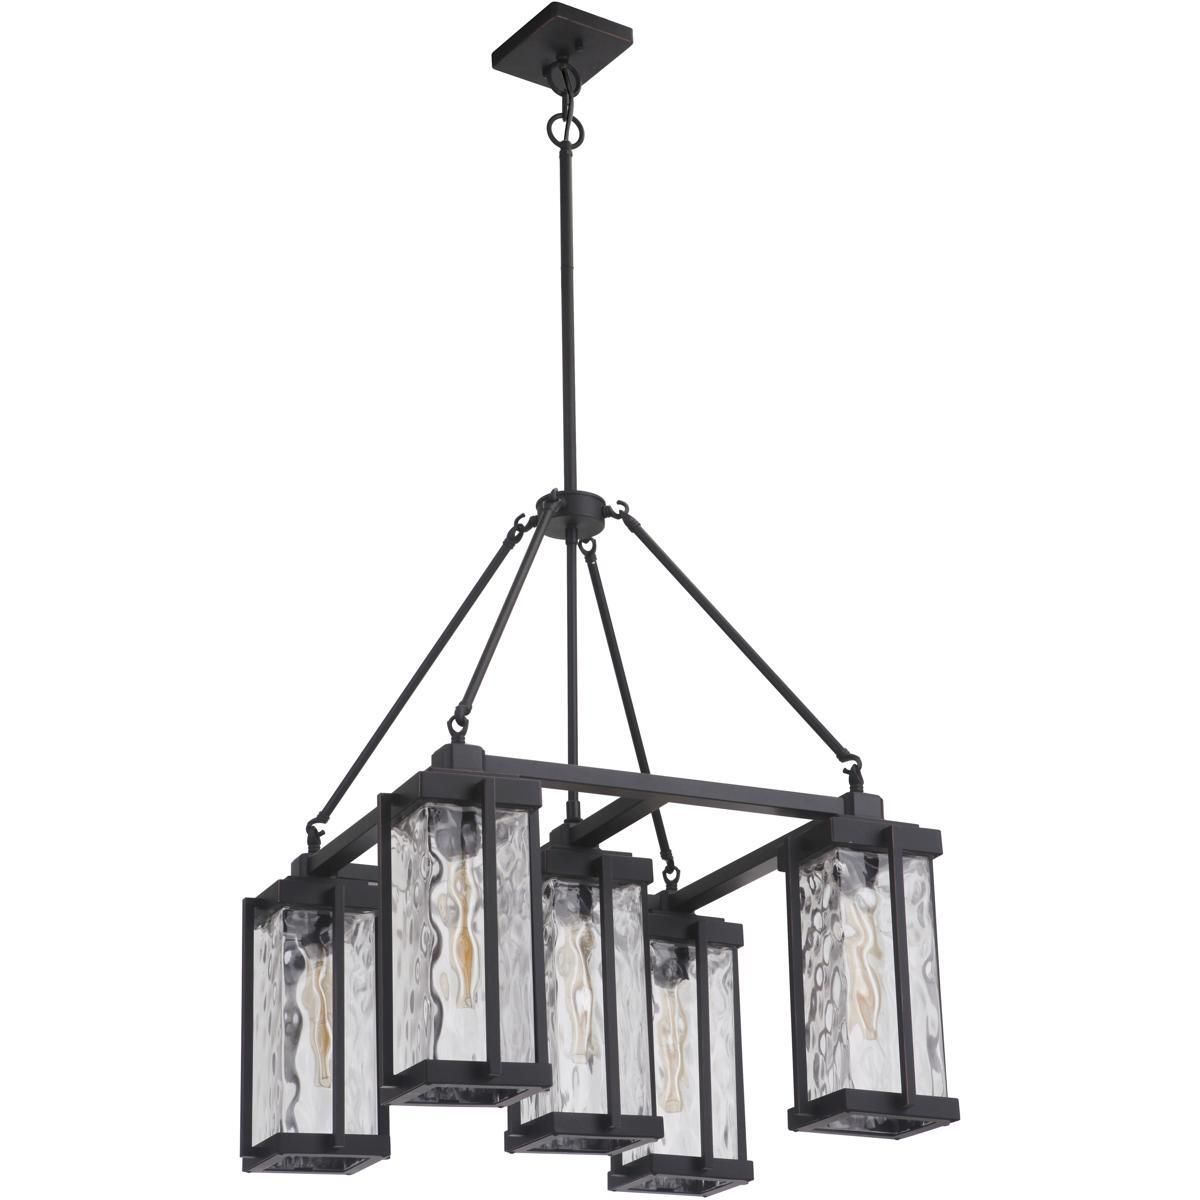
Oslo lanterns are more than just sources of light; they’re pieces of art, capable of adding warmth and charm to any area. Their simple, elegant design makes them perfect for both indoor and outdoor settings. This guide will walk you through everything you need to know to create your own Oslo lanterns, covering the best materials and providing clear, easy-to-follow instructions. Get prepared to illuminate your world in a new light, and maybe even impress your friends and family with your crafting skills. It’s a fun project, and the results are so rewarding. Let’s begin.
Ever looked at a beautifully lit garden or a cozy living room and thought, ‘I wish I could create that?’ Well, with Oslo lanterns, you absolutely can. These lanterns, known for their clean lines and Scandinavian-inspired design, are surprisingly simple to make. This guide will be your companion on this journey, breaking down the process into easy-to-manage steps. We’ll explore the best materials to use, from wood and glass to metal and everything in between. We’ll also delve into the construction process, making sure you have the knowledge and confidence to build your own stunning Oslo lanterns. No need to be a master craftsperson – a little patience and some basic tools are all you really need. Let’s get started, shall we?
Choosing Your Materials: The Foundation of Your Lantern
The materials you choose are the soul of your Oslo lantern. They dictate the look, feel, and longevity of your creation. Let’s look at some popular choices:
- Wood: Wood is a traditional choice for lanterns, bringing warmth and a natural aesthetic. Softwoods like pine and cedar are easier to work with, making them great for beginners. Hardwoods, like oak or maple, offer greater durability and a more refined look, although they’re a bit more difficult to cut and shape. Consider the type of wood and how it will weather. For outside lanterns, choose woods that are naturally rot-resistant or treat the wood with a water-resistant finish.
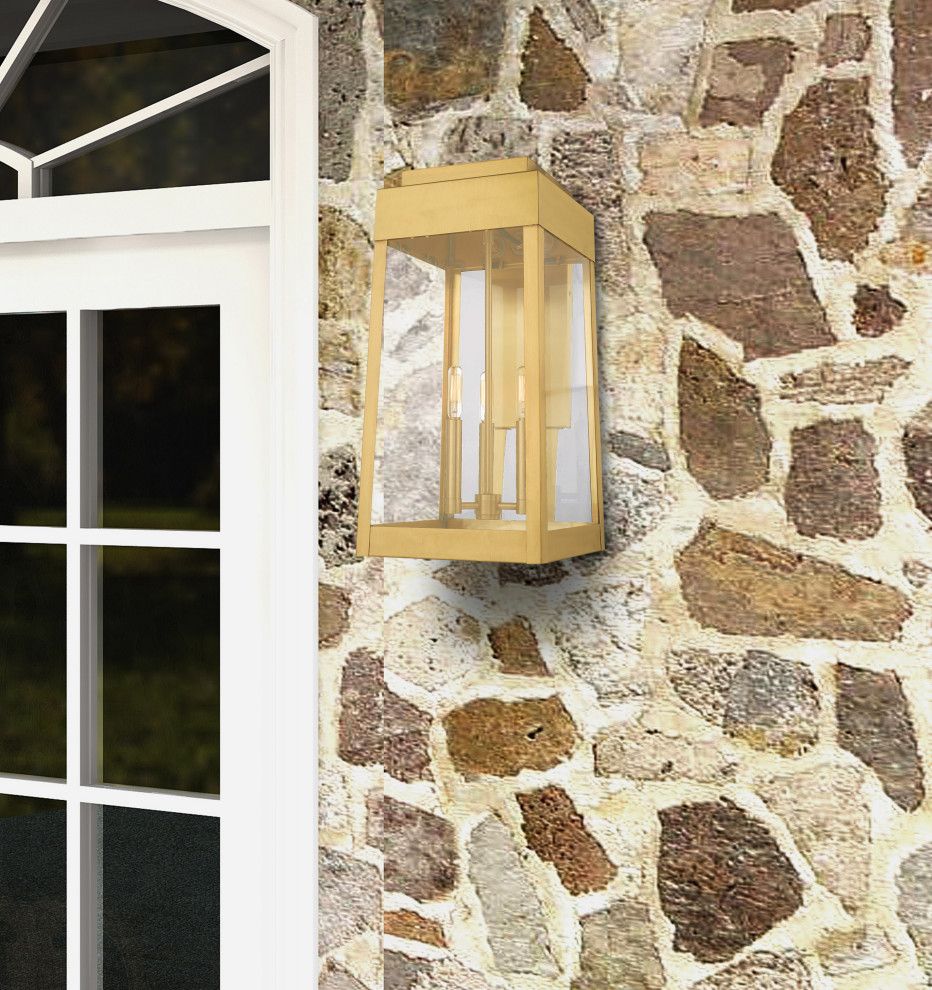
- Metal: Metal frames provide a modern, industrial appeal. Aluminum is lightweight and doesn’t rust, making it a good choice for outdoor use. Steel is stronger, but it requires proper treatment to prevent rust. Copper and brass offer a beautiful, aged appearance, but they can be more expensive. Think about how you will join the metal pieces: welding, soldering, or using screws are all options.
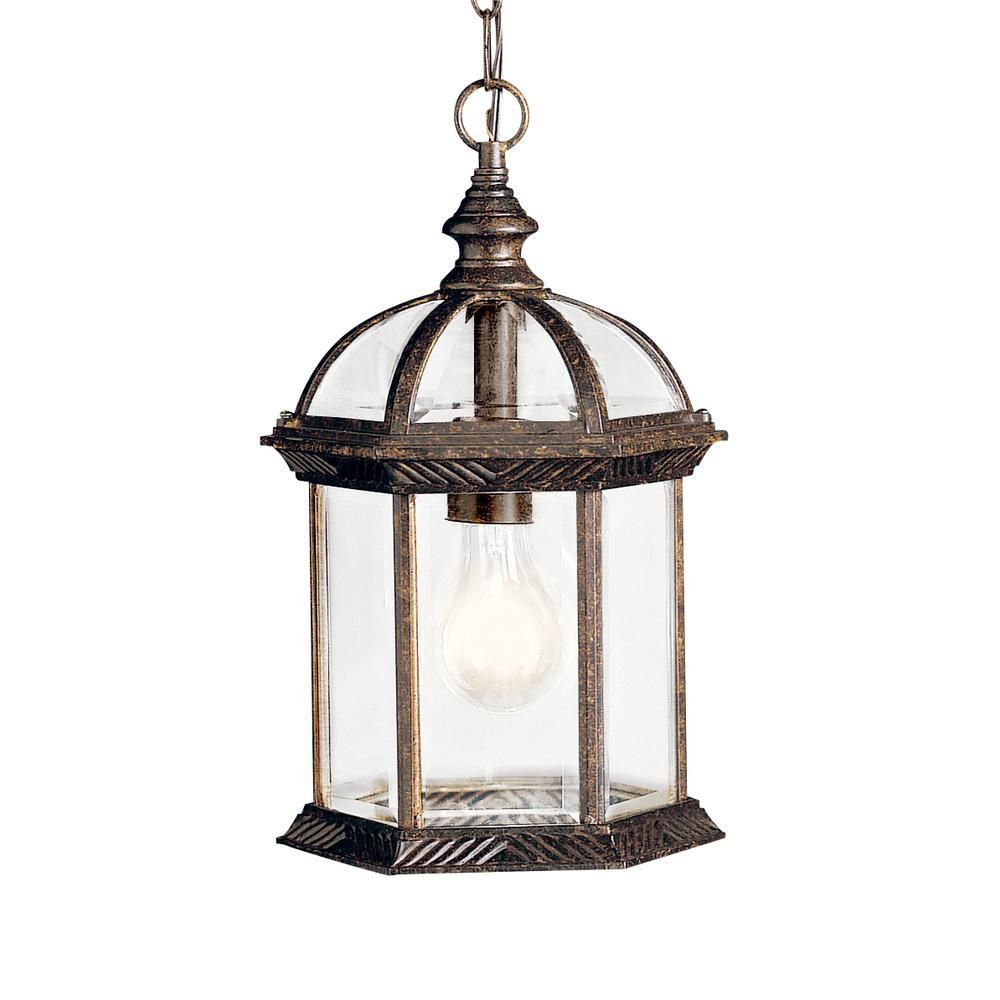
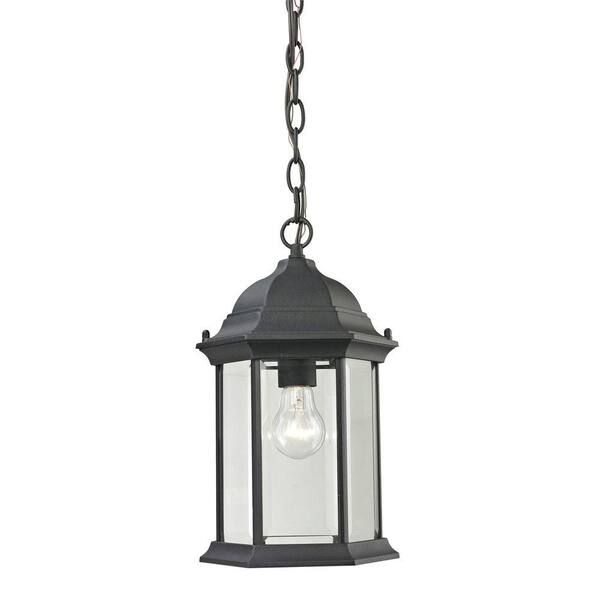
- Glass or Acrylic Panels: These form the sides of your lantern and let the light shine through. Glass gives a classic, elegant look, but it can be fragile. Tempered glass is a safer choice. Acrylic is more durable, lightweight, and comes in a variety of colors and finishes. Make sure the panels are cut to the right size for your frame, and consider how you’ll attach them (glue, clips, or channels).
- Fasteners and Adhesives: Don’t forget the little things. Screws, nails, glue, and any other fasteners need to be suitable for the chosen materials and the conditions where the lantern will be used. For outdoor lanterns, use stainless steel screws to avoid rust. Choose a glue that is appropriate for the materials and weather-resistant.
Step-by-Step Construction: Bringing Your Vision to Life
Now for the fun part: building your lantern. Here’s a general guide, which you can adapt to your own design and materials:
- Plan and Design: Sketch your lantern, and make a list of all the materials you will need. Take measurements and create a cutting list. This will help you avoid mistakes and waste. You can find many free Oslo lantern plans online to inspire you, and there are even some free stl files if you have a 3D printer.
- Cut the Frame: Cut the wood or metal pieces to the sizes specified in your plan. Use a saw or metal cutter, depending on your material. Safety first – wear safety glasses and gloves.
- Assemble the Frame: Join the frame pieces using your chosen method (screws, glue, welding, etc.). Ensure the corners are square and the frame is sturdy. If using wood, pre-drilling holes will prevent splitting. For metal, make sure your welds are strong and smooth.
- Install the Panels: Attach the glass or acrylic panels to the frame. Use glue, clips, or channels. Make sure the panels are secure and that there are no gaps that will let in wind or rain. Be careful when handling glass; always wear gloves.
- Add a Base and Top: A base provides stability, and a top protects the lantern from the weather. You can create these from the same materials as the frame, or you can use a different material for contrast. The top is also a good place to add a handle for carrying the lantern.
- Finishing Touches: Sand the wood, if needed, and apply a finish to protect it from the elements. For metal, you might want to paint it or apply a protective coating. Add a door or a way to access the inside of the lantern for changing the light source. This is also where you can add any decorative elements you like.
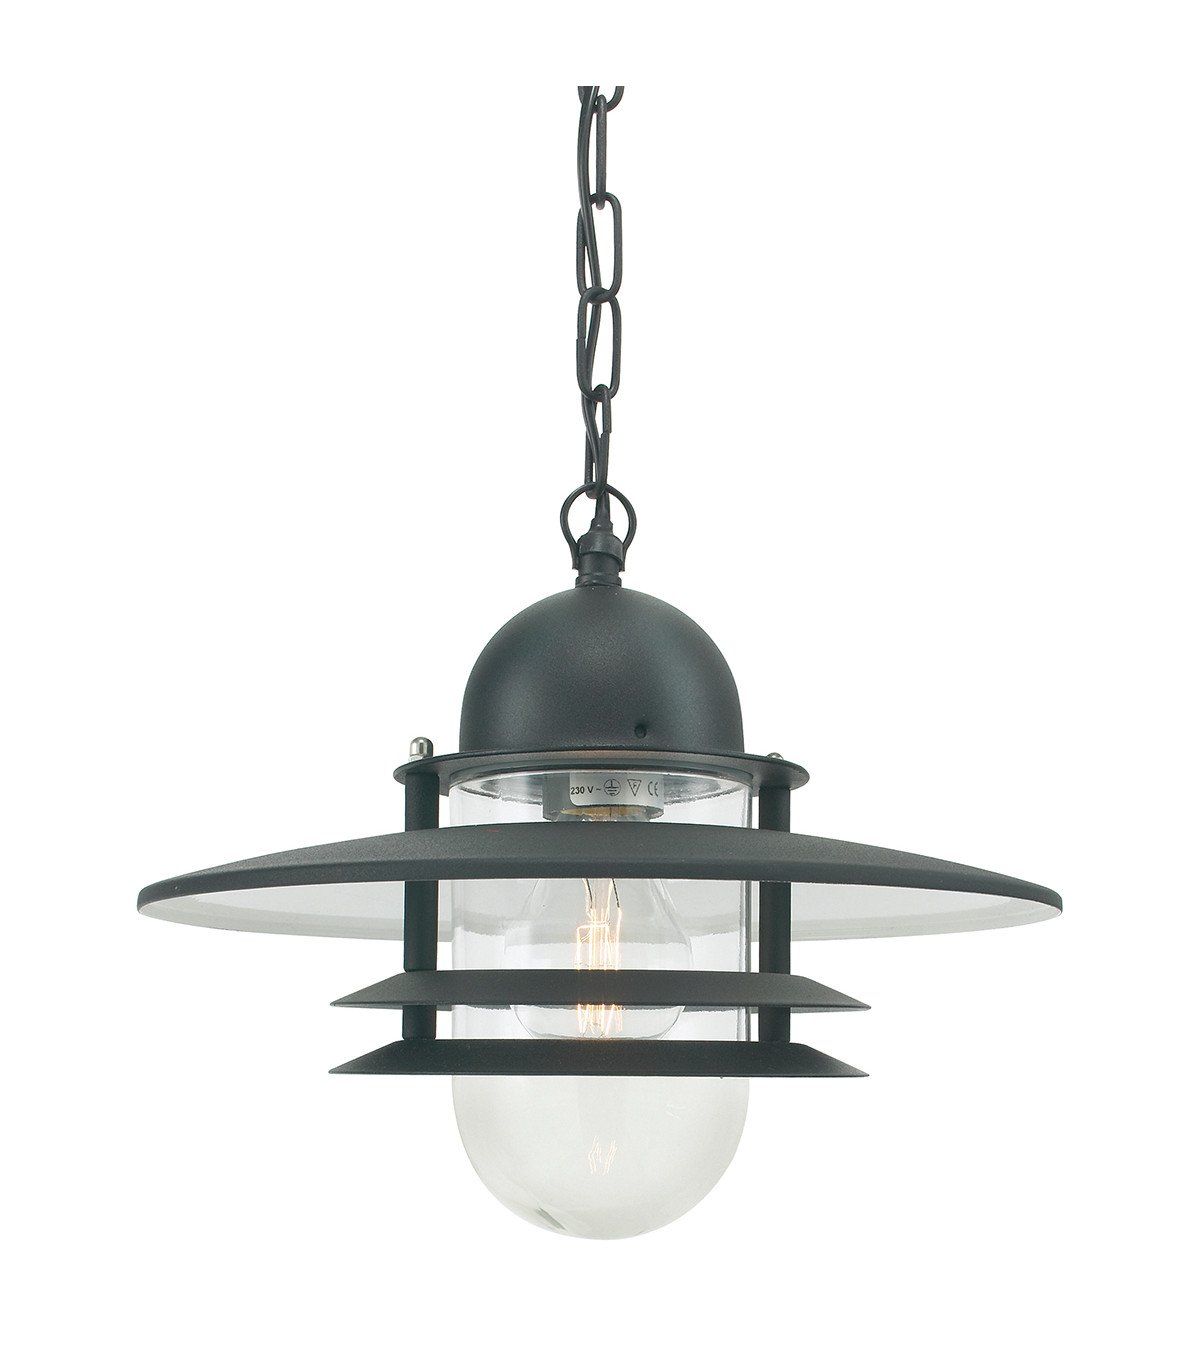
Lighting Options: Setting the Mood with Light
The type of light source you use makes a huge difference in the atmosphere your Oslo lantern creates.
- Candles: Traditional candles are classic, and they cast a warm, flickering light. Be very careful when using candles inside lanterns, and make sure the lantern is stable and made of non-flammable materials. Never leave a lit candle unattended. Consider using battery-operated LED candles for increased safety, especially for children or pets.
- LED Lights: LED lights are energy-efficient, safe, and come in many shapes and sizes. You can use LED string lights, fairy lights, or individual LED bulbs. Consider using warm white LEDs for a cozy feel or color-changing LEDs for a more playful effect. LED lights also run cooler than traditional bulbs, making them a safer option for enclosed lanterns.
- Solar Lights: Solar-powered lights are a great option for outdoor lanterns. They charge during the day and automatically turn on at night. They’re eco-friendly and convenient, but they may not be as bright as other options.
- Light Placement: How you place your light source will also affect the look. Center the light for a balanced glow, or place it at the bottom for a more dramatic effect. Experiment to see what you like best.
Safety First: Precautions and Best Practices
Safety should always be your top priority when building and using Oslo lanterns. Here are some important considerations:
- Materials: Choose fire-resistant materials whenever possible, especially if you’re using candles. Avoid using flammable materials near heat sources.
- Ventilation: Ensure your lantern has adequate ventilation to prevent heat buildup, especially if using candles or incandescent bulbs. This is important to avoid damage or fire.
- Stability: Make sure your lantern is stable and won’t tip over easily. Place it on a level surface, and consider adding weights to the base for extra stability.
- Heat: Be careful when handling hot lanterns, especially those with candles or incandescent bulbs. Allow them to cool down before touching them.
- Supervision: Never leave lit lanterns unattended, particularly if there are children or pets present. Make sure everyone is aware of the potential hazards.
- Weather: If your lantern is outdoors, protect it from the elements. Use a water-resistant finish on the wood and ensure the glass or acrylic panels are securely attached.
Tips and Tricks for Success
Here are some extra tips to help you build beautiful and long-lasting Oslo lanterns:
- Start Simple: If you’re a beginner, start with a simple design and basic materials. You can always upgrade your skills and create more complex lanterns later.
- Measure Twice, Cut Once: This is a golden rule of crafting. Double-check all your measurements before cutting to avoid mistakes.
- Use Clamps: Clamps are your best friend when assembling the frame. They hold the pieces together while the glue dries or while you’re attaching screws.
- Sand Smoothly: Sanding removes rough edges and imperfections, giving your lantern a more professional look. Start with a coarser grit sandpaper and work your way to a finer grit.
- Consider the Environment: Think about where you’ll be using your lantern. Will it be exposed to the weather? Will it be indoors or outdoors? Choose your materials and finishes accordingly.
- Don’t Be Afraid to Experiment: Try different materials, shapes, and lighting options. See what works best for you and your style. Crafting should be fun. And, finally, don’t be afraid to make a mistake; it’s all part of the learning process.
Troubleshooting Common Issues
Even with the best planning, things can go wrong. Here’s how to handle some common problems:
- Frame Not Square: If the frame isn’t square, try using clamps and adjusting the corners until they’re aligned. You might need to cut and re-join some pieces. If the problem is severe, you may need to start again.
- Panels Don’t Fit: If your panels are slightly too large, you can carefully sand down the edges until they fit. If they’re too small, you can fill the gaps with caulk or sealant.
- Glass Breaks: Always wear safety glasses when handling glass. If a panel breaks, replace it immediately. Use the right type of glue to secure the new panel.
- Wood Splits: Pre-drill holes before driving screws into wood to prevent splitting. If the wood has already split, try using wood glue and clamps to repair it.
- Light Doesn’t Work: Check the bulb, the wiring, and the power source. Make sure all connections are secure and that the light source is compatible with the lantern. If using battery-operated lights, check the batteries.
Building Oslo lanterns is a rewarding project that combines creativity, craftsmanship, and a touch of magic. By understanding the materials, following the construction steps, and prioritizing safety, you can create beautiful and functional lanterns that will enhance your home and garden. Remember, the key is to enjoy the process and embrace the learning curve. So, gather your materials, gather your tools, and get ready to illuminate your world, one stunning Oslo lantern at a time. Go on, give it a try. You might just surprise yourself with what you can create. Happy crafting, and enjoy the warm glow.