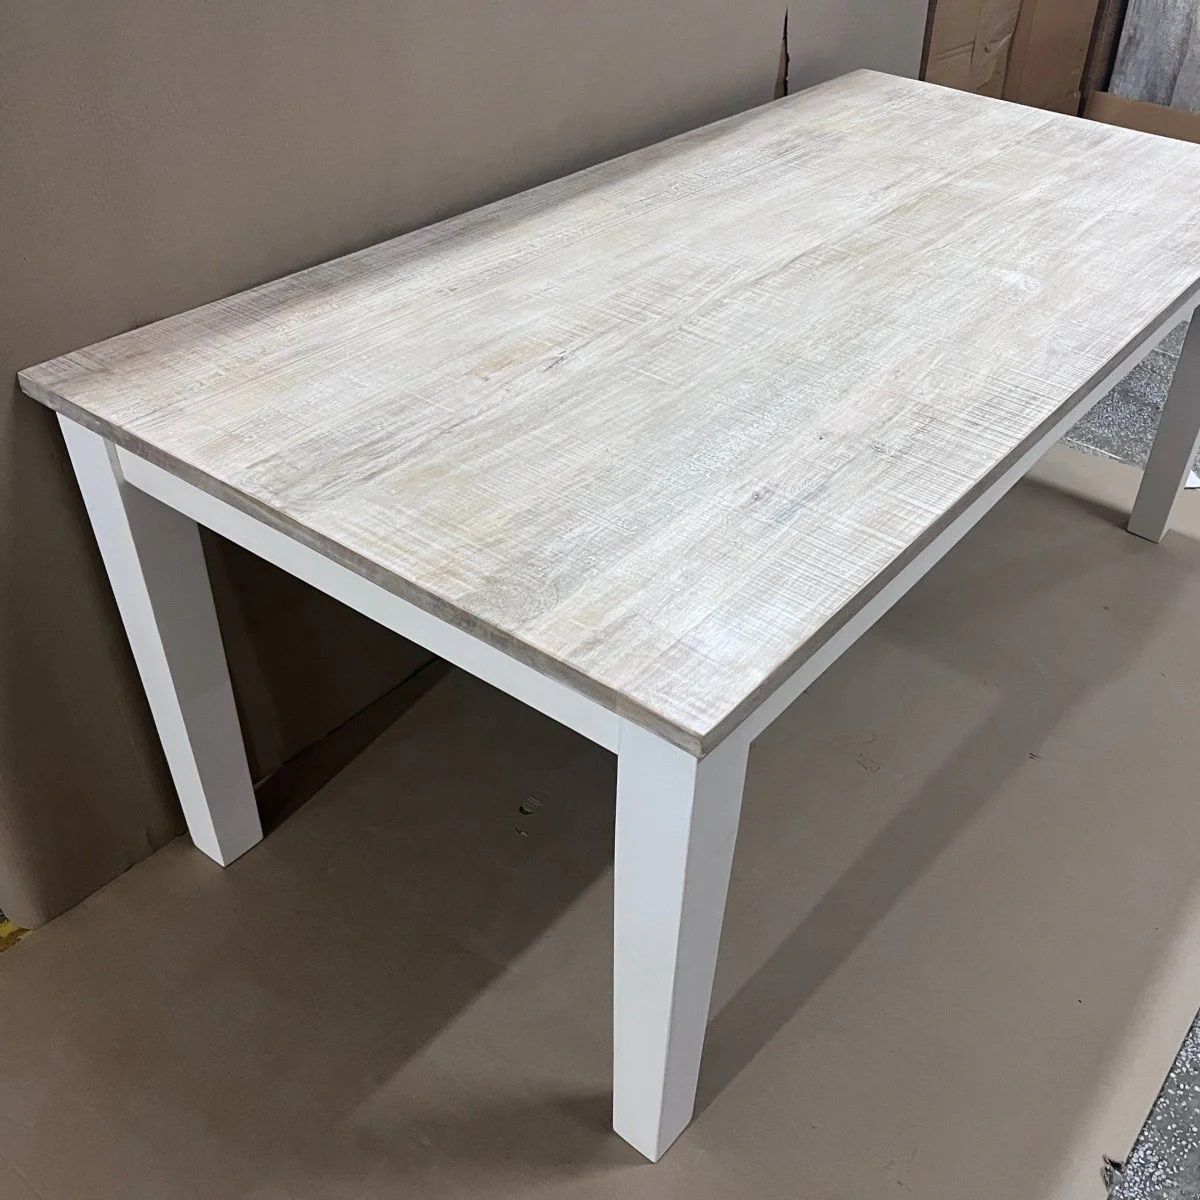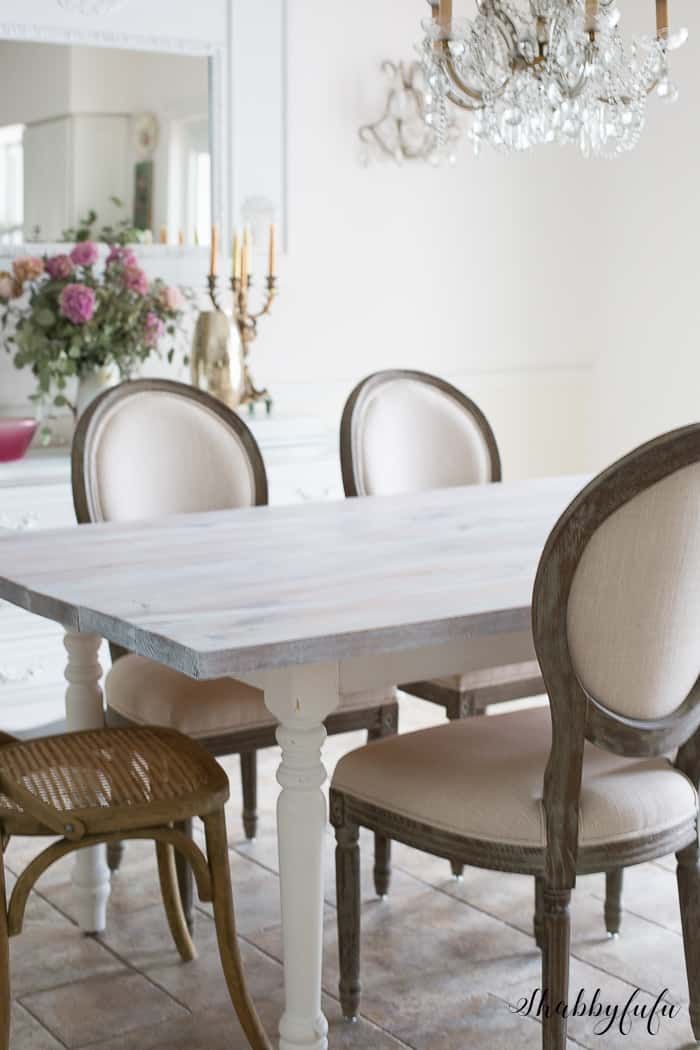
There’s something undeniably captivating about a whitewash table. It evokes a sense of history, a touch of coastal breeze, or perhaps a cozy farmhouse feel. Whether you’re drawn to its rustic simplicity or its ability to brighten a space, the whitewash table has cemented its place as a beloved decor element. But how do you achieve that coveted look? It’s not just about slapping some paint on; it’s about understanding the techniques and materials that bring this enduring style to life. Let’s dive into the art of creating a beautiful whitewash table that will be a focal point in your home for years to come.
Have you ever walked into a room and been immediately drawn to a piece of furniture that just feels right? Often, that feeling comes from a well-executed whitewash finish on a table. It’s a technique that’s both simple and sophisticated, capable of transforming an ordinary piece of wood into something truly special. Forget intimidating furniture makeovers; achieving a beautiful whitewash table is well within your reach. This guide is designed to walk you through every step, demystifying the process and empowering you to create a piece that reflects your personal style and adds warmth to your living space. We’ll explore the ‘why’ and the ‘how,’ so you can confidently embark on your whitewashing journey.
Understanding the Whitewash Effect
So, what exactly is whitewash? At its heart, it’s a translucent coating that allows the natural grain of the wood to show through. Unlike solid paint, whitewash is diluted, creating a soft, aged appearance. Think of it as a gentle veil of white, rather than a thick blanket. This technique is fantastic because it’s forgiving and adaptable. You can control the opacity by adjusting the water-to-paint ratio, or even use specialized whitewash products. The goal is to achieve a look that’s weathered and worn, as if the table has seen years of loving use. It’s this subtle layering and texture that gives whitewash its charm and makes each piece unique. It’s a way to highlight the wood’s inherent beauty while imparting a fresh, bright character.
Choosing Your Whitewash Medium
The first big decision is what you’ll use to create that whitewash effect. You have a few excellent options. Many people opt for a simple mix of latex paint and water. A common starting point is a 1:1 ratio of paint to water, but you can always add more water for a lighter effect or more paint for a more opaque finish. Another popular choice is a dedicated whitewash product, often found in craft or paint stores. These are formulated specifically for this purpose and can offer a more consistent result. Some DIYers even swear by limewash, a traditional material that creates a beautiful, matte, and breathable finish, though it can be a bit trickier to work with. Whichever you choose, make sure it’s suitable for furniture and the type of wood you’re working with. Always test your mixture on a scrap piece of wood first to get the consistency and color just right.
Preparation is Key: Getting Your Table Ready
Before you even think about mixing paint, proper preparation is crucial. Your table needs to be clean and smooth. Start by giving it a thorough cleaning to remove any dirt, grease, or old finishes. A degreaser or a mild soap and water solution usually does the trick. Next, address any imperfections. Fill any holes or cracks with wood filler and let it dry completely. Then comes the sanding. You’ll want to sand the entire surface to create a smooth, even base for your whitewash. Start with a medium-grit sandpaper (around 120-150 grit) and finish with a finer grit (220 grit) for a silky-smooth feel. After sanding, be sure to wipe away all the dust with a tack cloth or a damp rag. A clean, smooth surface ensures your whitewash will adhere properly and look its best. Don’t skip this step; it truly makes a difference in the final outcome.
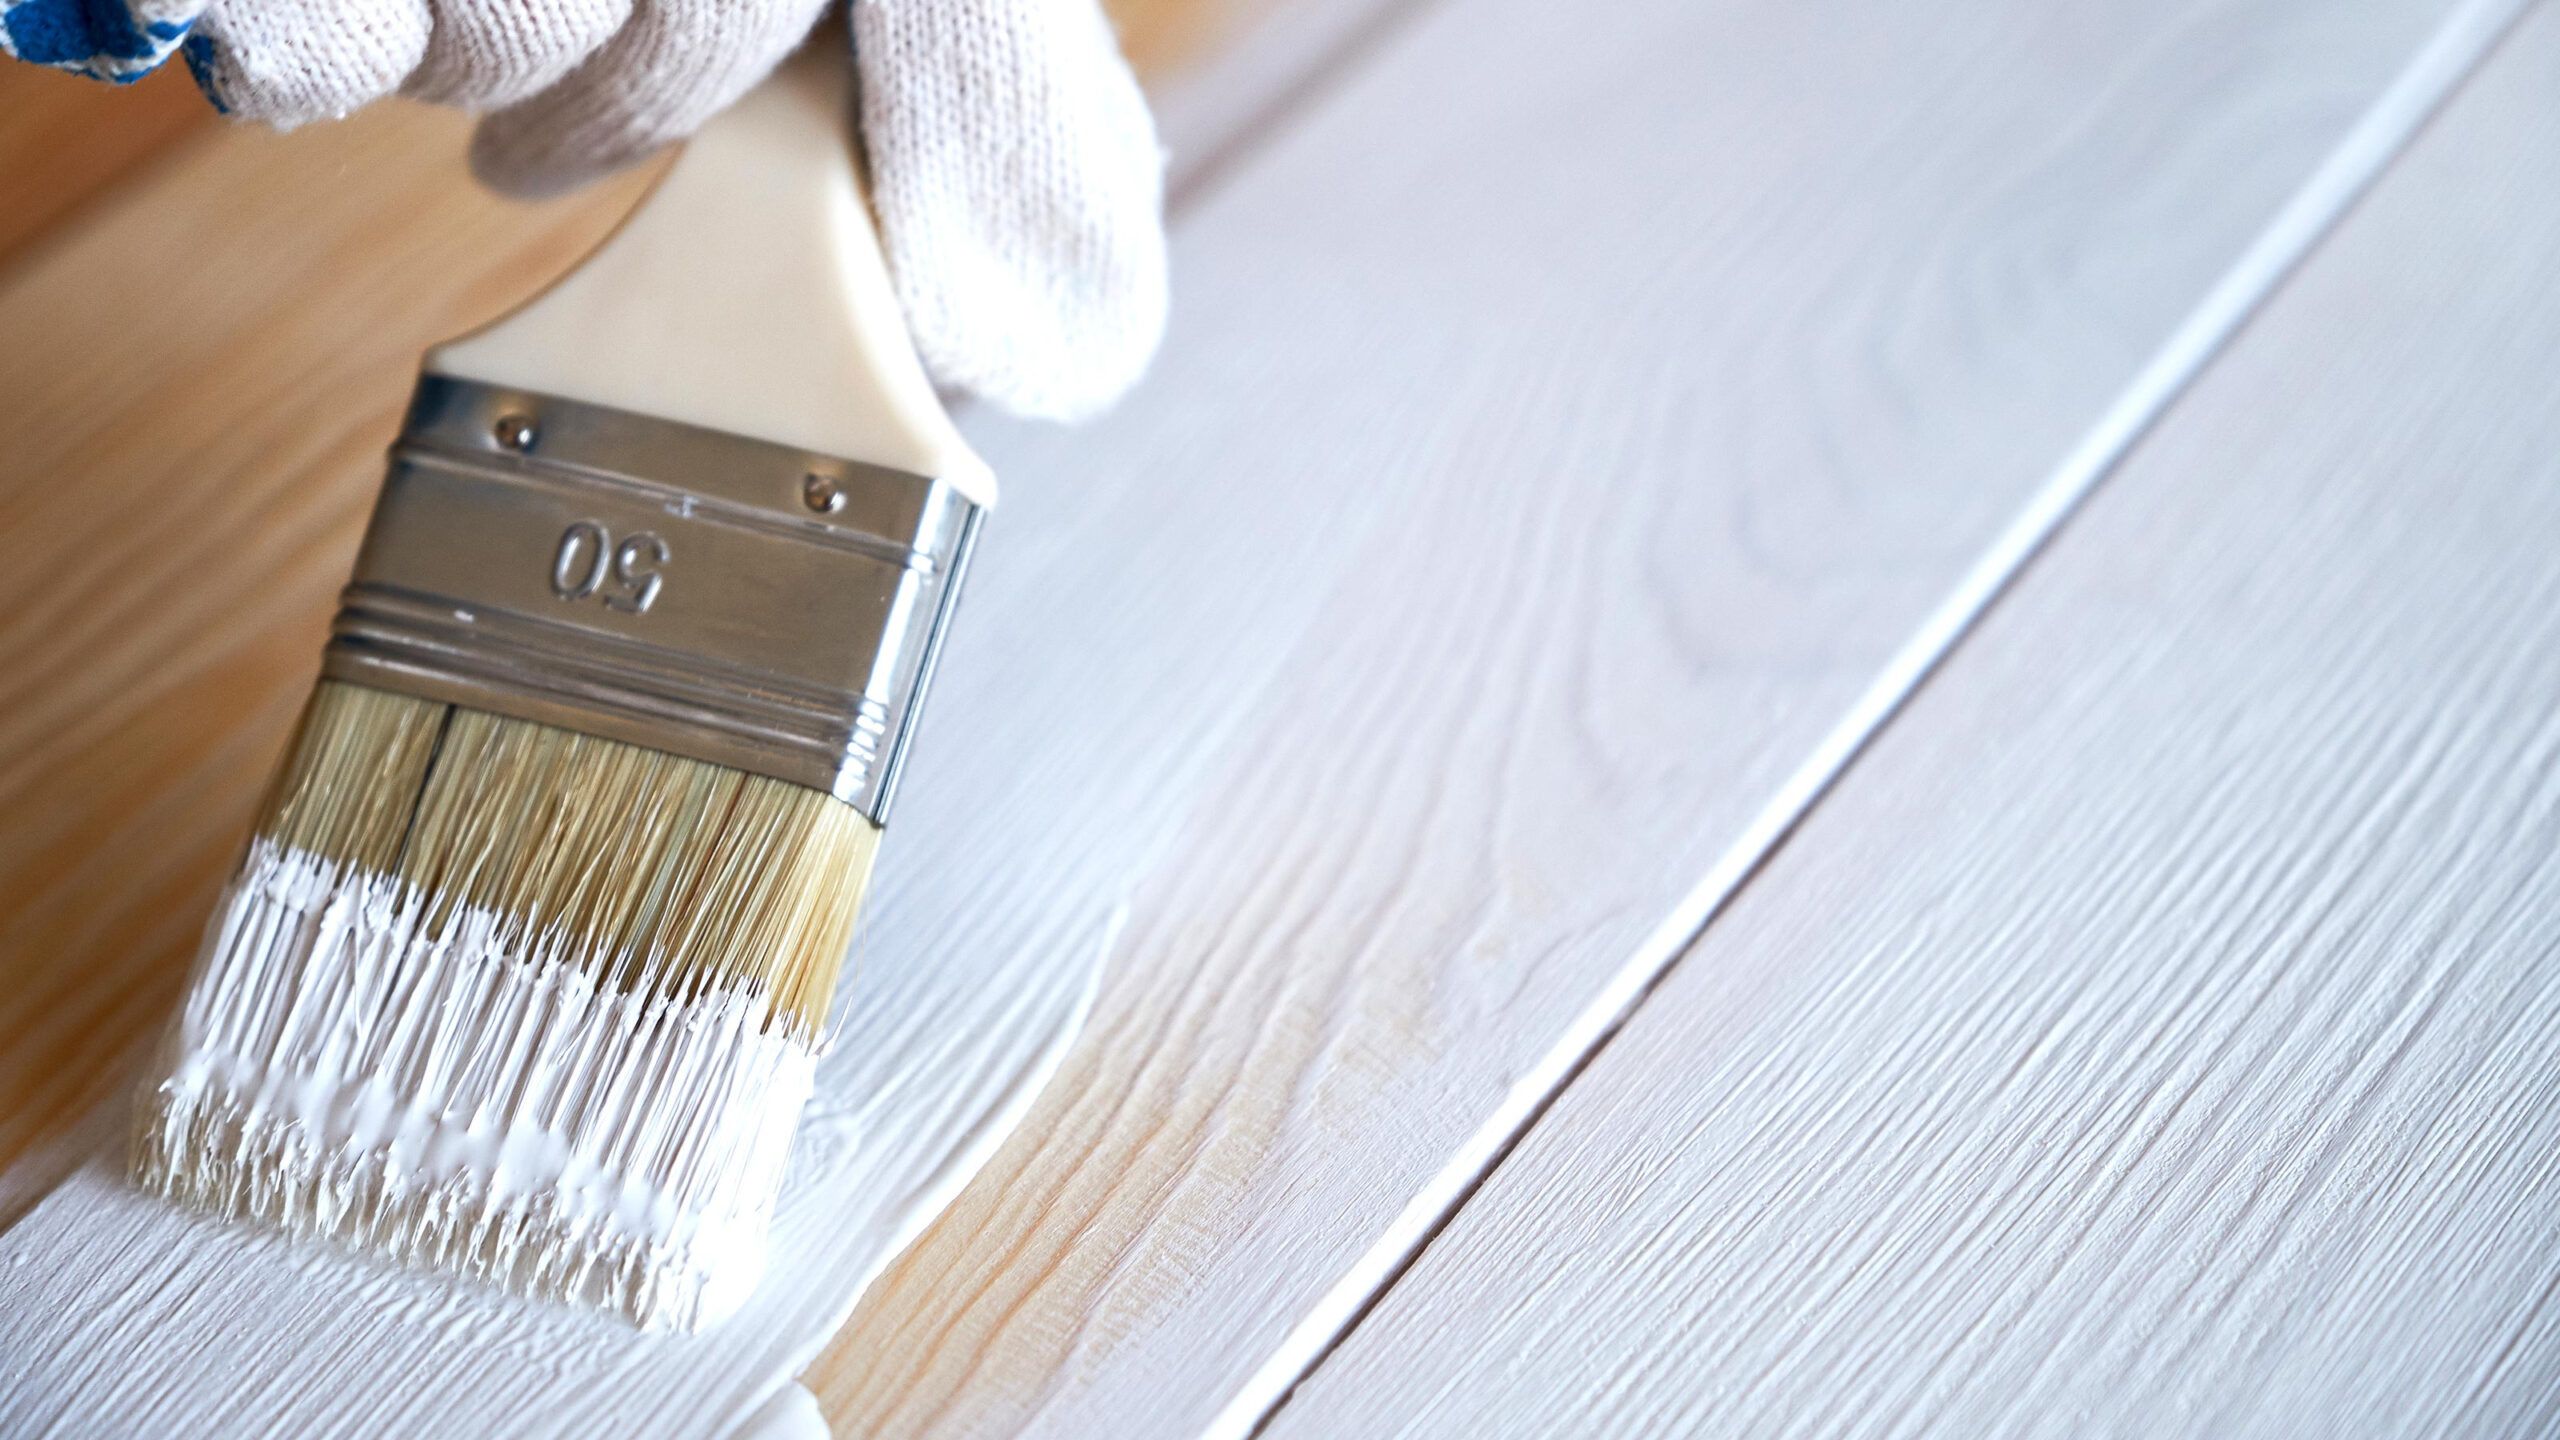
The Art of Application: Layer by Layer
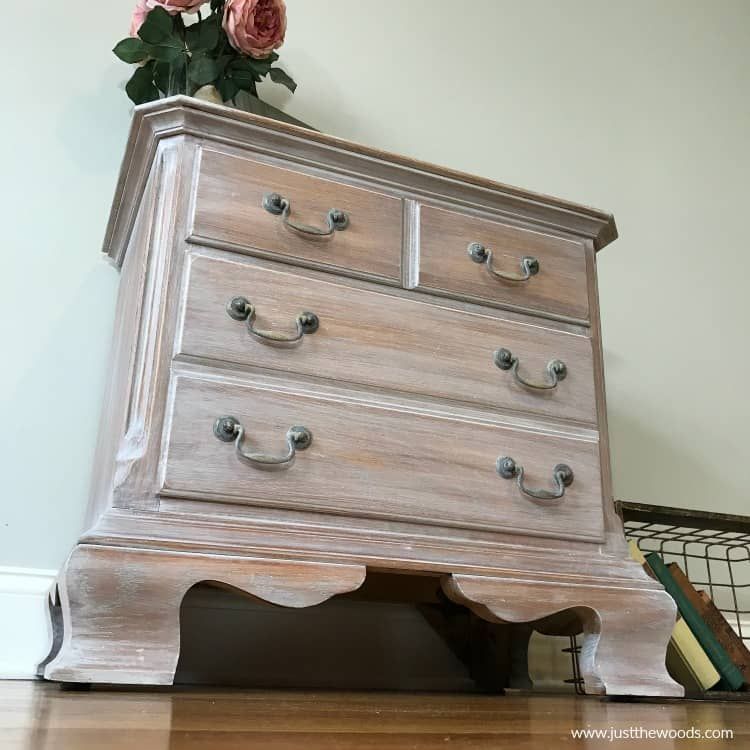
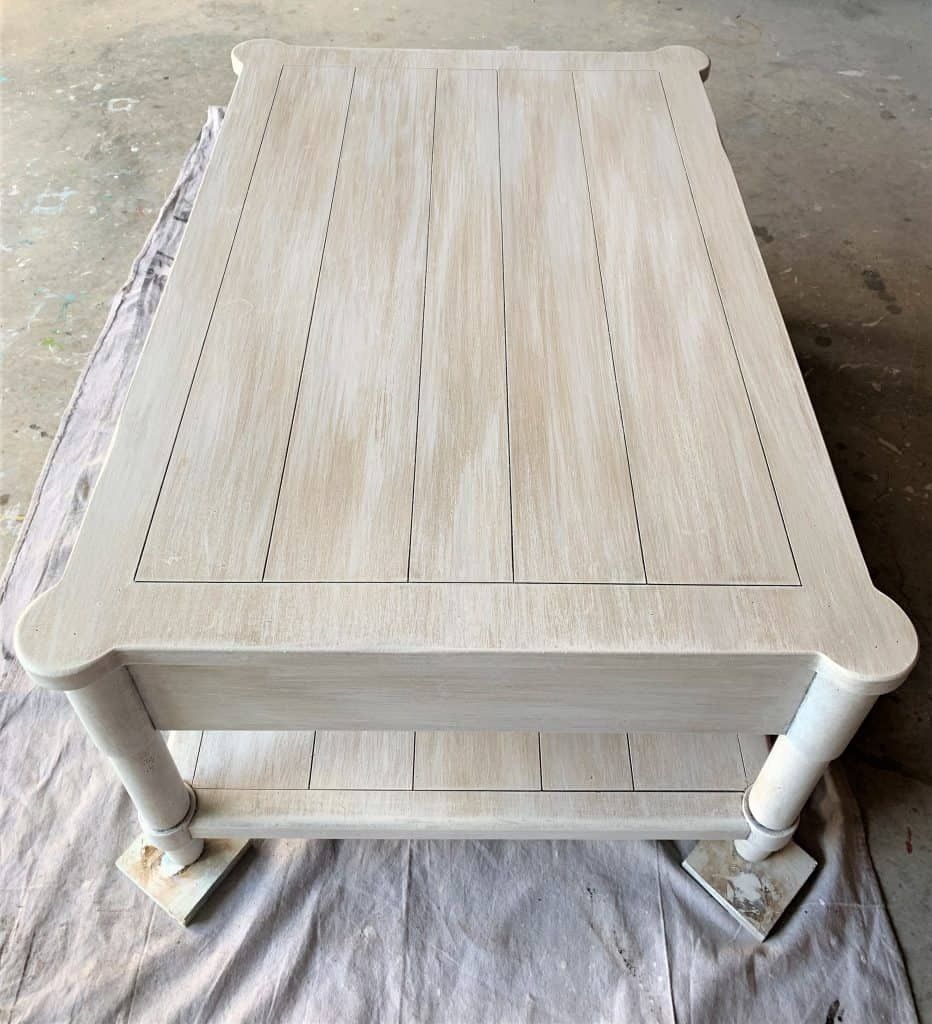
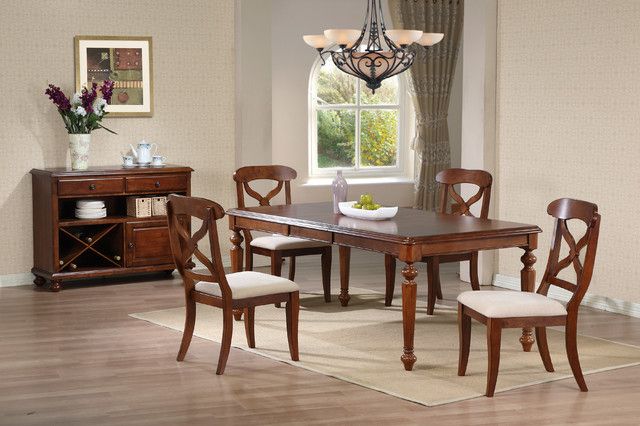
Now for the fun part! Grab your prepared whitewash mixture and a good quality brush. Start applying the whitewash in the direction of the wood grain. Don’t aim for perfect, even coverage; that’s part of the charm. You want to see some of the underlying wood peeking through. Work in small sections so the whitewash doesn’t dry too quickly. As you go, you can use a clean, damp cloth to gently wipe away excess whitewash, further revealing the wood grain and creating that aged look. For a more distressed finish, you can lightly sand areas after the first coat has dried. You might need two or even three coats to achieve your desired level of opacity and color. Remember, it’s easier to add more whitewash than to take it away, so build up the layers gradually. Take your time and enjoy the process. See how the wood transforms with each stroke; it’s quite satisfying. For instance, if you’re working on a dining table, you might want a slightly more opaque finish than for a side table where you want to showcase more of the natural wood.
Sealing and Protecting Your Masterpiece
Once you’re happy with the look of your whitewashed table and all the coats are dry, it’s time to seal and protect your work. This is a vital step to ensure your table’s beauty lasts. A clear topcoat will protect the finish from spills, wear, and tear. You have options here too: a water-based polyurethane is a popular choice because it’s durable and doesn’t yellow over time. You can opt for a matte, satin, or gloss finish depending on the look you prefer. Apply the topcoat in thin, even layers, allowing each coat to dry completely according to the manufacturer’s instructions. Usually, two to three coats are sufficient for good protection. Lightly sanding between coats with very fine-grit sandpaper (like 320 or 400 grit) can help create an even smoother, more professional finish. This final step locks in your beautiful whitewash and makes your table functional for everyday life.
Troubleshooting and Tips for Success
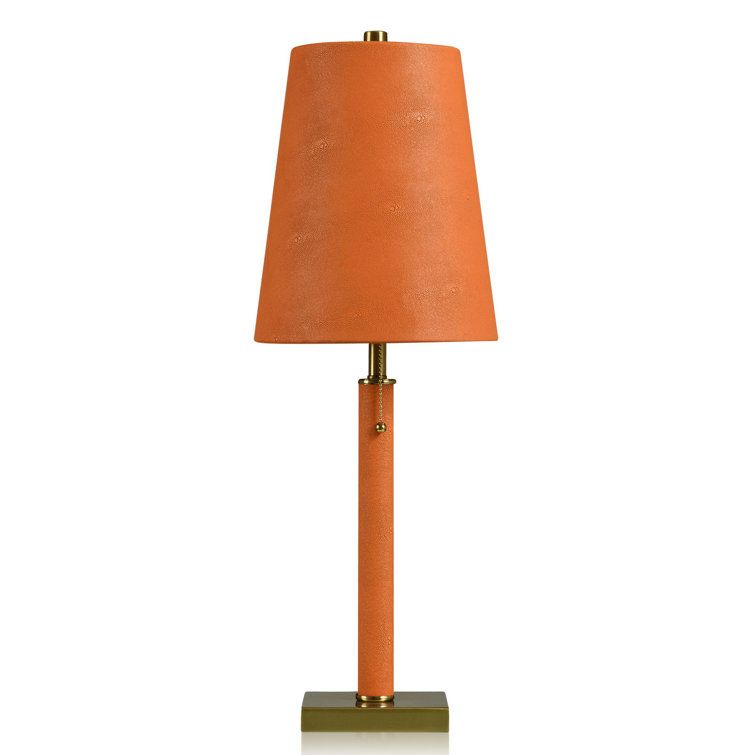
Even with the best intentions, sometimes things don’t go exactly as planned. If your whitewash looks too opaque, don’t panic. You can often go back with a damp cloth and gently wipe away more of the finish while it’s still wet. If it looks too thin, simply apply another coat. Unevenness can sometimes happen, but remember that a little variation adds to the rustic appeal. If you’re aiming for a very specific look, like a coastal vibe, consider pairing your whitewash with natural elements like jute or linen. For a farmhouse feel, mix it with galvanized metal or vintage finds. Always work in a well-ventilated area, especially when using paints and sealants. And most importantly, have fun with it. This isn’t about perfection; it’s about creating something unique and beautiful for your home. Experimentation is your friend here.
Creating a beautifully styled whitewash table is a rewarding project that can significantly enhance your home’s aesthetic. From understanding the fundamental techniques to the careful selection of materials and the crucial step of sealing, each stage contributes to a stunning final piece. Remember, the beauty of whitewash lies in its ability to be both rustic and refined, offering a timeless charm that complements a wide array of decor styles. So, gather your supplies, embrace the process, and get ready to transform a simple table into a cherished centerpiece. Your beautifully styled whitewash table is just a project away, ready to bring warmth and character into your living space.